I've wanted to build some hills that would fit with the style of my Maiwand terrain boards for a while now (truth is my tabletop became too good in comparison to all my somewhat vast supply of hills). Of course hills and mountains are a prime terrain element when it comes to Afghanistan and the North-West Frontier, so it's been at the top of my terrain "to do" list, but were a lot of little details to decide on, so it's taken a while for me to actual get something done. I started on 2 different hills made from styrofoam, with masonite or wood bases to give them some weight, but the key ingredient that had me excited about working on these was WOOD CHIPS -- yes, WOOD CHIPS.

I got the idea from this page at Clarence Harrison's QUINDIA STUDIOS website LINK, and thought it could turn out really well. I'm planning to utilize wood chips for cliffs that will be part of those 2 principally foam hills, but then I suddenly thought: why not just BUILD AN ENTIRE HILL from the chips? I had bought a huge bag for about five-bucks, which seemed like it would provide a near-endless supply. I figured I'd start with a small test piece, so I used one of my go-to utility terrain items -- an 1/8" thick, one-foot square vinyl floor tile, for the base.
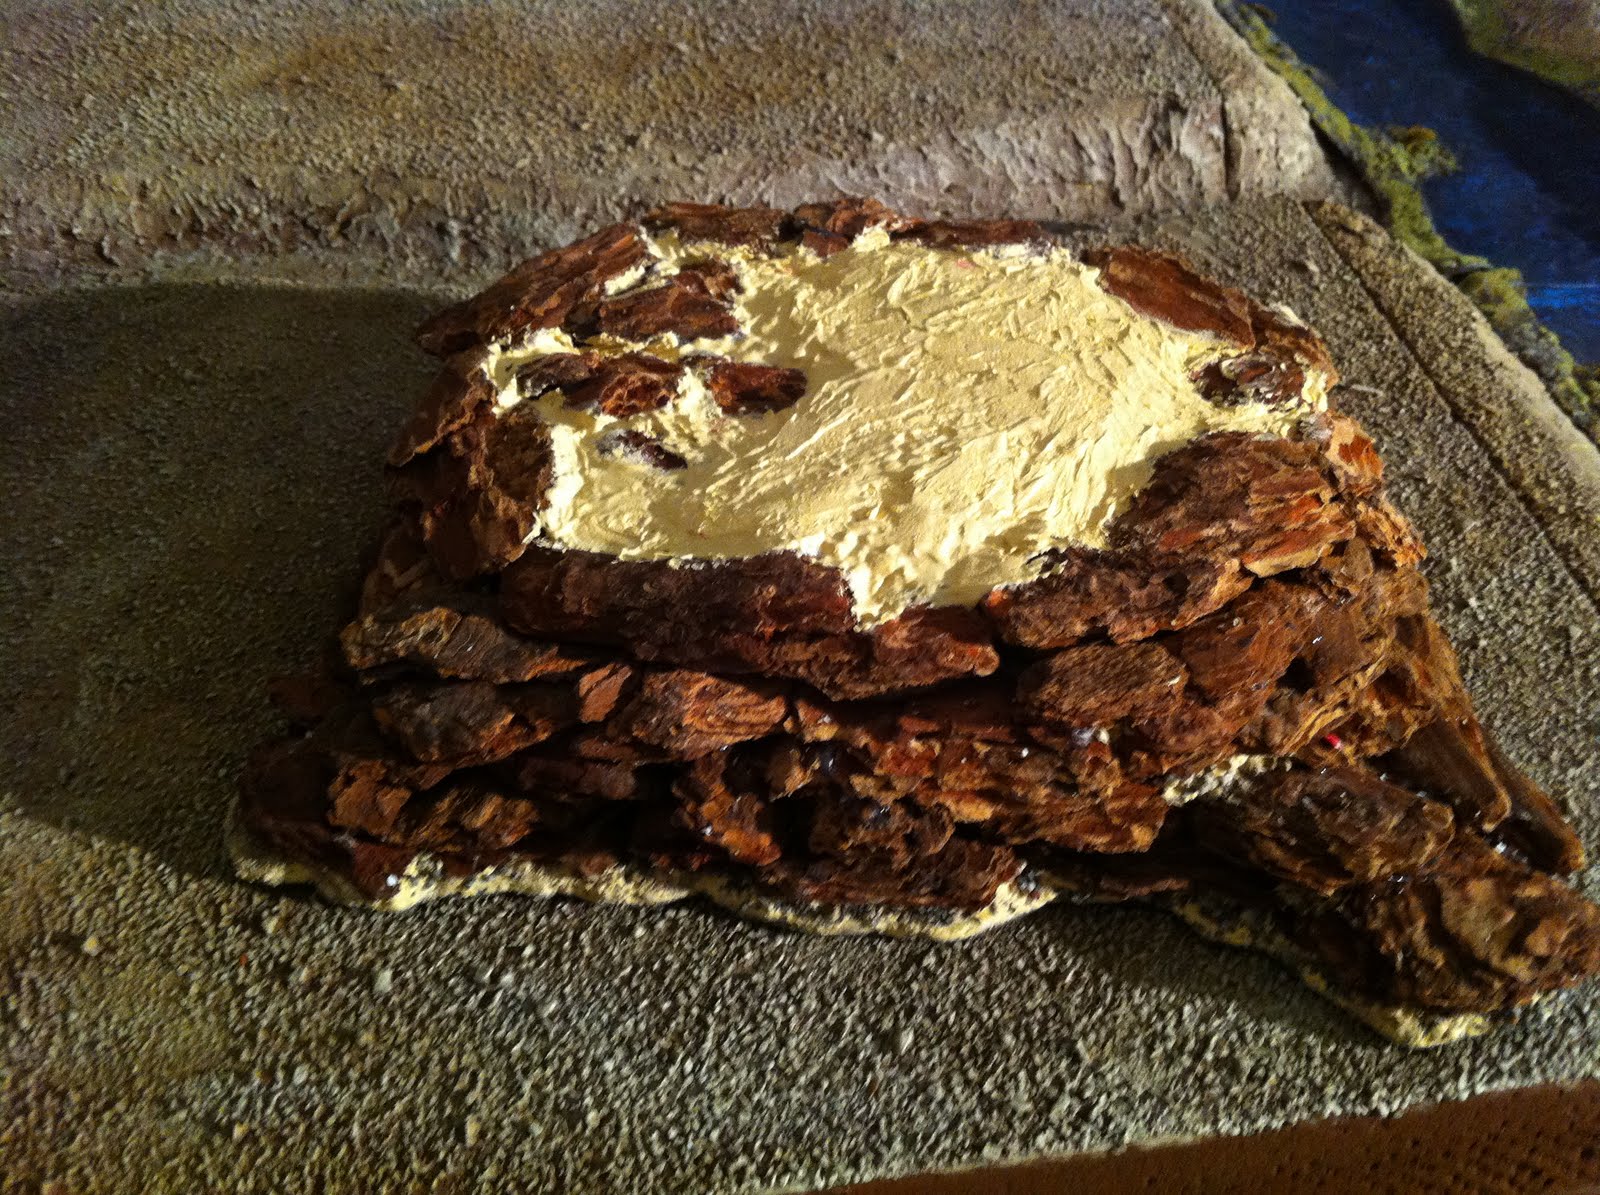
I trimmed the tile down to a somewhat irregular shape, roughed up the perfectly square edges a bit, then used a HOT GLUE GUN and started gluing WOOD CHIPS, first to the tile, then on top of each other.
I wish it were easier to add text between and below pics on Blogger but for me it's always a challenge, so I'll explain a few things in advance...
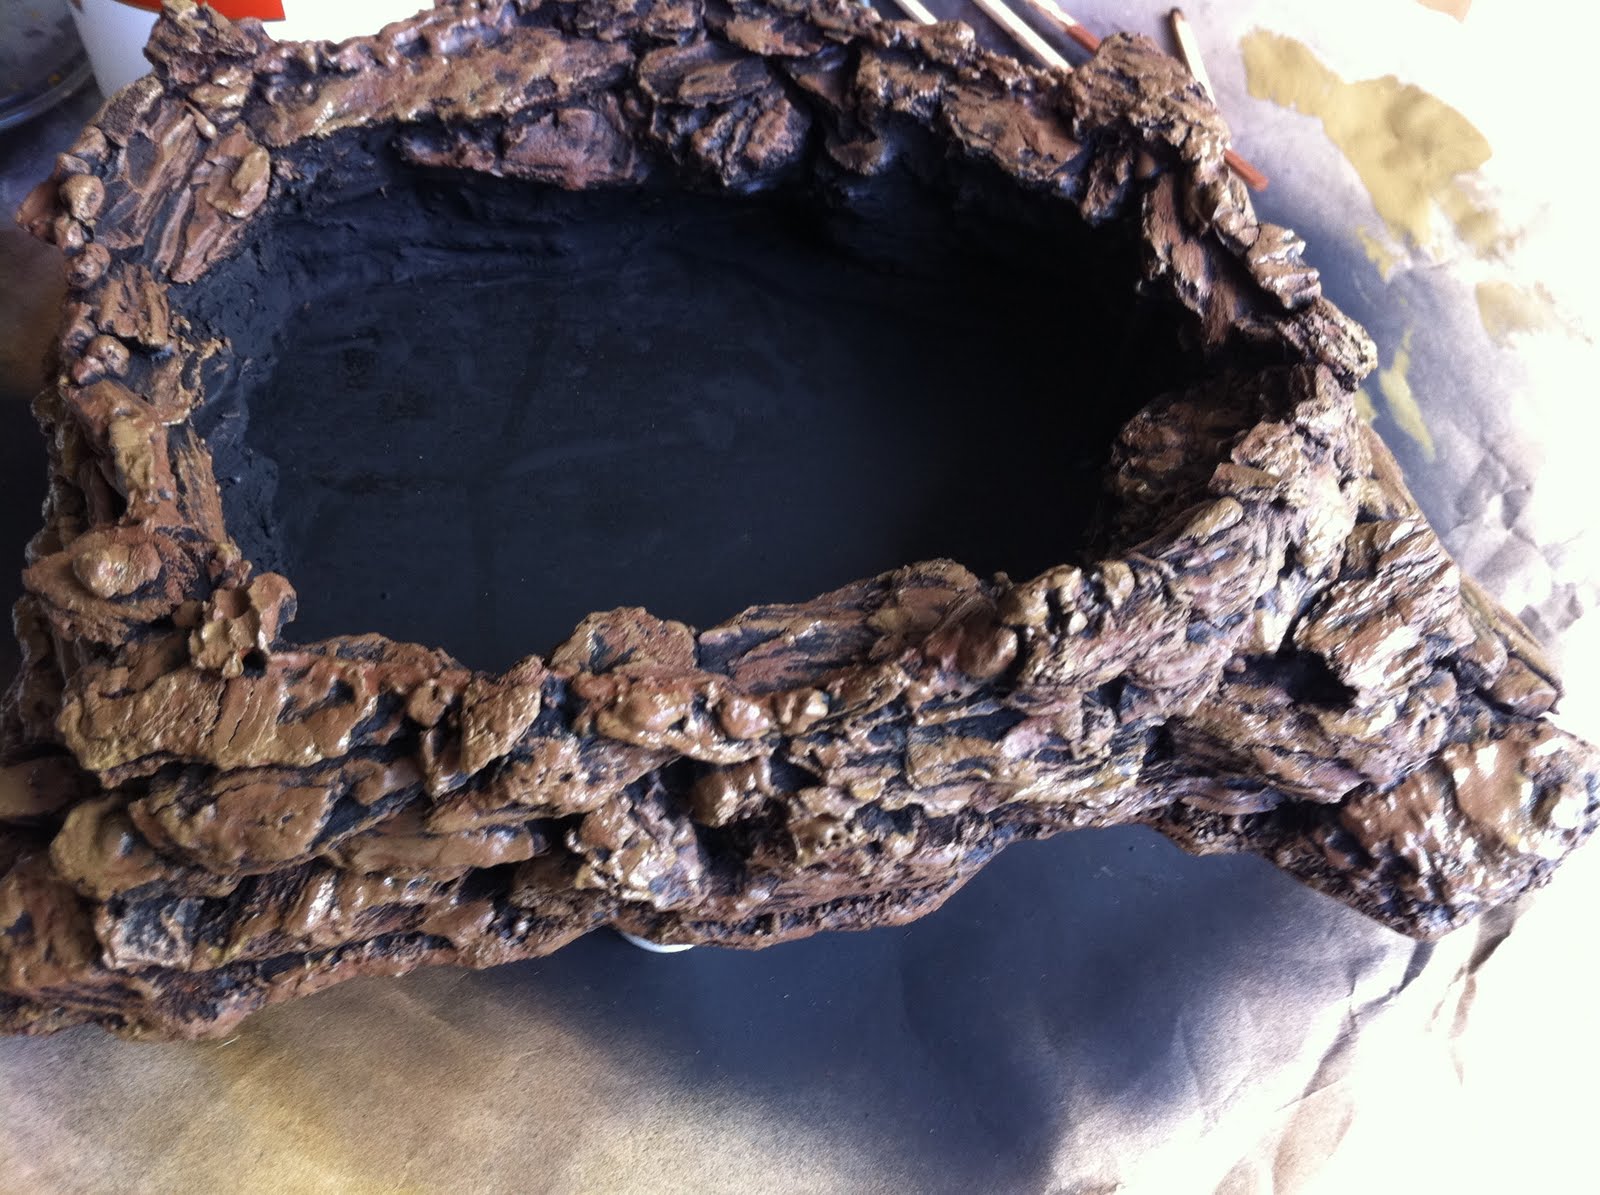
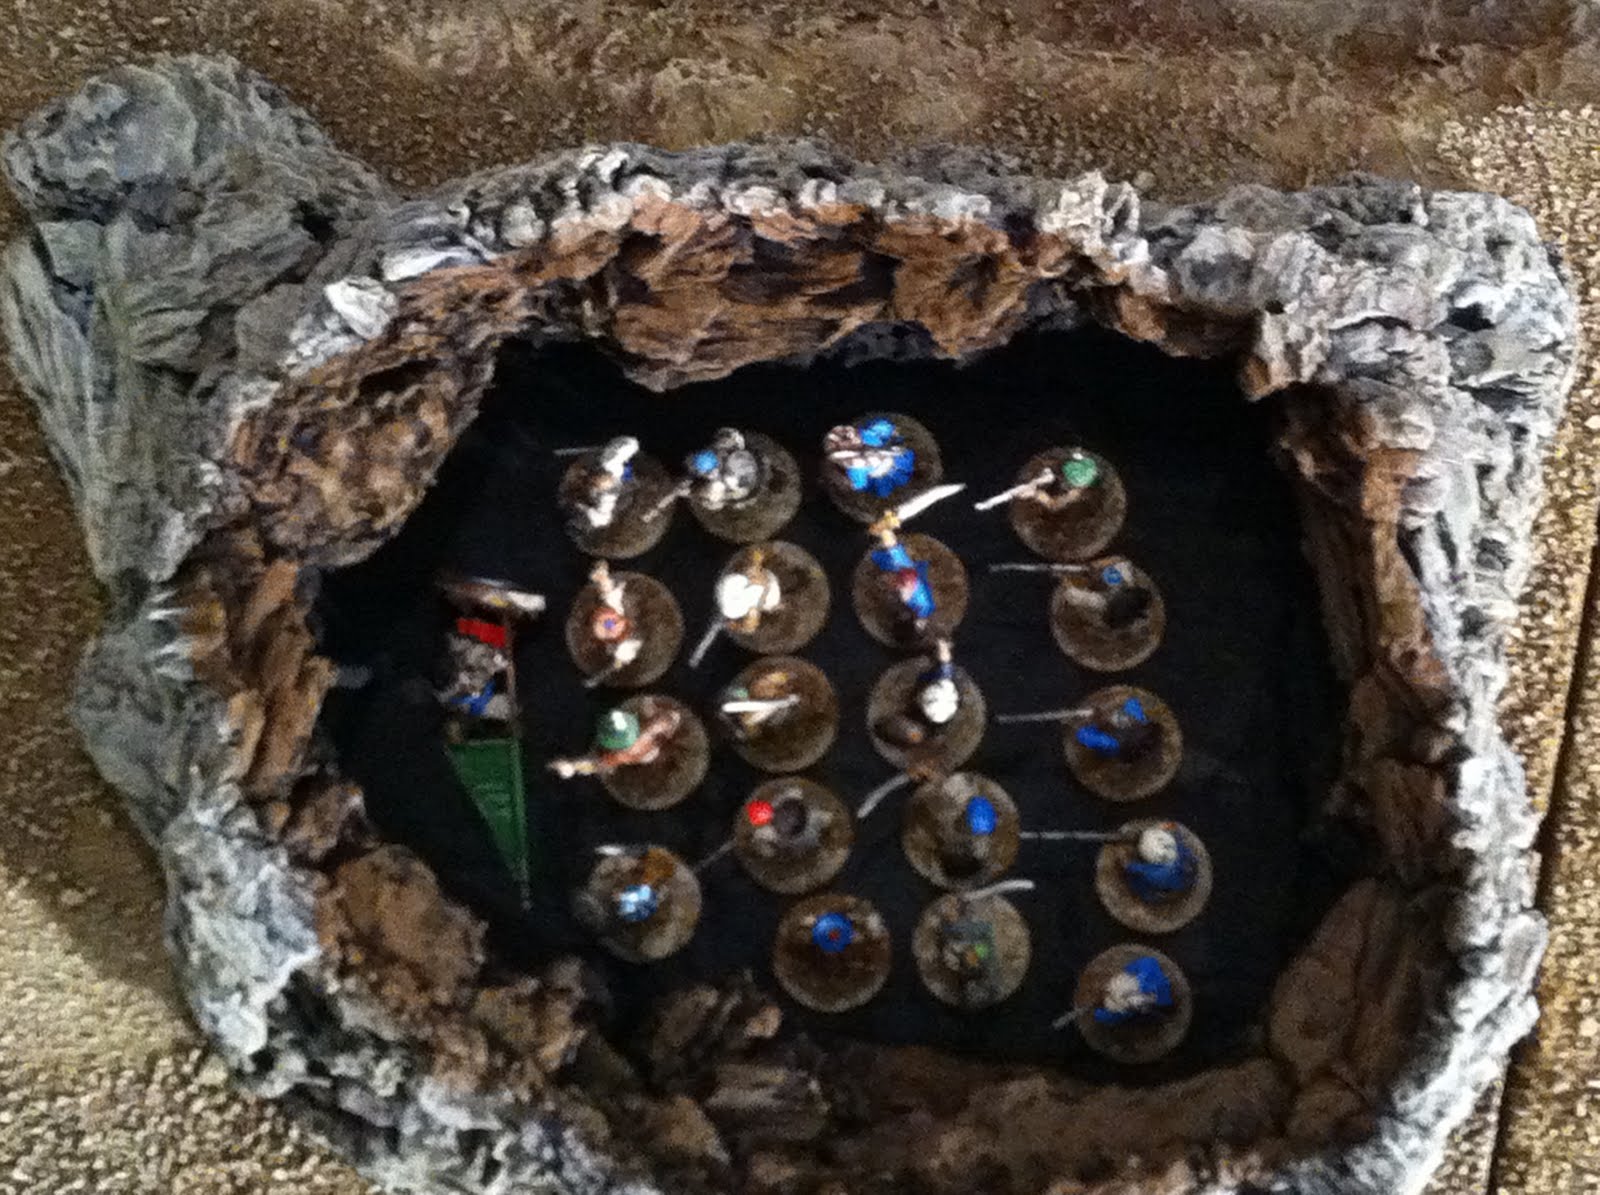
(1) After I started building the hill, I realized it would be possible to make it HOLLOW, and thereby capable of holding HIDDEN NATIVE TROOPS INSIDE. This presented one problem: crafting a HILLTOP that would snuggly fit on top. This was a bit of a challenge but I think it turned out well.
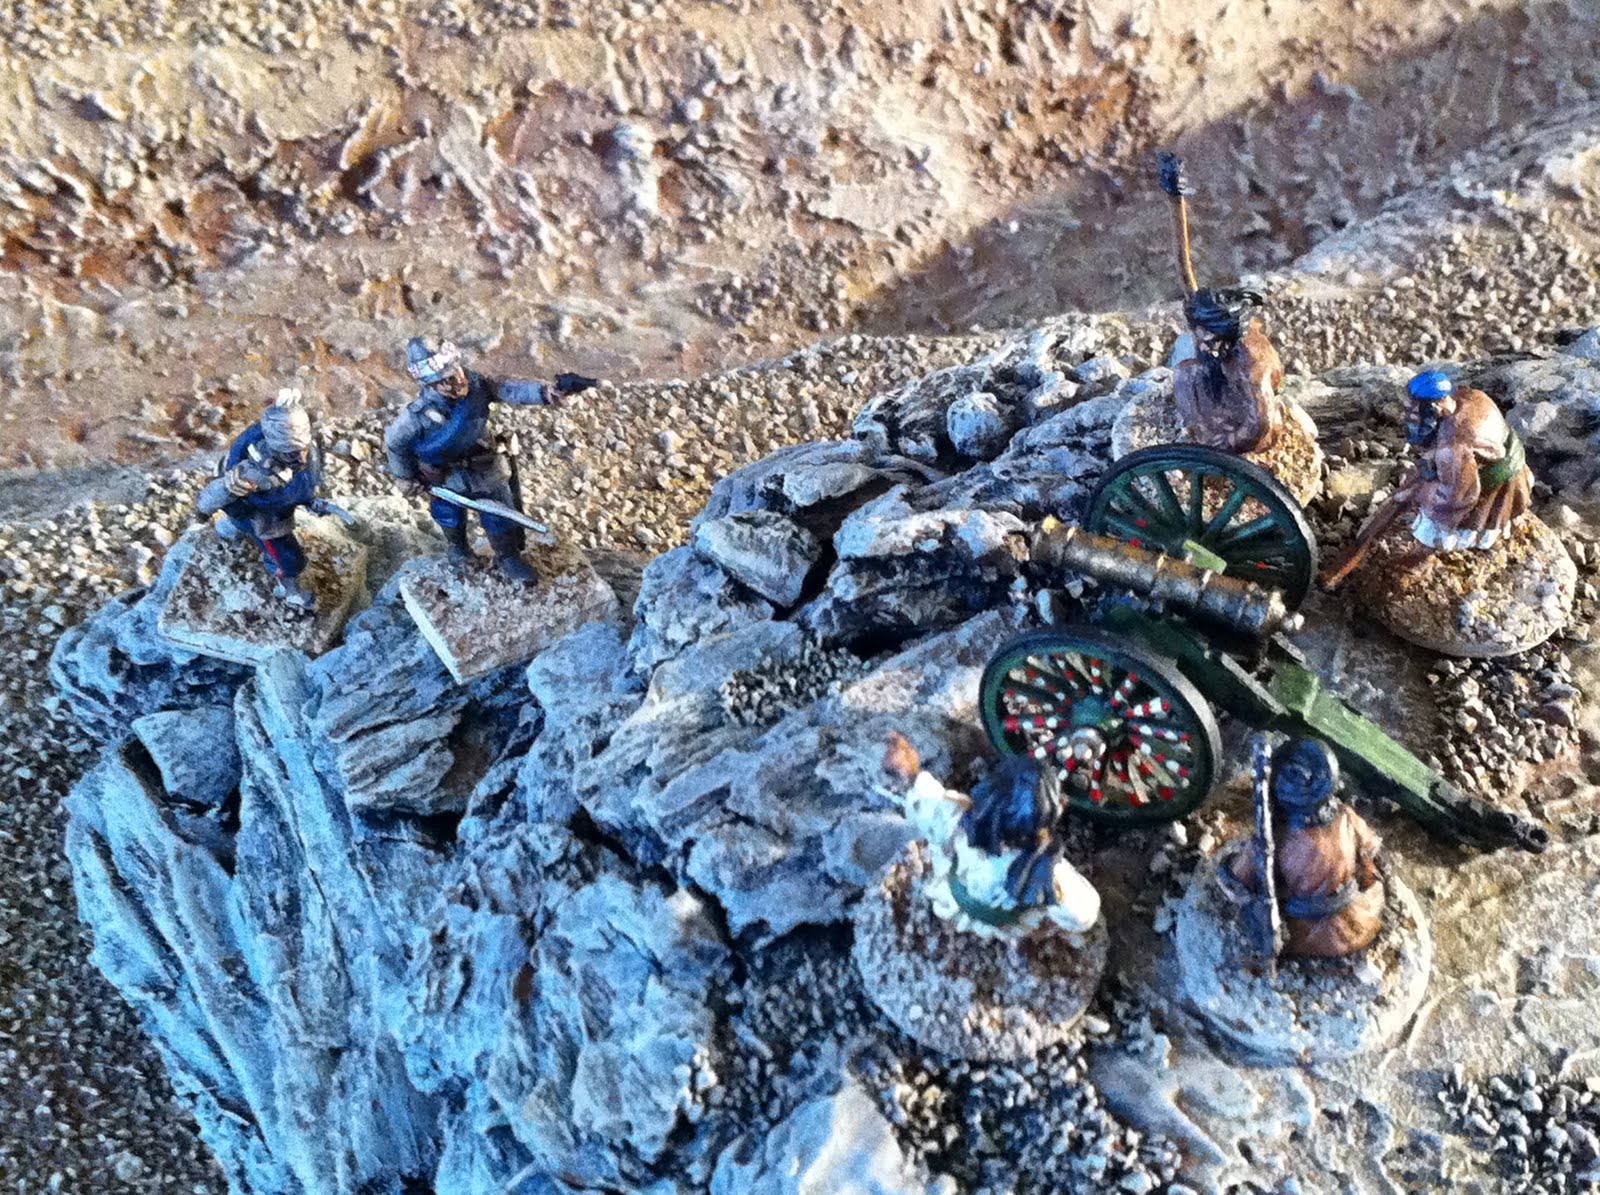
(2) I base-coated the hill with matte black spray enamel, then used acrylics I've had mixed up at Home Depot to match various craft paint colors such as FAWN, MUDSTONE and SANDSTONE.
(3) for some dopey reason I didn't take pics of the 2 SHADES OF GRAY PAINT I used for the last two coats of highlight dry-brushing. They were both inexpensive DELTA CERAMCOAT craft paints, RAIN GRAY and QUAKER GRAY.
(4) I used WOOD PUTTY to fill holes between wood chips, also to strengthen the walls of the hollow interior, and finally to add texture the base and also the hilltop. I really enjoy working with wood putty, which is inexpensive, easy to mold, and dries to a hard and resilient finish which, in my experience, stands up well to the rigors of gaming.

(5) I gave everything other than the wood chips themselves a coat of white glue to further strengthen and tie it all together.
(6) I glued thin soft black vinyl to the bottom of the base in order to protect the surface of the terrain boards this hill will end up being placed on.
From here on I'll let the pictures do the talking...


