Greetings fellow Hobbyists!
I hope as you read this you and yours are safe and sound, healthy and whole. I also hope you've been able to keep your hobby life alive, albeit probably in a more lonely manner than usual. On one hand the isolated nature of life these days completely wrecks much if not all of what we love about wargaming -- namely, the social element and all it entails, from camaraderie to competition. On the other hand, it presents many of us with more time cooped up at home, at least some of which can be spent reducing the size of the proverbial lead pile -- prepping, painting, basing and terrain-ing figures; building tabletop terrain; researching historical scenarios and orders of battle; maybe even play-testing, so long as there's another wargamer at your place, or if you can pull it off "remotely" via social media or Zoom or lots of text messages, or if you're up for some solo gaming where you role-play commanding each side in turn.
So our games are dead in their tracks... except for the ones we're working overtime on.
For me, as some of you will know, that game is a refight of the 1880 Battle of Kandahar. On that front I'm happy to say I've made some good progress, though I still have a long way to go.
Since my prior post I have:
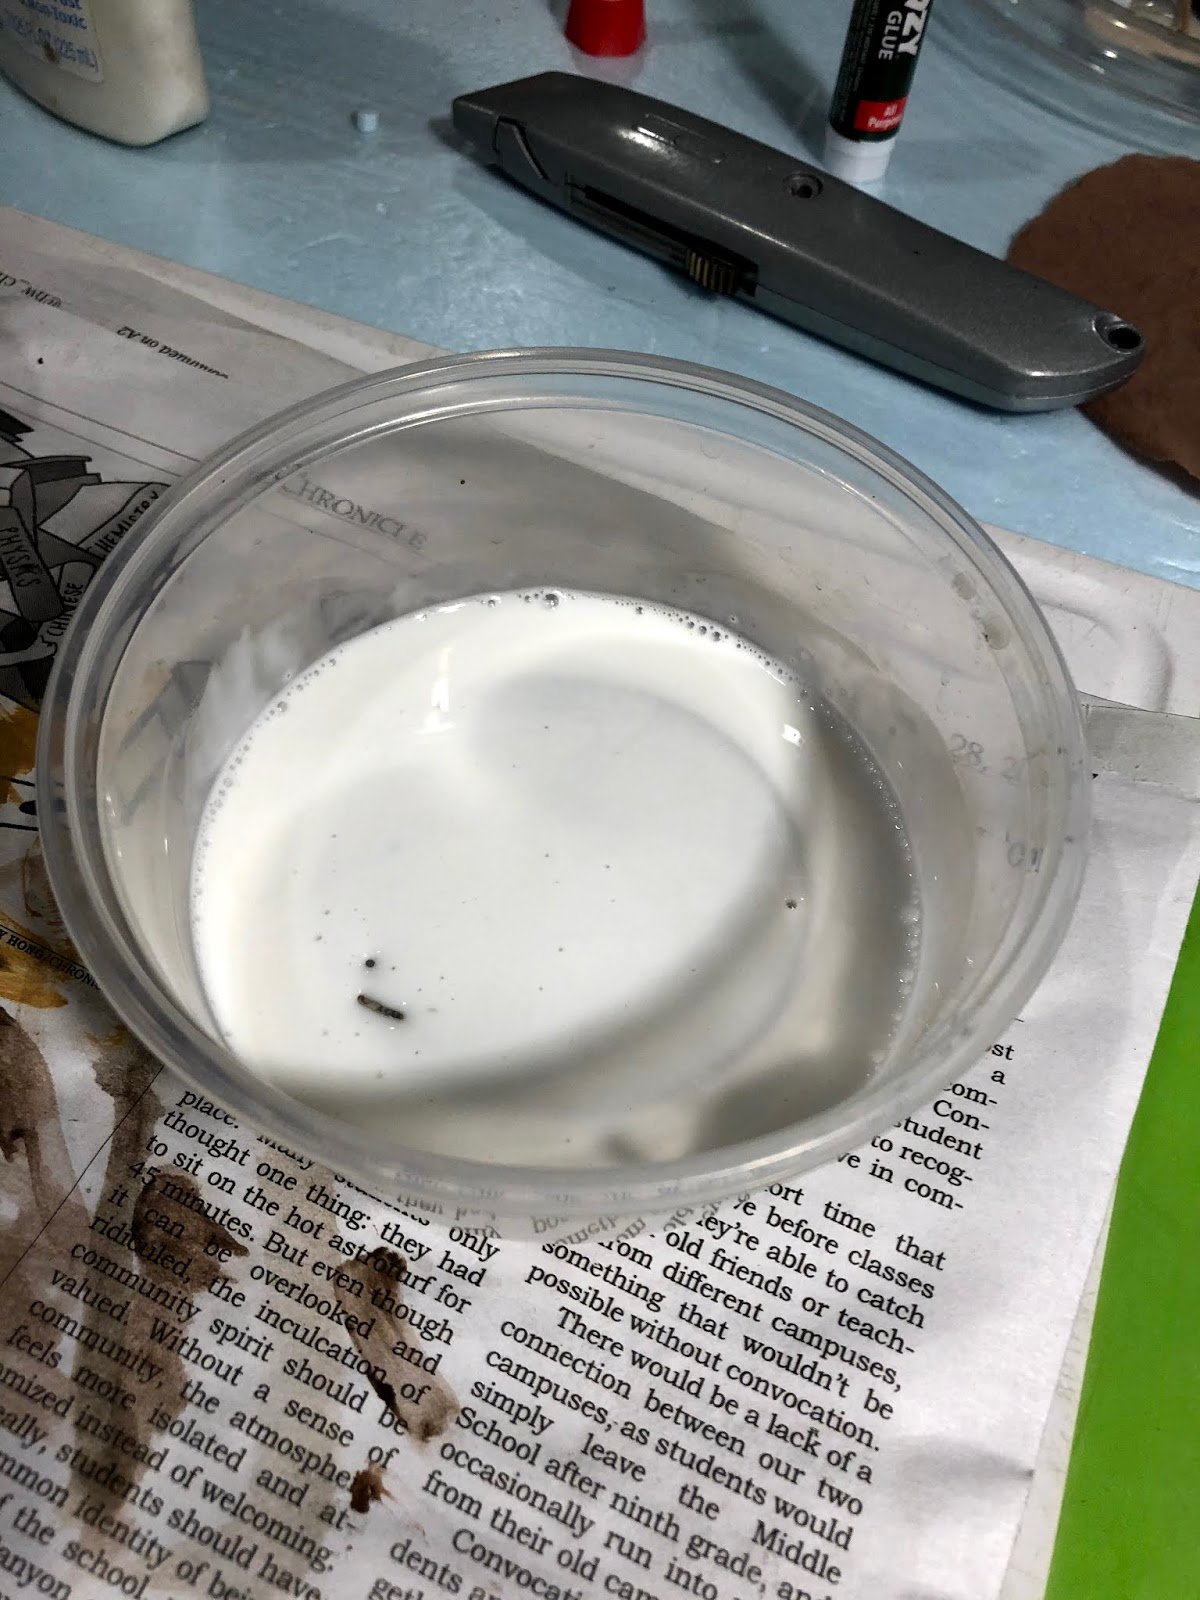
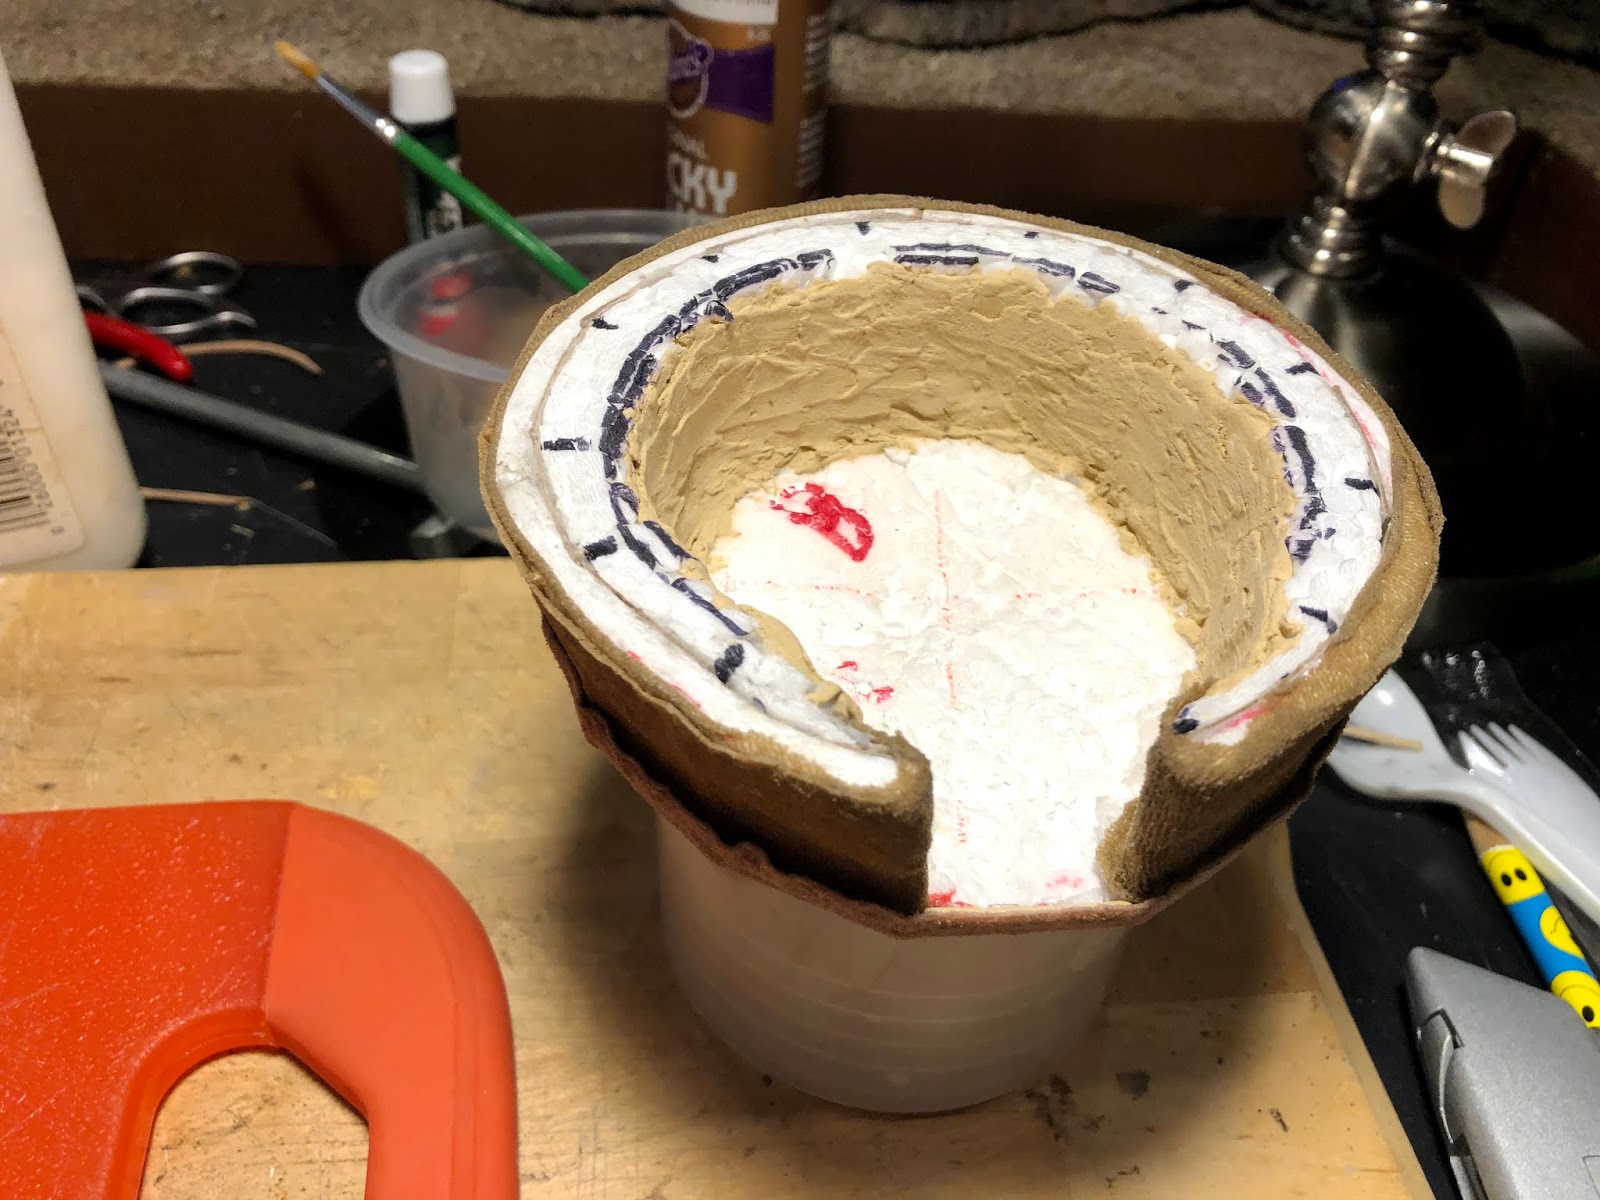
(1) Built the form of MIRZA/MURCHA/MARZA KOTAL. This was a challenge but I think it turned out pretty well. Next comes gluing some some ground-cover ballast, same as I still need to do for the more modest BABA WALI KOTAL. Then they must both be painted. That's still a lot to do but it's all easier and less time-consuming than the building process which is now thankfully completed.
(2) Did some final tweaks to my converted LT. HECTOR MACLAINE AS PRISONER figure, sent him off to be painted by a talented & generous friend of mine, and got him back, looking IMHO fan-freakin'-tastic!
(3) Ordered and received some more of my upscale model RR "Grand Central Gems" fruit trees, which I now must base so they can help fill in another ORCHARD area on the table.
(4) Ordered and received a box of 10 more modest but still quite nice Apple Trees with plastic trunks & branches, which I am going to try to use to make one or maybe two all new orchards from scratch. The first step, even before basing them, will be to hit their trunks and branches with a light grey and/or light brown dry-brush. Depending on how the multiple other tasks on my To-Do List go, I may not get to this in time for the big game, but I'm still glad to have the trees on hand.
(4) Ordered, received and spray-primed some really nice looking SUPPLIES from Bad Squiddo and Acheson Creations, which I now need to paint at least some of, so they can help represent Ayub Khan and the Afghan Army's MAIN CAMP, together with the tents already in place.
(5) With help from my son, Skylar, actually managed to play-test the first couple of turns of the game! This is definitely a high point on this list. It's still very early -- we've only got through 2 turns -- but I think it's going good and bodes well for the future of the scenario.
(6) Got more WIP pics from my friend Bob Ridenhour, showing his awesome work on the Ahmed Khan Shrine.
Without further ado, here's some visual evidence for some of the above...
MARZA KOTAL:


LT. HECTOR MACLAINE, RHA:


LAST BUT FAR FROM LEAST -- BOB'S IMPRESSIVE PROGRESS ON THE AHMED KHAN SHRINE:


THE REAL THING: