Another day, another chapter of painting my friend's fortress.
We are in the home-stretch now, approaching the light at the end of the Vauban tunnel...
or demi-lune...
or merlon...
or...
21. BASTION #2, Ravelin, & SCENIC VIEWS


By now I had removed all of the scatter terrain pieces that were on the board before I started this project and shifted around some of the terrain boards, removing the river that had run through the middle of the table and making room for the whole fortress to be set up along one long end...

I took out the earthworks I built a few years ago for the British Cantonment in c.1840 Kabul and used them up as improvised c.1740 siege lines...


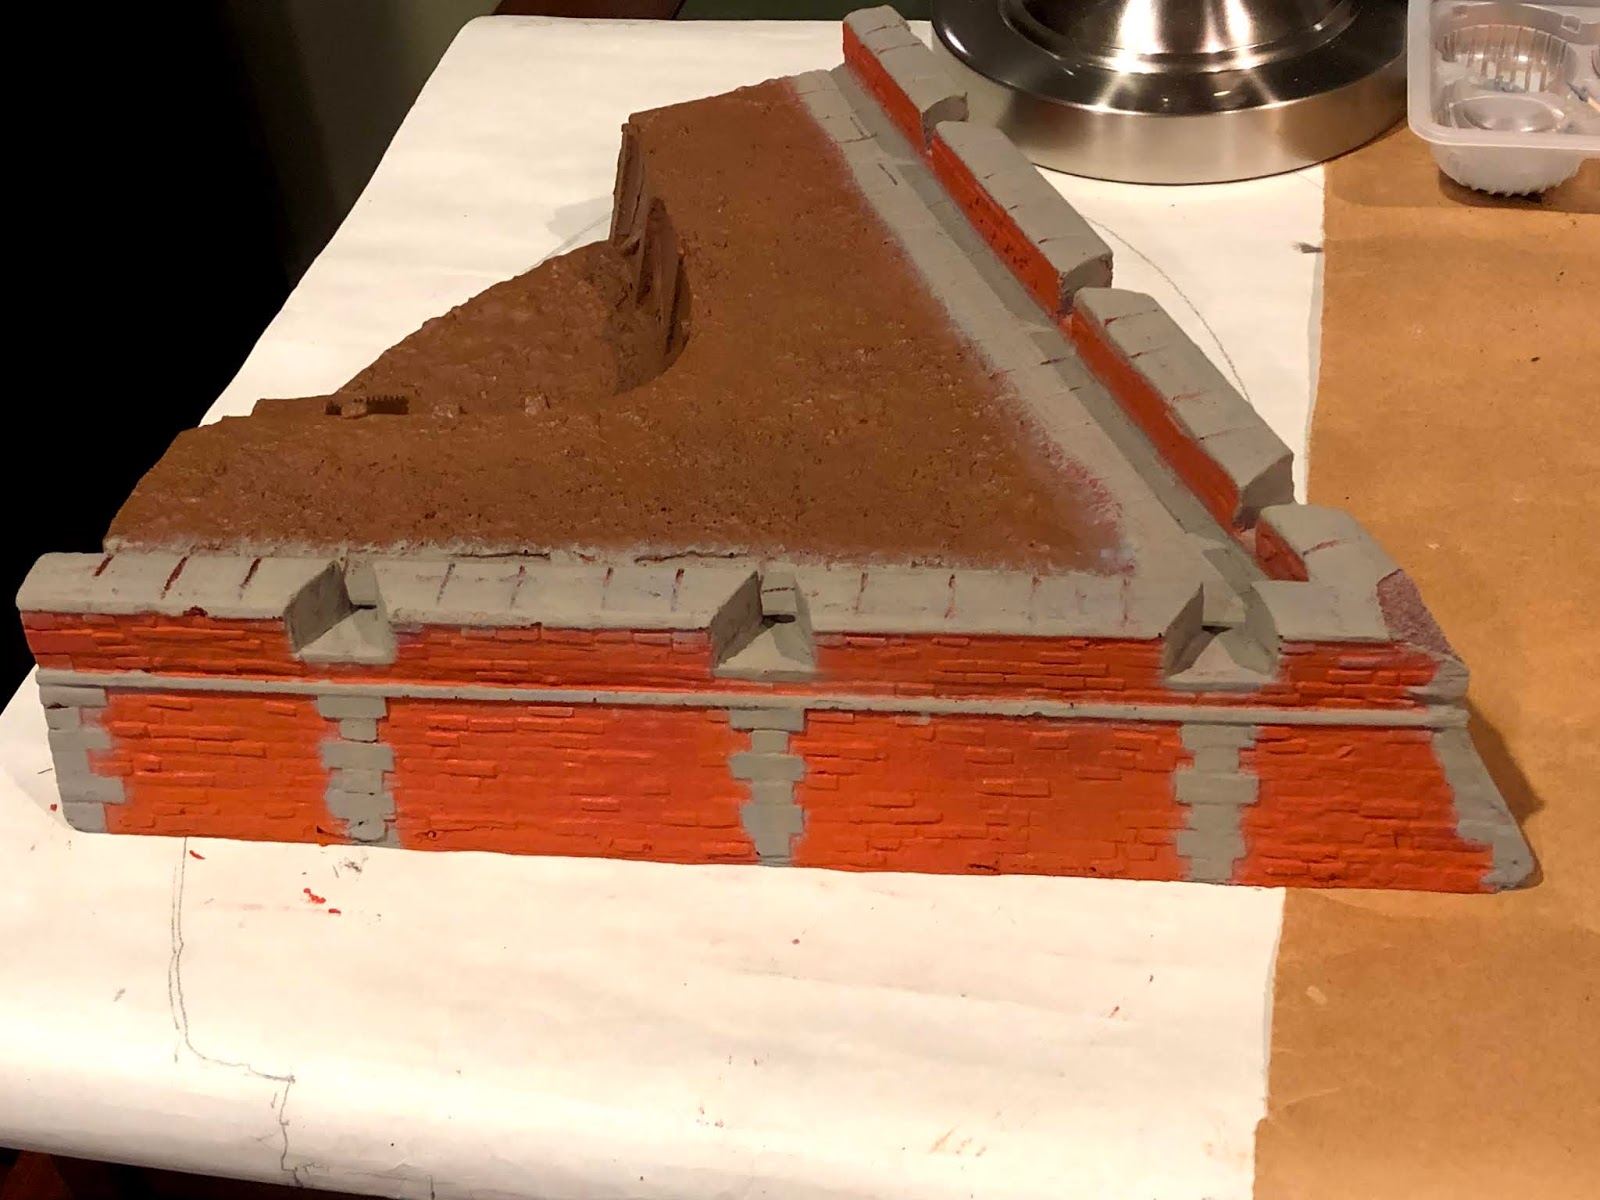
Then I started painting the lone remaining big ticket item -- the massive ravelin...

Meanwhile I had to CLEAN UP the lines on Bastion #2...
Using a small brush to touch-up spots where the stonework paint had gotten INTO THE RED...


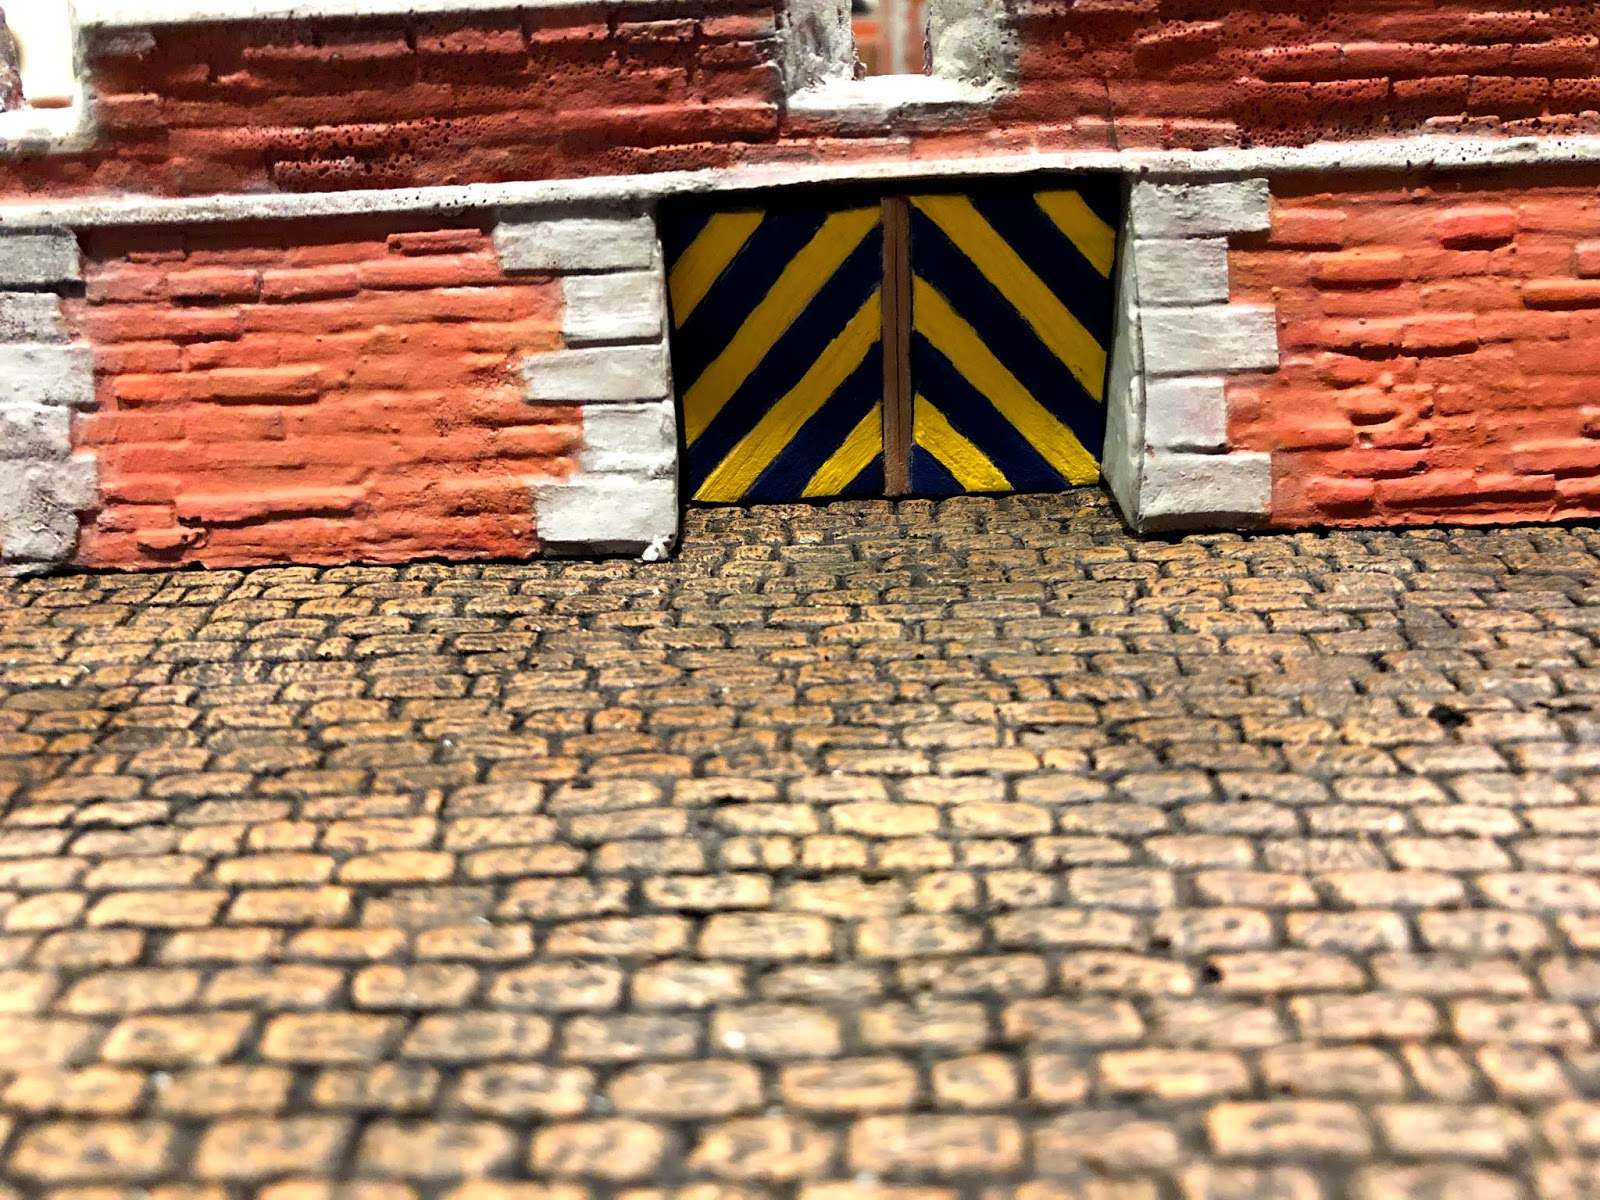
Don't think I've detailed the paints I used for the bastion roof deck wood hatches (leading to powder magazines below, for fast access to resupply the guns positioned there:
1. Base coat of Delta WALNUT
2. Dryy-brush of Craft Smart BROWN
3. Light dry-brush of FolkArt HONEYCOMB
4. Highlight of Apple Barrel


22. CANOE RECON, SIEGE REDOUBT, STONEWORK
While digging around in my hobby closet I came across a small test-piece I'd done before making a canal for a US Airborne jump into Eindhoven, Market Garden game* for another gaming friend a few years ago, and thought it might fit in a corner where the wall joins a bastion. It did...


I set down a F&IW canoe scout out the French... or the English...

Then I dug out a truly awesome terrain piece I hadn't seen for waaaaayyyy too long: a wood & earth REDOUBT that I believe was commercially manufactured at some point by someone. I bought it from the same gaming friend I was painting Vauban for, when he was selling off some of his collections before moving out of the country...


23. WEATHERING BASTION, PAINTING RAVELIN


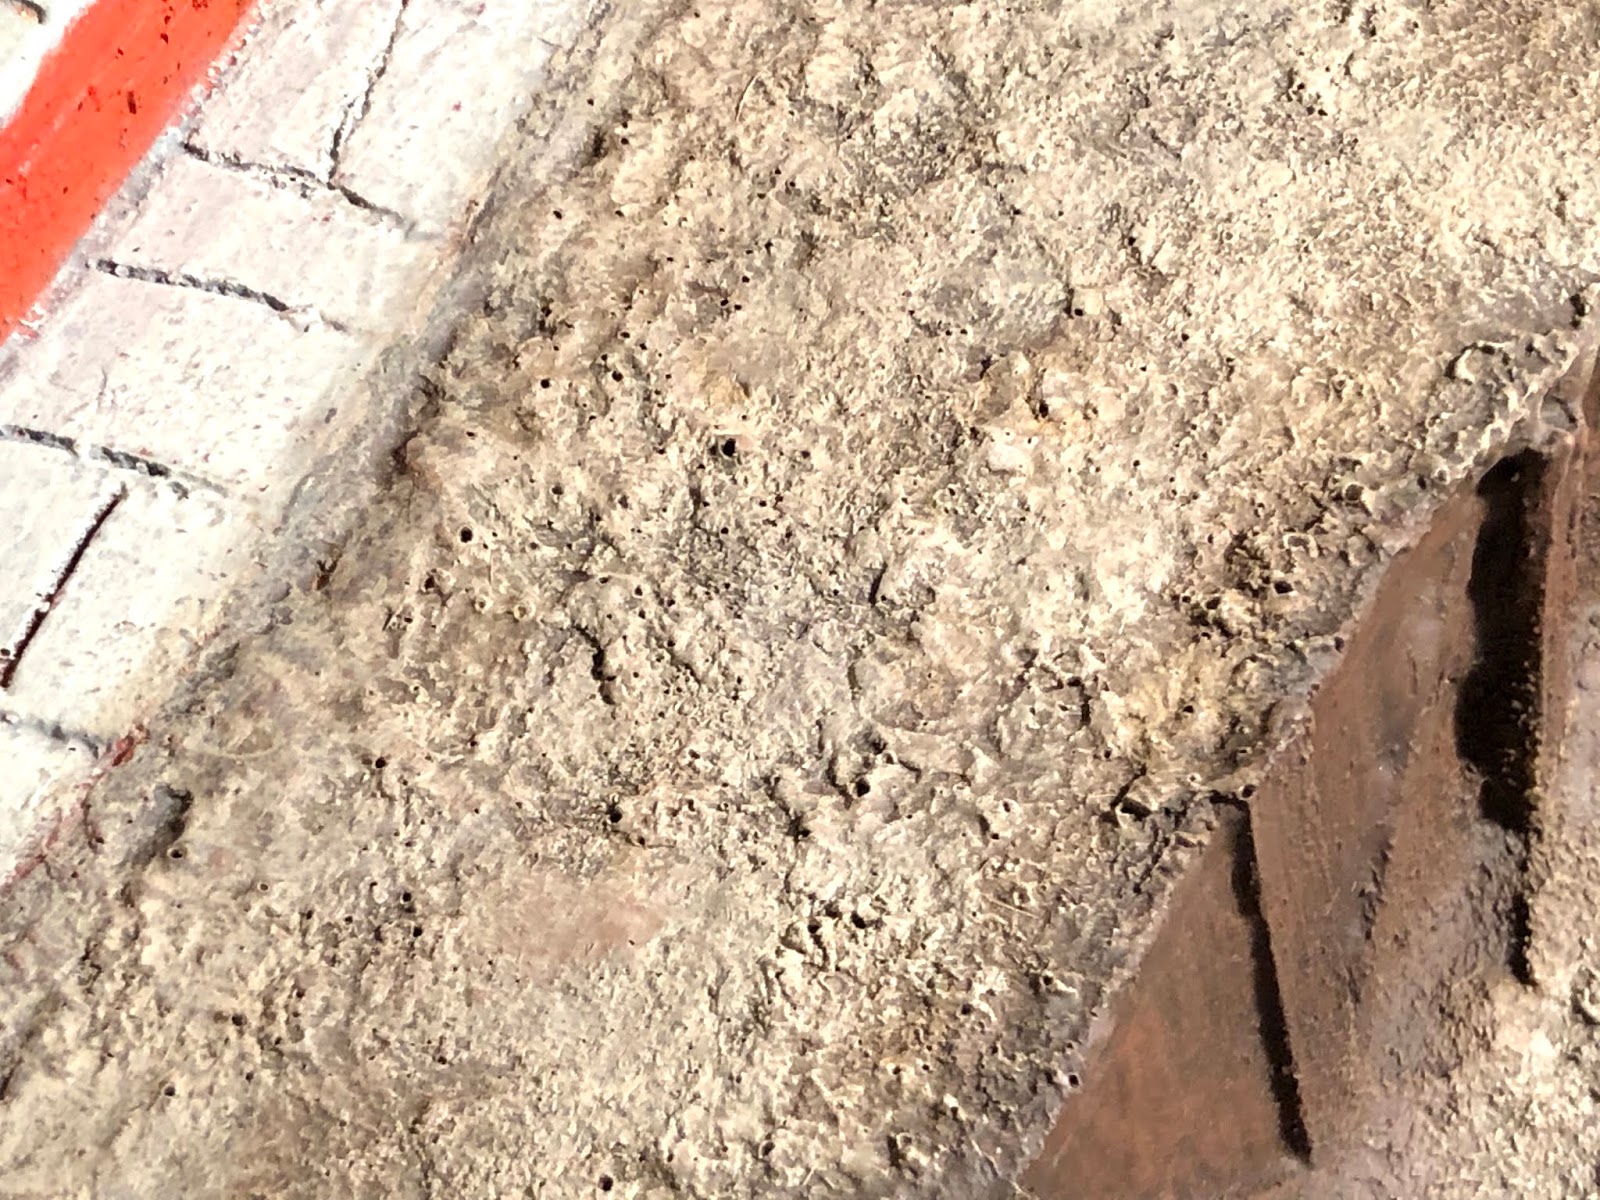
Having finished the red walls of the Ravelin, I moved onto the grey & drab stones...


Weathering wash prepped for the Bastions...


Starting to see the light at the end of the Vauban tunnel...

Colors for the STONEWORK:
1. RAIN GREY...

2. SANDSTONE...

3. QUAKER GREY...


The officer in blue shown above is a good representation of me at this point -- pondering how best to paint the WOOD BRACING holding back the earth packed against the walls...

4. SANDSTONE...


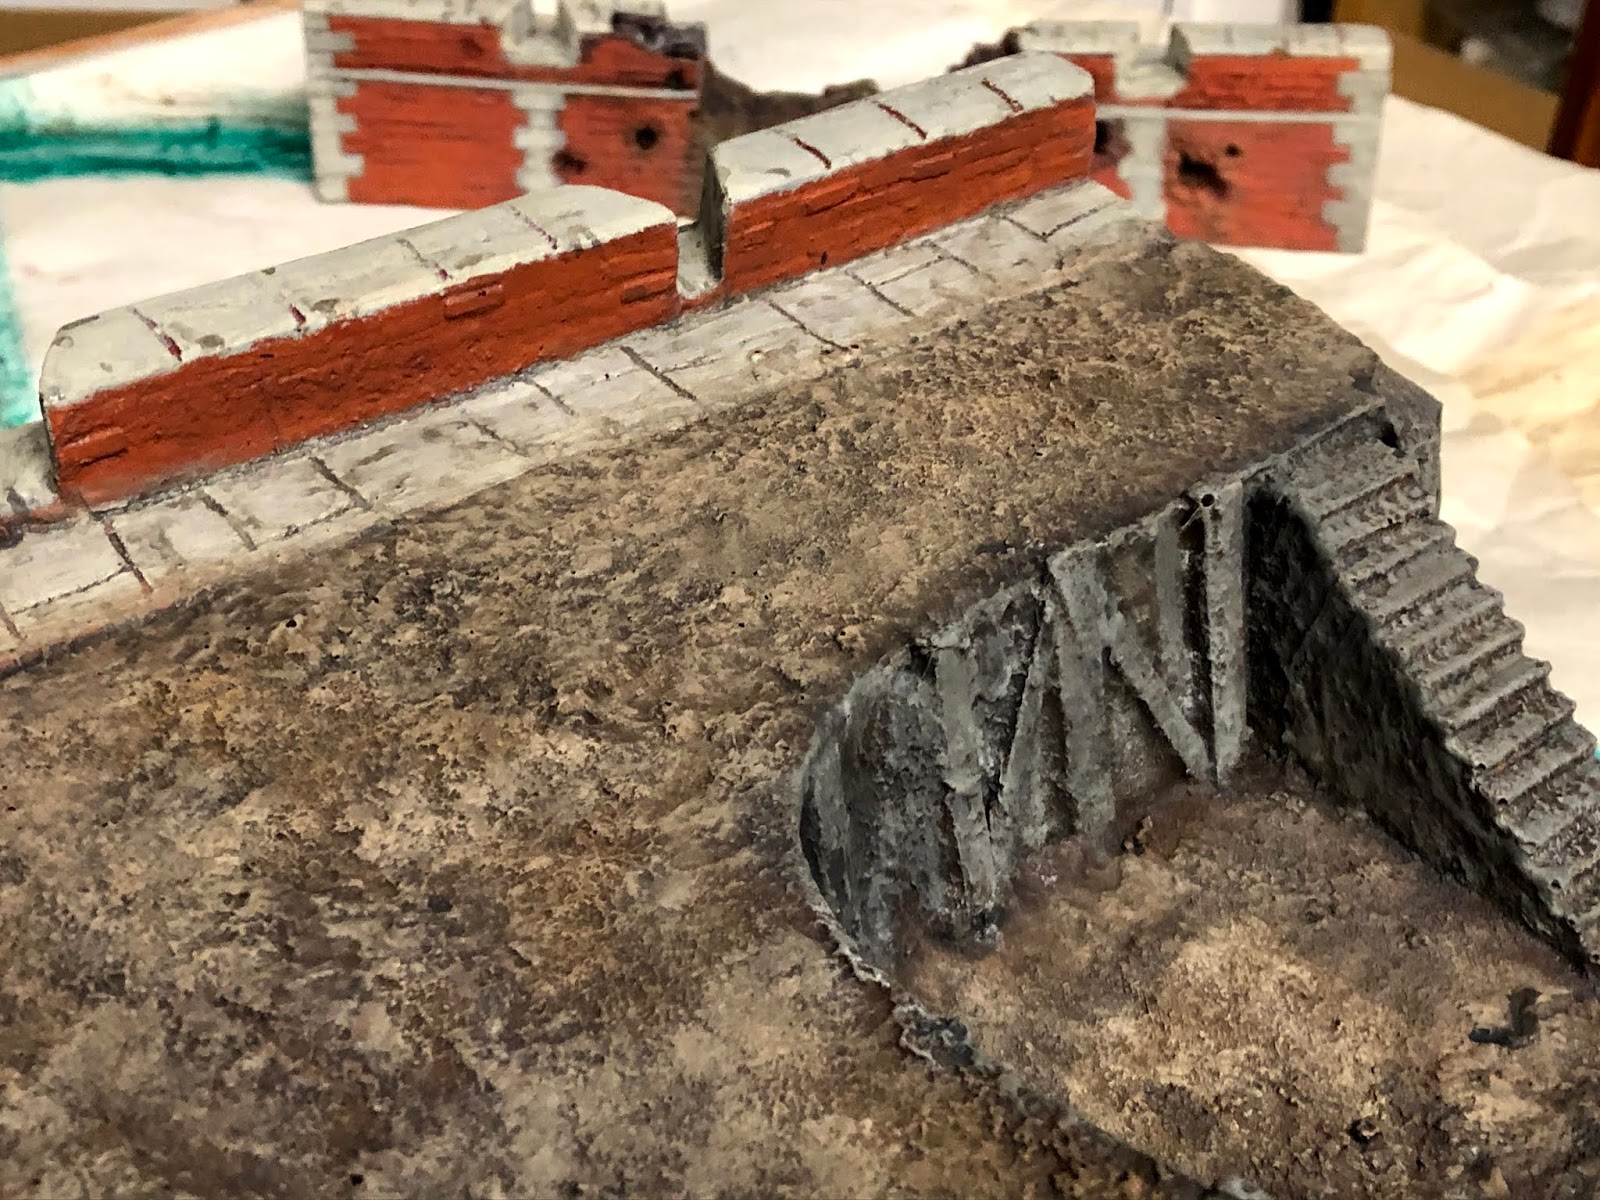
24. RAVELIN EARTHWORK & WOOD BRACES PAINTED,
WORK CONTINUES ON THE BREACHED WALL...
WORK CONTINUES ON THE BREACHED WALL...

The brown in view below dates back to the SPRAY PAINT primer/base coat...

Following the same approach I used on the earthen ramps, I did a solid coat of my darkest shade of brown: Delta Ceramcoat WALNUT...


At this pointy friend asked me for some dimensions so he could start prepping to base the figures he'll be using to garrison the Vauban. I set up some figures, wrote some labels, took some pics and sent them to him. I'm posting them here, since they may be of interest to some visitors:


Following the dark WALNUT BROWN, I hit the dirt with the same shades I used on the ramps, going from darker to lighter, and using the same BLOTCHY approach I'd used on the ramp, in an effort to blend the different colors together as naturally as possible:
2. Craft Smart BROWN
3. FolkArt HONEYCOMB
4. Apple Barrel COUNTRY TAN


5. And finally a very light dry-brush of SANDSTONE...


For the WOOD BRACES, after first giving them a coat of Folk Art's dark & slightly red-tinted VAN DYKE BROWN...

I went for a decidedly GREY effect.
First I picked out all the timbers with a solid coat of Craft Smart DARK GREY, followed by a very light dry-brush of Delta QUAKER GREY...


TWIN WEATHERING WASHES FOR THE RAVELIN:
A darker one with only black & tan for the earthwork...

...and a lighter one with black, Hippo Grey and tan for the rest:


Wow! It looked so nice a blue sky appeared in
my office & some fluffy white clouds floated by...


Only one task remained:
The still-perplexing BREACHED WALL SECTION.
I tried a number of different paint schemes...


...but I wasn't happy with any of them.
But do not fret, good reader, it all works out in the end.
Tune in next time for "Painting Vauban, Chapter VII" -- wherein the BREACH DILEMMA is finally solved, everything gets SPRAY SEALED, and some nice scenic views are had!*
The time has come, here's a LINK to the CONCLUDING CHAPTER VII of "Painting an Ian Weekley Vauban Fort":
*Although at least one more Vauban themed blog-post will follow, filled solely with postcard shots of the fortress together with troops & other terrain, the upcoming Chapter VII will be the official end of my description of the painting process.