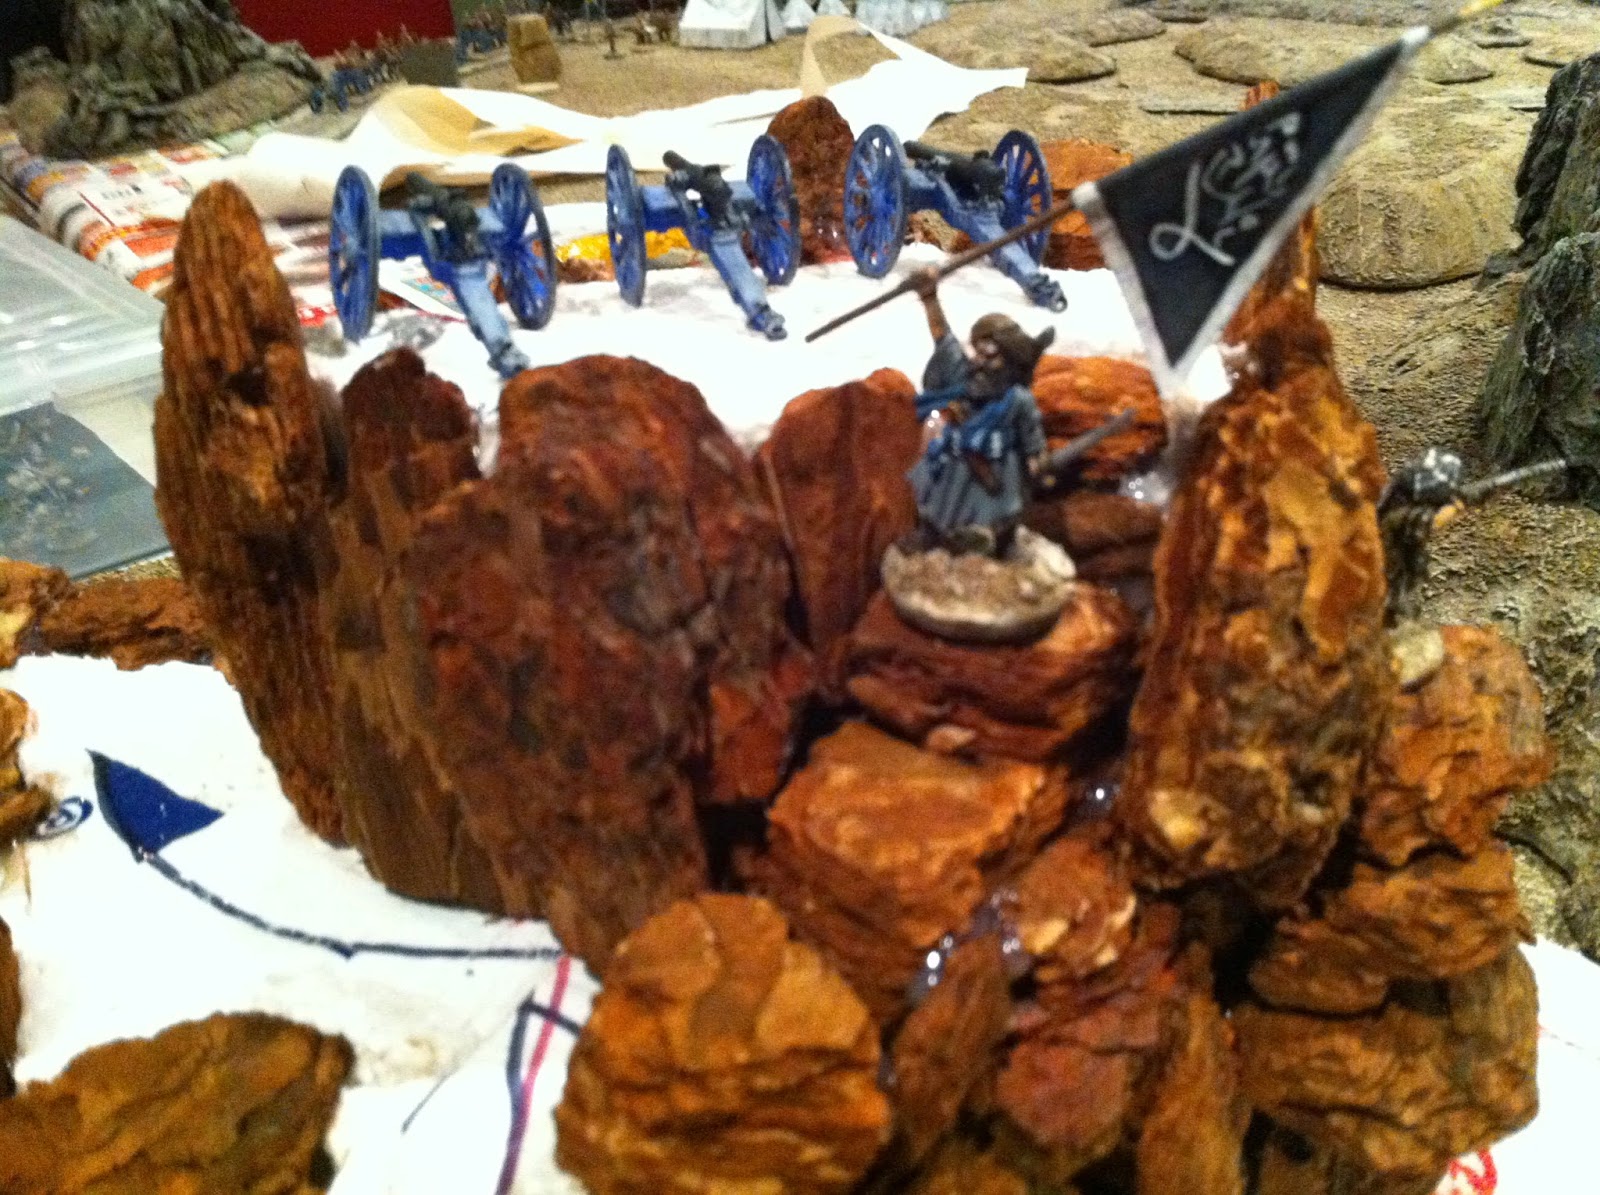
Above is a pic of Lt. Colonel James Galbraith, Regimental Colour in hand, alongside Bobbie the regimental dog and some of the other "Last Eleven" survivors of the 66th (Berkshire) Regiment, making their last stand in one of the walled gardens just South of Khig village, a few miles West of the Afghan town of Maiwand.

Saturday, May 10, 2014

Verdant fields of the Logar Valley - via latex caulk & scenic flock

Though Afghanistan is known for being filled with arid and mountainous terrain, many of its valleys are incredibly green and fertile.  Here's a good example:


The October 6th 1879 battle of Charasiab, was fought over arid foothills and rocky heights, but also over a good deal of green farmland.

After using Google Earth to study the Charasiab battlefield for some time, I realized much of it was -- and still is -- covered with this type of terrain:


...and an even closer view:


The same thing is gleaned from reading contemporary accounts of the battle.  In General Roberts autobiography, he describes it thus:

"...In front of this formidable position were a succession of sandy hills, forming a series of easily defensible posts, and at the foot of these hills ran a bare stony belt, sloping down to the cultivated land surrounding Charasia and the hamlet of Khairabad. "

(selection highlighted by me)

As seen here, the one contemporary illustration of the battle which I'm aware of, when tinted with color, has its share of GREEN FIELDS surrounding Charasiab village, just as described by General Roberts...


My Maiwand Day terrain boards were built to recreate a battle fought on July 27th, 1880, at the height of the Summer, during an especially dry season.  The only green on that battlefield was the handful of trees lining the dusty road connecting the twin villages of Mahmundabad and Khig, and the scrub brush scattered across the Maiwand Plain.

So, if I was going to make my table resemble Charasiab battlefield, I needed to add some farmland.  As visible in both period illustrations and the satellite view courtesy of Google Earth, the arable land in this area is divided up into many, many small holdings.

This raised several questions/issues... in reality each field is surrounded by a wall of stone and/or mud-brick.  Should I recreate those?

None of the contemporary histories of the battle that I've read make any mention of Anglo-Indian forces having difficulty traversing the walls or irrigation ditches which lined the fields, so I decided to leave the property line "dividers" out.  But I still wanted the fields themselves.  They were there, and still are there, so in order for the miniature battlefield to accurately resemble the real one, it needs to have them. I could potentially treat movement across them as open terrain, or assess a slight penalty, or even treat them as rough terrain.  My guess is I will have them assess a slight movement penalty.  In TSATF or 800 Fighting Englishmen, perhaps DROP THE LOW DIE FROM MOVEMENT ROLL.  Doing this will also give more than aesthetic purpose to the roads that wind their way through the crop-fields.

Virtually every valley in Afghanistan sports green crops, so once I'm done with these fields for Charasiab, they should prove useful for many more scenarios.

My requirements for these fields included:

1)  Look pretty good.  

Doesn't mean "museum quality" or even "diorama quality" but it means anyone glancing at the table should instantly know what the model terrain represents, and that is at least equal in quality to those elements of the table that already exist.  I don't want this new stuff to bring my table down, so to speak.

2) Be very playable.

Looking good counts for nothing if single-based figures (as per classic TSATF rules) are unable to traverse the terrain in question.  Although you might not know it from reading this blog over the past couple of years, I build stuff to play games on, not just to look at!

3) Be resilient.

This goes hand-in-hand with number 2 above.  If the terrain can't stand up to being used -- and occassionally abused -- by a variety of players, than it's not worth building.

When I started thinking over how best to build these crop-fields, I was already in the midst of building the road network for the Charasiab layout.  I did some tests and ended up using white latex caulk.  But my first test was with BROWN latex caulk.  I decided to try using my remaining brown latex to make the base of a CROP FIELD, which I would then glue lines of scenic flock to in order to create rows of crops.  Most of us have seen this done many times using corrugated paper or hardboard or similar baseboard materials.  The problem with corrugated paper is that in my experience single-based figures don't stand up on it very well, and because it's so light, fields made from it can easily slip and slide and shift around on the tabletop while playing a game.  Hardboard bases might have worked, but they would have been thicker, and I would have had to do a lot of sawing, even if I'd made just a few much larger base boards and then turned them into a dozen or more different fields all based together.

My prototype field turned out pretty well, so I made some more.  This morning I dusted off the excess flock from the 5th and 6th fields I've built, laid them all out and took some pics.  I think 6 is just enough to get an impression of what 16, or 60, or however many I will have to make in order to cover the approrpiate areas on the table, will look.  I think they turned out okay.  Not brilliant, but solid enough to cover my three requirements of "not bringing down the quality of the table," being "easy to play on," and "standing up to wear-&-tear."

Usually I wait until I'm all done with a terrain project to post about it, and then include a ton of WIP "how to" pics.  I will post the WIP process pics for these when they're ALL done (who knows when that will be, as I still have A TON MORE to build!), but for now I just wanted to show how they turned out...

But before I get to the pics, I will tell you the VERY SIMPLE manner in which I built them, in case anyone wants to try...

(1)  squeeze out enough brown latex caulk onto a clear plastic surface (I used old plastic bags from the Dry-Cleaner, taped tightly over a piece of Masonite/MDF) to cover a 6"x6" or 8" by 4" or whatever size field you want to make;

(2)  smooth the caulk out, then use a hobby tool or popsicle stick or BBQ matchstick or similar to etch in some crop-crows (though you could easily just smooth the surface flat and use the scenic flock alone to create the crop-rows in the next and final step);

(3)  wait a couple of days for the latex field to dry, carefully peel it off the clear plastic, lay down some some parallel beads of white glue on its surface, cover with scenic flock or static grass or turf -- I've been making fields using each of those -- let dry overnight, recover excess flock, and your crops should be ready for harvest.

Here's a few pics of the first 6 finished products...


And finally, single-based figures standing, no problem...


...and a couple more bucolic farming shots for good measure:


5-12-14:  Just discovered a couple more nice pics, posting them for good measure...


Monday, May 5, 2014

Gallery of Afghan photos by Steve McCurry

A friend of mine was kind and thoughtful enough to sent me this photo, which kind of blew my mind, as it was taken in 1984, as opposed to 1919 or even 1897 and then tinted with color...


I wrote back to thank my friend and ask where the photo came from, and it was taken by one of the world's leading photographers, Steve McCurry.

Though you may not know his name, chances are you have seen his work over the past 30 years, including his iconic photo of an Afghan girl which graced the cover of National Geographic in 1985.  There's a new exhibit of his Afghan photos, taken from the late Seventies until now, at the Beetles + Huxley Gallery in London, from May 12th to June 7th.

Unfortunately I won't be in London, or even the UK, at that time, but thanks to the magic of the "inter-web" I was still able to enjoy seeing a handful of the photos, and now so can you.

Enjoy...


Monday, April 21, 2014

Fullblown Charasiab layout (kinda...)

This past weekend my 14 year-old daughter surprised me by asking to set the wargames table up with a large Medieval battle, for her to shoot video of for a class project.  The table was already covered with my not-quite-finished Charasiab layout, with various interim "scratch" terrain pieces filling in until I manage to finish the final versions, including half the ROAD network that crisscrosses the tabletop, two of the three villages (I used some of my nice Mexican buildings as placeholders for them) as well as the pair of rivers along the East and West edges of the table.

While digging out a stack of dusty boxes full of Medieval troops (It's been four years since I set up and played a Medieval game!), I came across something else in my storage closet which I had forgotten about: a box of DESERT ROADS built to use with my old Afghan ground-cover before I built my Maiwand terrain-boards.

The roads are all one inch wider than the ones I'm in the midst of making from latex caulk, but they match the latex roads much better than the paper templates that were in place, so... I swapped out the paper for my old desert roads, which there were just barely enough of to go around.

After my daughter was done shooting her epic Medieval conflagration, and the troops, siege equipment and rather impressive castle were all packed back away (Hopefully they'll come out again to be part of a game in the not too distant future!) I realized... there it was: MY CHARASIAB LAYOUT, virtually complete!

So I asked that same daughter to use the camera in her phone -- which is better than mine -- to take some pics...

View from the South...


View from the North...


And finally, thanks to inspiration and instructions from my friend and  fellow wargamer Dan Gurule, AKA: "Last Stand" Dan, who I met at the 2011 Colonial Barracks convention in New Orleans -- and with some vital assistance from the same 14 year-old daughter of mine, who is our family computer graphics expert -- I did my first ever "Annotated" iPhoto pic, showing the Charasiab battlefield, which I must say I'm kinda' excited about and think turned out rather nicely, and also bodes well for things to come:


Sunday, April 20, 2014

Building the last rocky wood-chip hill - blow-by-blow...

As promised I'm back again, to deliver a detailed Work-In-Progress photo array showing how I built the last rocky wood-chip hill for my Charasiab layout...

1. Draw the outline of your hill on the styrofoam board.  This particular hill was 1.5" thick, but most of my hills were built using 1" thick styrofoam.  This one was 1.5" so it would fit better next to the big center hill at the North edge of my Battle of Charasiab terrain layout.  In the pic below you can almost make out that the screen of my laptop is filled with the Google Earth view of the actual hills, which I used as a guide and tried to match as closely as possible...


2. Cut the hill's footprint out, using a bread knife from the kitchen...


Check how it fits into the layout...


...cool, it fits pretty well.


3. Draw another outline, 2" in from the edge, which will be the top the base contour...


4. Cut the slope...


Check that it fits again...


5. Trace around base of your foam base onto a piece of 1/4" Masonite...


6. Draw second outline about 1/4" outside the first line, so there will be enough room to slope the edge of the Masonite baseboard...


7. Cut along the outer line with a coping saw (or electric jigsaw if you have one!)...


Check the fit again, with newly-cut baseboard and the styrofoam contour...


8. Cut the space between the outer edge and the inner line on the Masonite baseboard into a slope and "rough it up".  I use a small backsaw, which is good for keeping its blade edge straight while cutting at odd angles...


9. Use your creative judgement to mark a few spots along the slope to cut out, so the rocky cliffs (wood-chips) will run smack down to the base of the hill...


...and cut them out with the bread knife...


10. Glue the styrofoam contour down to the baseboard...


You can use liquid nails, or white glue (PVA), but for a while now I've been using RUBBER CEMENT with excellent results...


Brush it on evenly across the entire underside of the foam, making sure to cover all the edges, then set it down in place atop the Masonite baseboard...


...then WEIGH IT DOWN onto the boaseboard and/or CLAMP them together...


...and the next day it should be rock solid, like this:


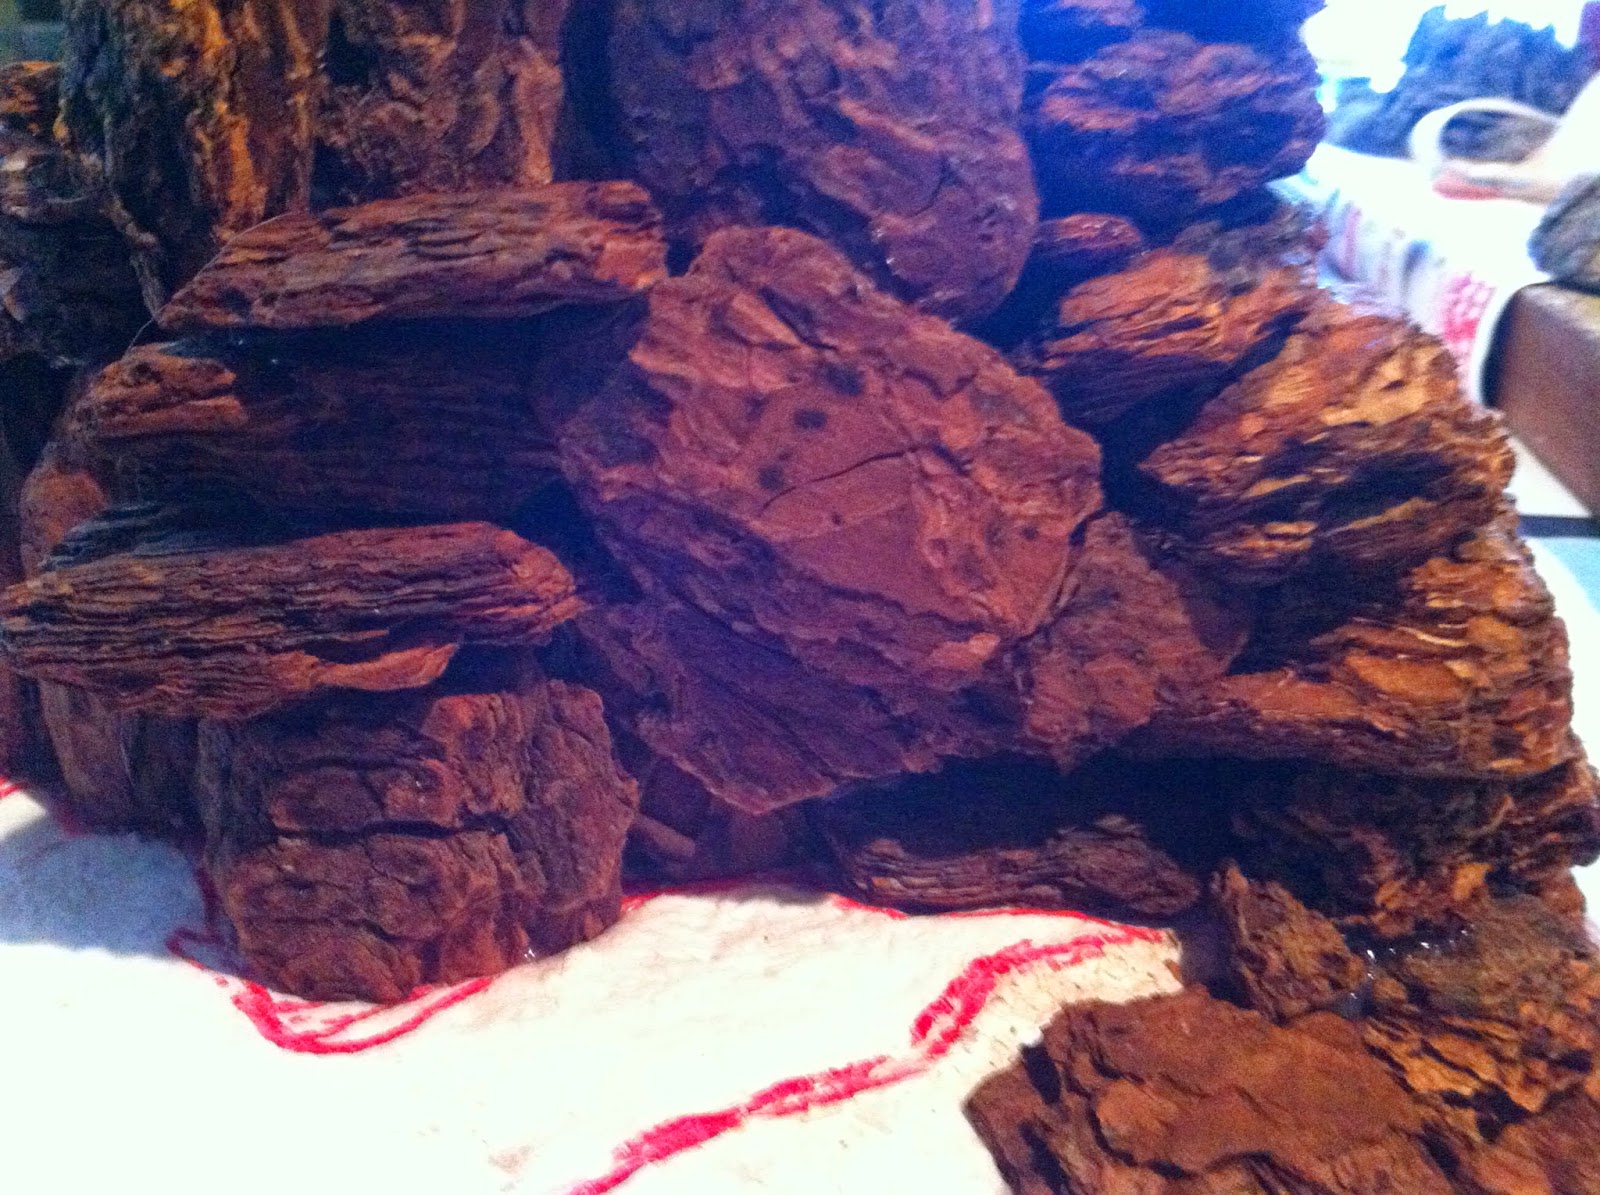
11. Now comes the labor-intensive part: start choosing WOOD-CHIPS to HOT-GLUE into place, to create miniature versions of rocky hillsides and cliffs, using a Hot Glue Gun, like this...


Start by filling in the spaces you cut out where the rocks will descend all the way down to the base...


Building "pancake" stacks is easy, and can look very good...


The bigger challenge is finding pieces that work VERTICALLY, standing up side-by-side, like the ones on the upper right of this pic...


...and in the middle of this one:


Here's two "pancake" stacks with a line of "verticals" between them


You can also stack them vertically, like here:


Once you've got a deccent length of woodchips hot-glued to the foam base and each other, you need to fill in the space behind them with MORE STYROFOAM, cut to size and hot-glued into place...


Keep some figures around to check if horizontal surfaces are LEVEL enough for them to stand on...


(...and also to keep your hobbyist morale up!)


Here's a spot where I decided to make a sheer cliff from the base to the summit of the second contour...


...and here's where I started arranging some wood-chips into rocky "steps" leading from the base contour to the second contour...


Here you can see the steps coming together pretty well...


Alongside the steps here's a nice run of "vertical" -- standing -- wood-chips, arranged side-by-side...


After finishing the first "rocky" contour, I put the hill back into place on my table, to see how the rock formations fit with the other hills already in place...


...then it's time to start adding the second rocky contour, built the same way.

It's important to leave enough clear space atop each contour for at least a single base-width and depth worth of your figures to stand...


...and when that's done, it's time to check how it fits with the nearby hills again...


Looks pretty good...


At this stage up close there will be A LOT OF LITTLE GAPS and some not-so-little spaces between some of the wood-chips, which is NO PROBLEM!  We will be filling most of them with WOOD FILLER, but first some of the larger ones can be filled with smaller wood-chips, or pieces you cut or break off from them to fill a specific gap, like these...


This is a good time to survey the hill and see if there's anyplace you might want to add a wood-chip here or there, for pure visual effect,  to make the imitation "rock formations" look more real.

Here's some examples on this hill...


Back in position to check how it fits in place on the tabletop before moving on to the next step...


Looks pretty good, but I still needed another morale boost to keep me going...


"I see the British and their Hindoo lackeys coming from over there!"

"Nonsense -- I see them coming from over here!"


Here I'm checking to make sure there's enough room atop this hill for a battery of artillery the Afghan's placed there during the Battle of Charasiab...


Whew!!!  Room enough for the guns.  Good news for historical accuracy, bad news for the British.


A nice firing platform.  It's good to build in some of these...


The rocky stariway filled with tribesmen "crowning the heights"...


Sniper's perch, c.1880...


Here's a spot that needed extra attention after I was done building the hill.  I filled in a large gap between wood-chips with... another wood-chip:


Had to do the same thing here...


The objective is to make it look as natural as possible, albeit in a highly stylized way of course!


And finally we move onto the next step...

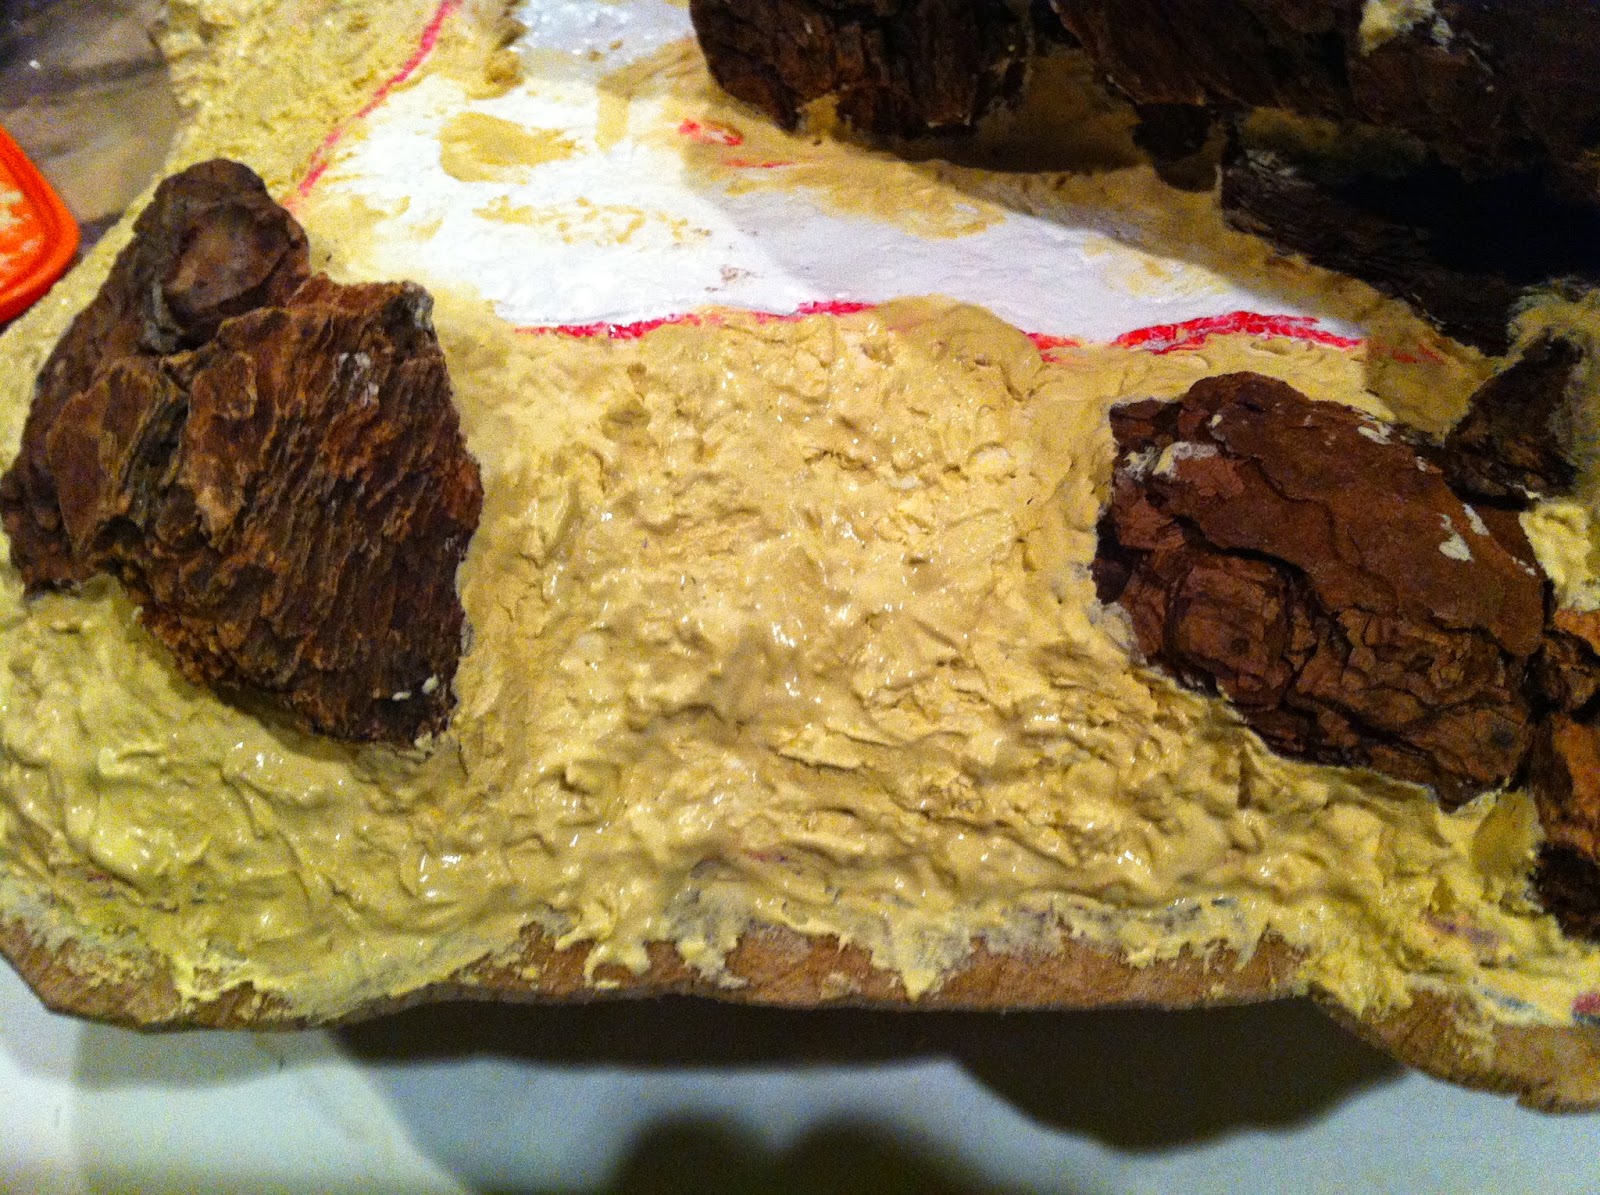
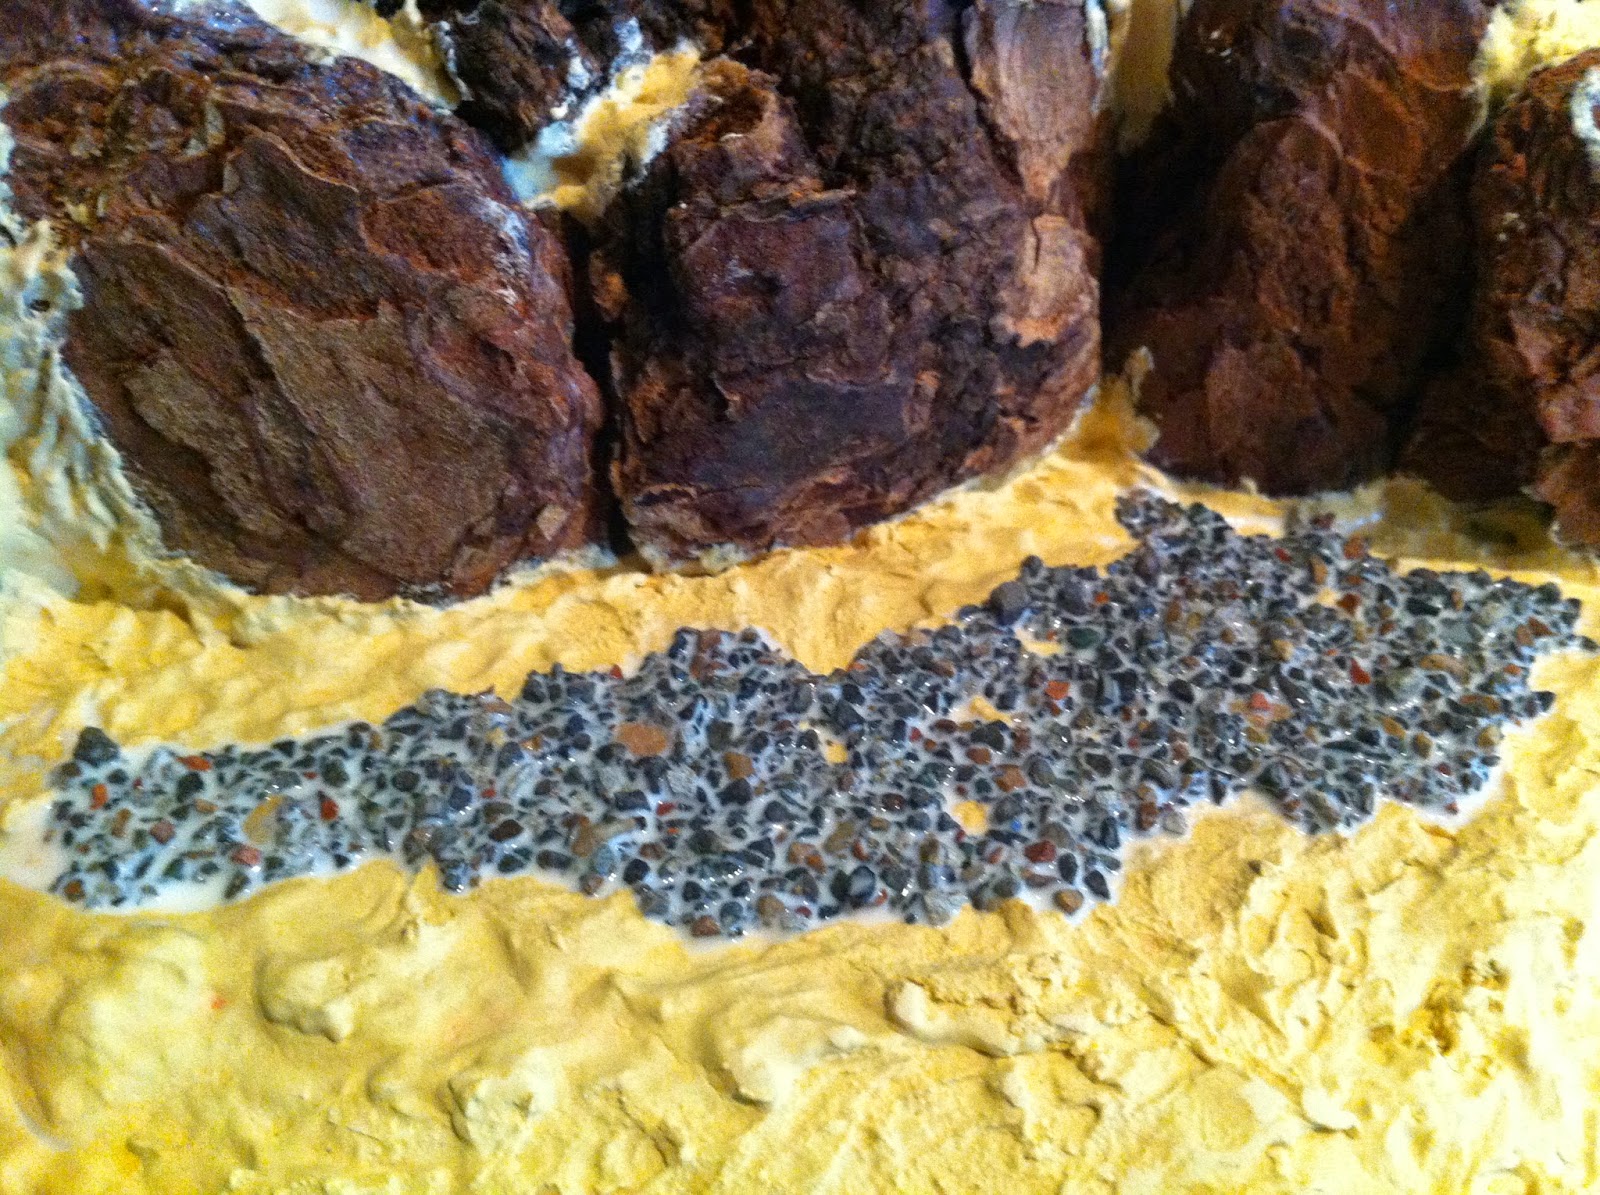
12. The puttying -- using Elmers Wood Filler to "fill in" gaps between the wood-chips.

NOTE: you DON'T HAVE TO FILL IN EVERY GAP!!!

In fact, it's better not to, because most of the smaller gaps look awesome, and just add to the sense of depth and realism of the rocky finish, by giving the impression that you could slip down in between the  crags and disappear.  But... others don't look so good, especially the ones where you can see bits of white STYROFOAM or small translucent globs of dry HOT-GLUE.

Also, by applying WOOD FILLER, we are greatly STRENGTHENING the overall structural integrity of our terrain piece, which I'm sure we can all agree is always a good thing for models that will end up being handled by gamers...


A nice "pancake" style cliff-face...


How it might have looked around 1880...


And back to the modern work-bench...


72nd Duke of Albany's Highlanders called in for morale-boosting duty...


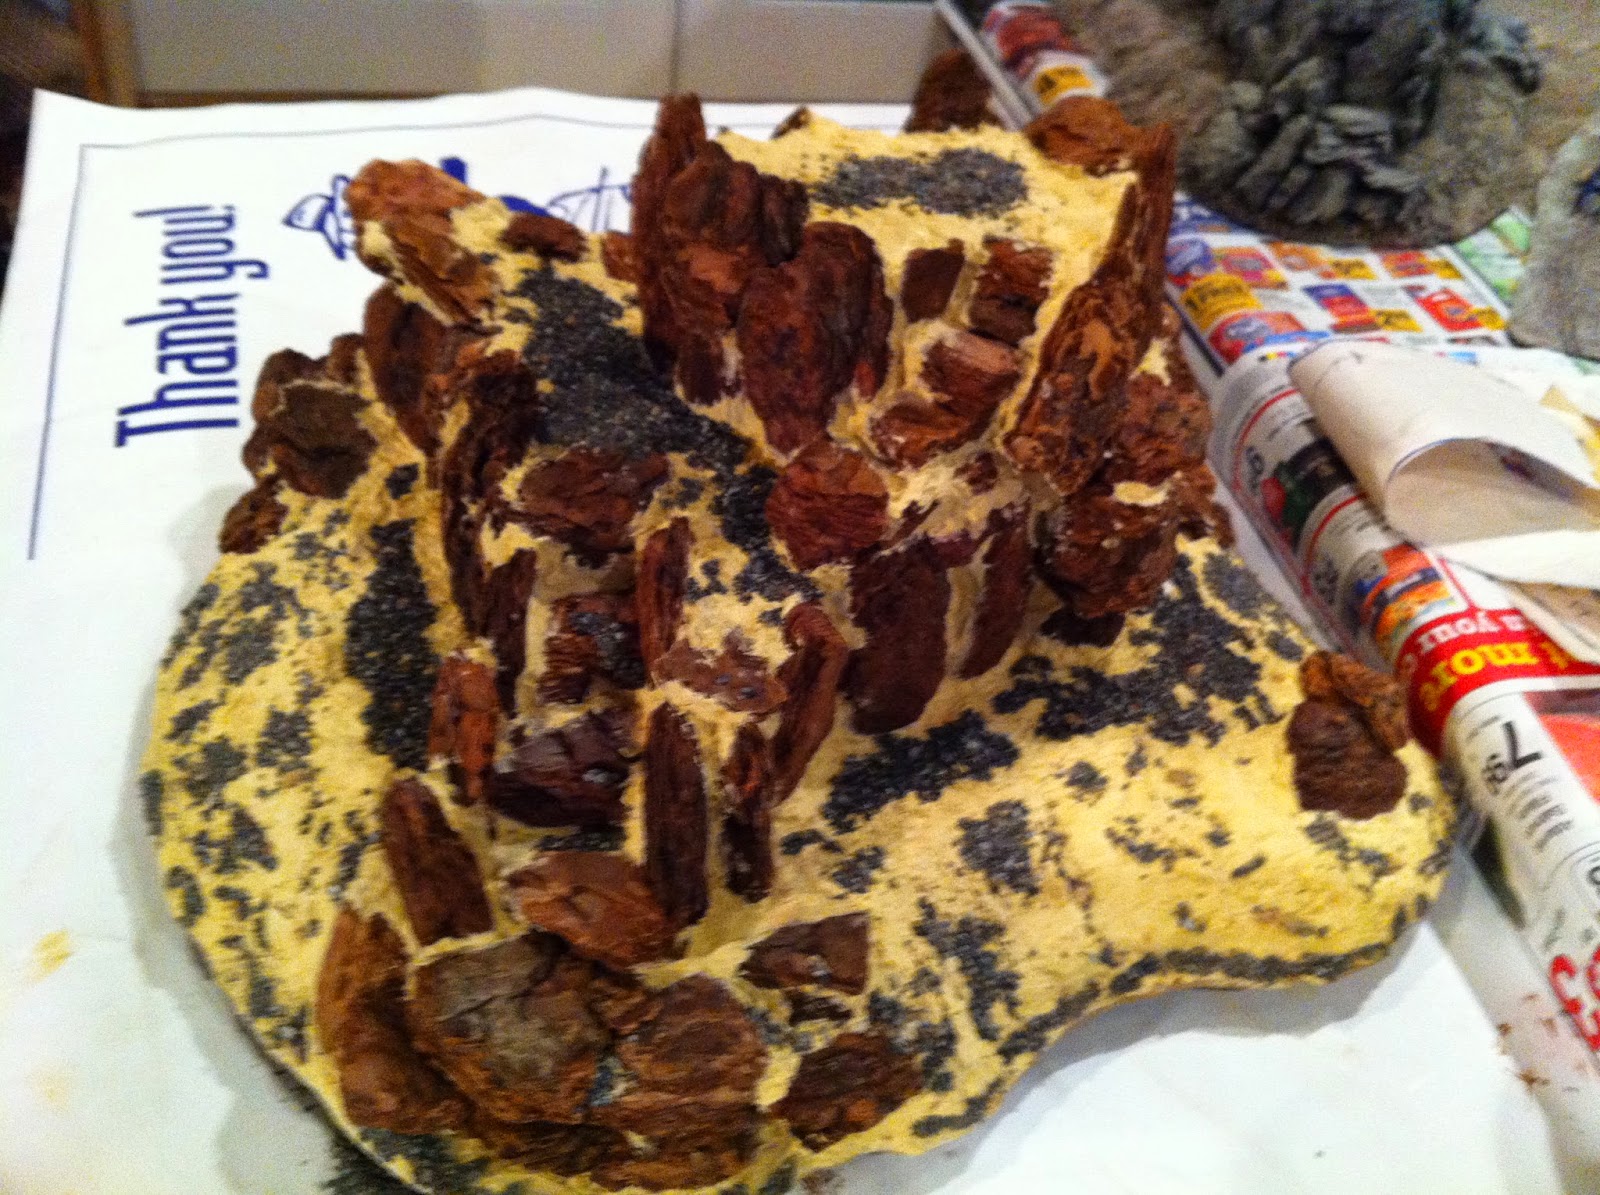
Using wood filler to connect the wood-chips is complete, as seen here...


Which means it's time to load on more wood filler, this time over the EXPOSED STYROFOAM of the base contour SLOPE.

This serves the dual functions of adding a nice roughly natural TEXTURE, while coating the exposed foam for protection...


WHEW!!!  Another big labor-intensive step completed.  Which leads us to...

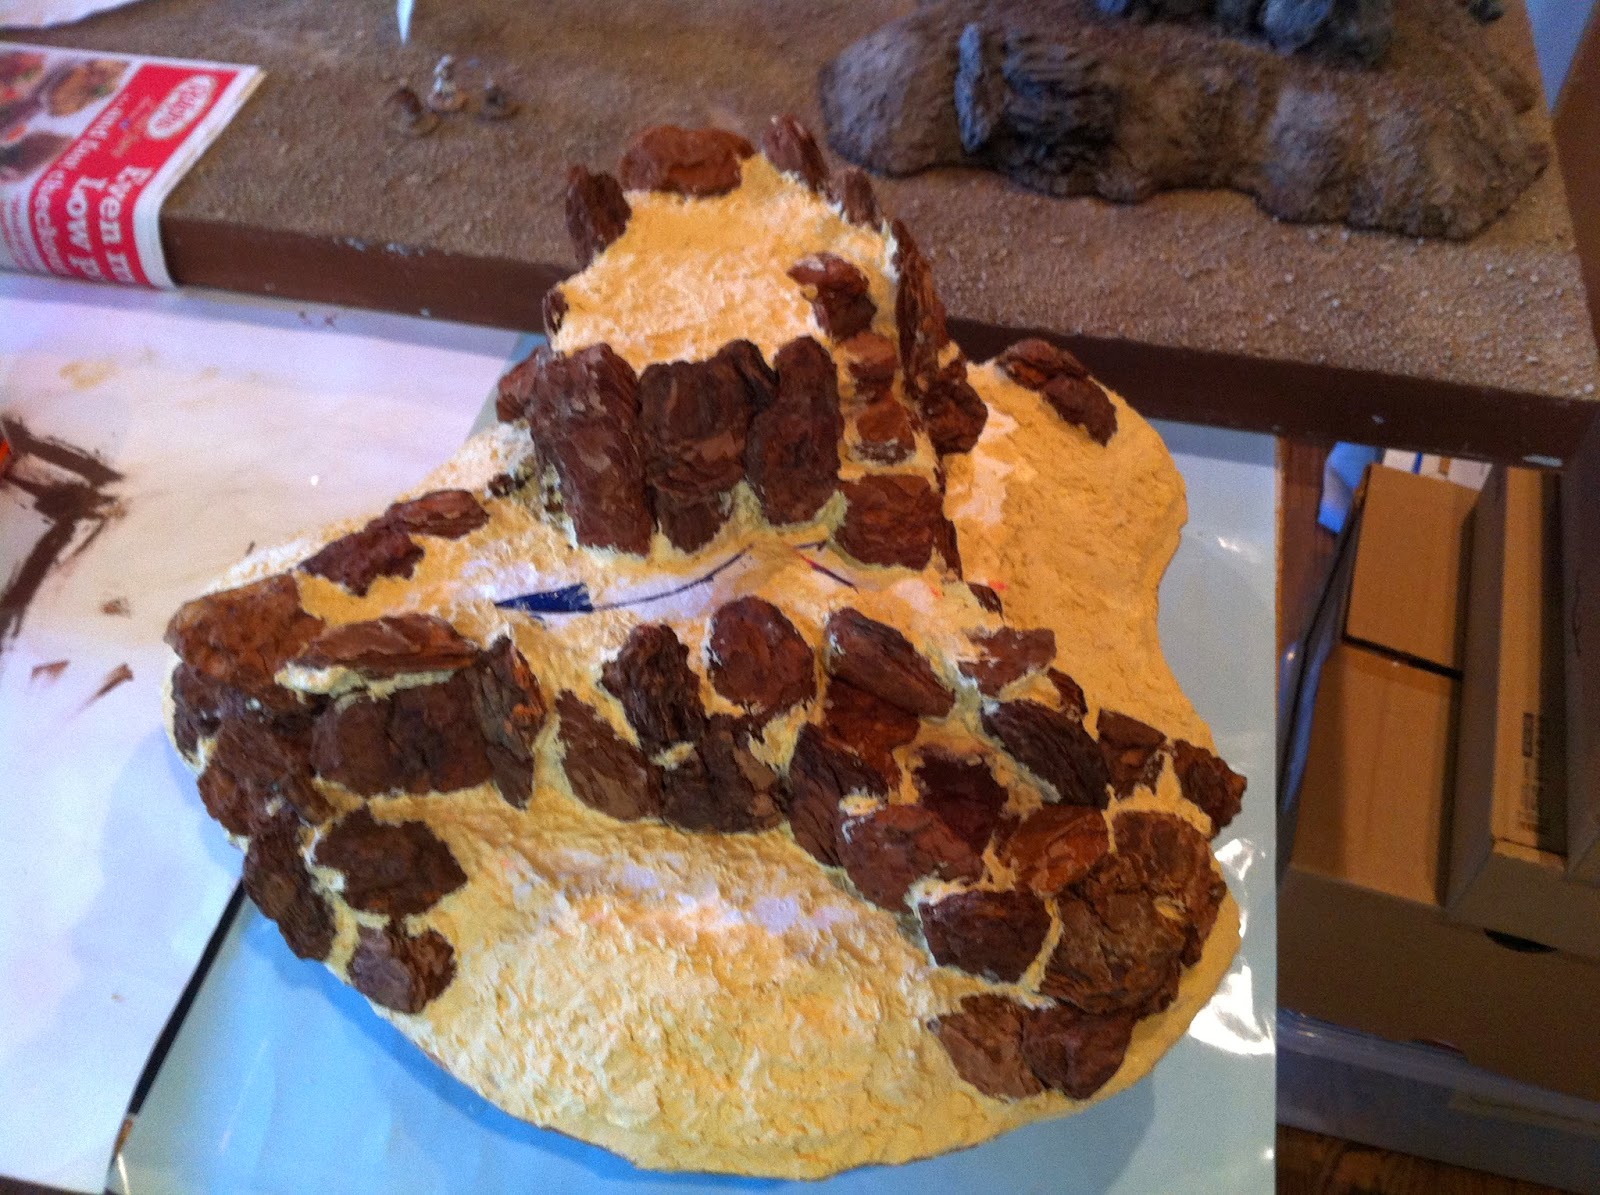
13. Time to add sand and pebbles to the areas not filled with rocky wood-chips.  This really helps blend the hill in with my ground cover, which was made using the exact same sand and pebble materials.

I pour/brush on full strength WHITE GLUE (PVA) onto an area, strategically place a handful of larger PEBBLES, then cover the rest of the area with sand.

NOTE: my sand is not really sand, it's a material I bought at my local Home Depot called "SOIL EROSION", which is a mixed bag of ballast for use filling sandbags to prevent mudslides here in Southern California.  I prefer it to builders sand or playground sand, since it is a rougher mix with a lot of different sizes of grains included, which I think lends itself to my Afghan setting better than a zillion grains of perfectly uniform sand, which to me would look more like the Sahara Desert.


14. And now, the LAST AND FINAL STEP of building this terrain piece: one more layer of glue to help all the sand and pebbles stick to the surface of the hill.

I use Woodland Scenics "Scenic Cement" -- which as is often pointed out by terrain builder online is nothing other than watered-down white glue, but I don't mind paying a little more to avoid having to mix my own white glue and water.


I apply it using an eyedropper...


14. BREATHE A SIGH OF RELIEF, because we are DONE!!!

Well, except for the painting, but I will save that for the next post, except to say that it's MUCH EASIER AND MUCH FASTER than this part, so for me it's always something to look forward to...

Here's a teaser of what it ends up looking like:

(Of course, anyone who's been reading this blog already saw more pics of the finished product in my previous post, but as the saying goes, too much of a good thing never hurt!)