
Before returning to the battle report I will explain the two Scenario Special Rules I used for this game:
(1) Because all AAR's of the battle of Kam Dakka mention that when the relief force arrived the 2 companies of the Mhairwara Battalion were literally down to their last few rounds of ammunition and Captain Creagh had ordered them to prepare for a bayonet charge out of their defensive position in the cemetery, I felt I should incorporate the element of LIMITED AMMUNITION into the scenario.
Many The Sword And the Flame players will recognize this element as the first of several "Supplementary Ideas" included in the original rule-book, as well as the 20th Anniversary Edition. Overall I'd say I've seen it used in maybe five to ten percent of the many TSATF games I've played in over the decades. I've rarely use it for games I GM myself, mostly for the defenders in games involving attacks on forts or other isolated outposts. Of course this scenario is close to that, with the Brits holed-up behind the stone walls of Kam Dakka cemetery. So I decided to use the TSATF Limited Ammo rules -- but only for the Mhairwaras, not the attacking Mohmands or the British RELIEF FORCE(s) -- which brings me to the other Scenario Special Rule...
(2) THE RELIEF FORCE(S) which were dispatched almost instantly after receiving news -- via the Sepoy Creagh sent to Dakka Fort -- that the Kam Dakka detachment was under attack. How many troops would be involved on the table and how to determine exactly when and from what source they would arrive?
After receiving Creagh's request for help, the commander at Dakka Fort, Lt. Colonel Barnes, telegraphed it to General Maude at Landi Kotal and the commander there, General Maude, directed him to immediately send a combined force of infantry and cavalry to relieve Kam Dakka. At the same time General Maude sent a force of infantry and artillery from his own post at Landi Kotal. So there were 2 relief forces, one originating 7 miles to the West and the other 14 miles to the East. The infantry & cavalry from Dakka arrived first, much closer to the action, so close they got engaged by fire almost immediately. Meanwhile the infantry & mountain guns from Landi Kotal, despite having to travel twice as far, arrived just a little later, in time to open fire on the Mohmands who had begun retreating North across the Kabul river. General Maude also sent a third relief force from another location to the South, but they didn't reach Kam Dakka until the day after the battle had ended.

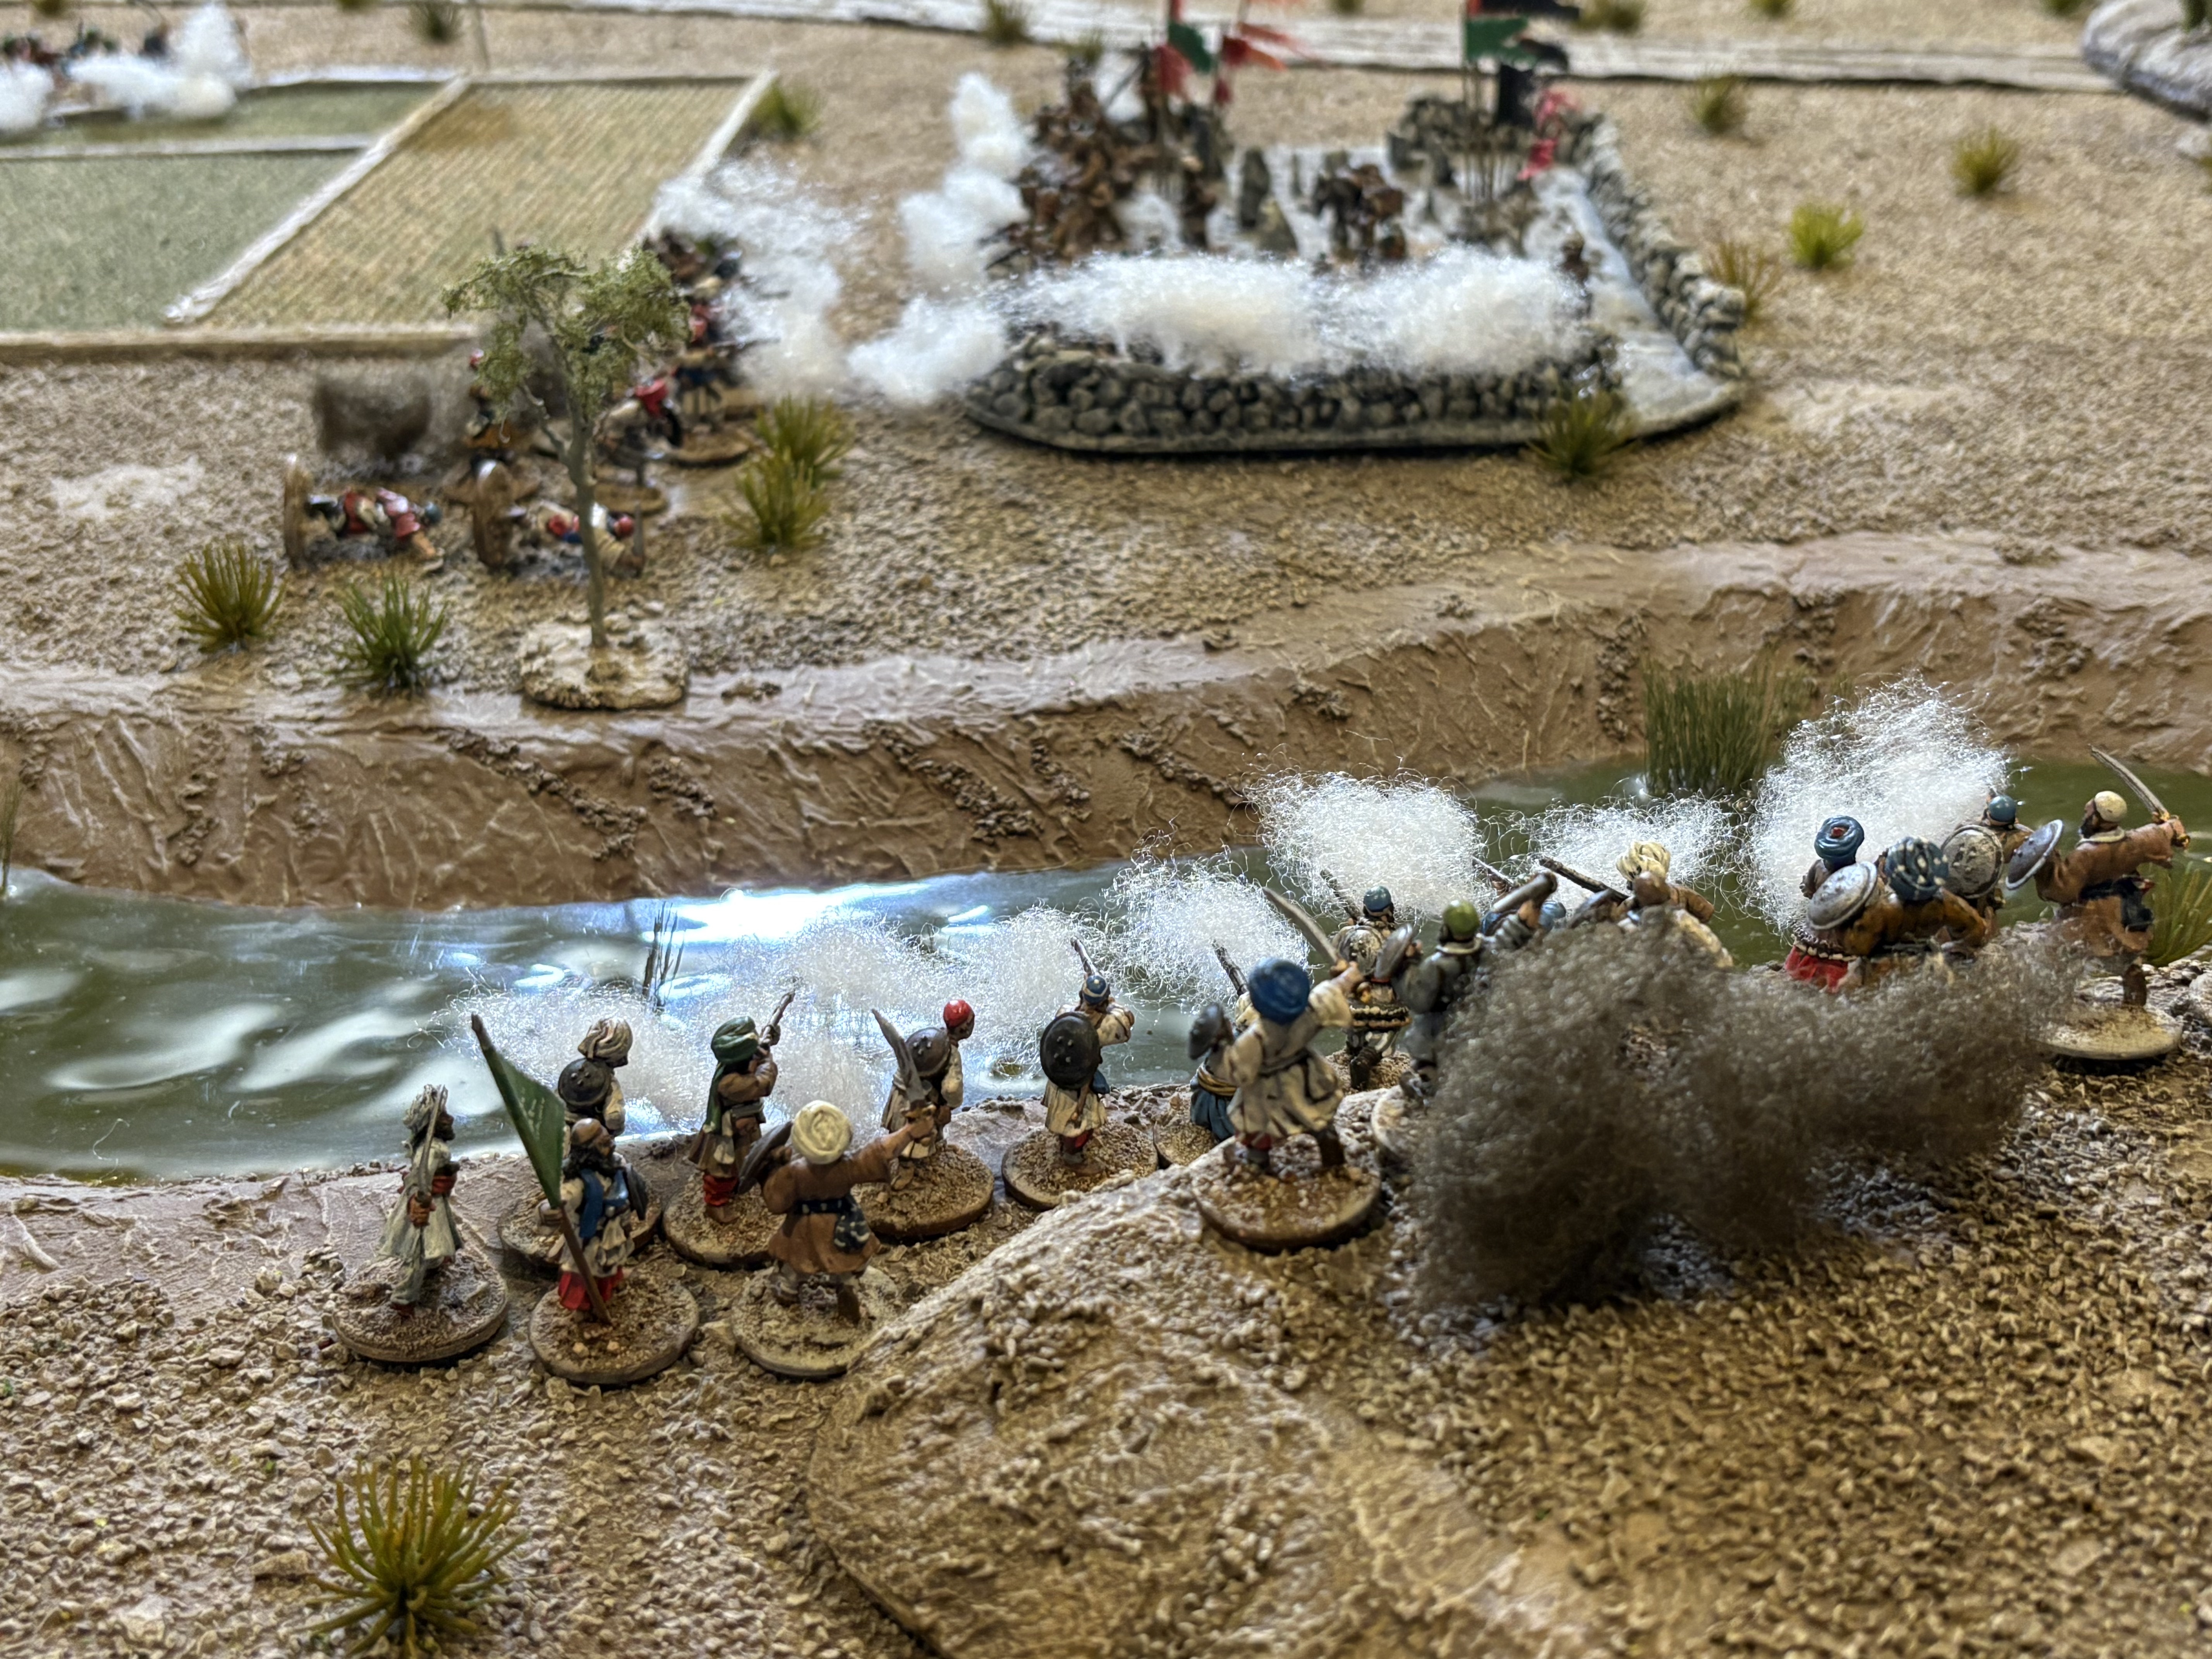
ABOVE: Mullah Khalil beseeches the fates: "God who made the lion & the lamb -- would it spoil some great eternal plan... if there was only ONE British Relief Column?!?!?!
I decided the Dakka Fort Relief Force would be:
1 x BENGAL LANCER UNIT (12 figs)
1 x BRITISH INF. UNIT (20 figs)
...and that the Landi Kotal Relief Force:
1 x BRITISH INF. UNIT (20 FIGS)
1 SCREW-GUN BATTERY -- but the battery would have just 2 guns each with 4 crew, instead of the standard TSATF 3 guns, which I felt would through the game balance off too far -- well... if in fact they were able to arrive before the Mohmands wiped out the Mhairwaras!
I used the TSATF limited ammunition rules to determine how many turns worth of ammo the troops defending the cemetery would have with them. They rolled 2 D6 and got the somewhat low total of 4. Then they rolled another 2 D6 for their ammunition mule & got the slightly better total of 5. So a GRAND TOTAL of 9 turns of ammo. Not terribly low but not enough for the British to relax either.
Knowing the British defenders would run out of ammo on Turn 9, combined with the rule-of-thumb that One Game Turn on the table equates to One Hour of real time on the battlefield, made me decide to start giving the British a chance for their relief to arrive on...
TURN 7.
At that point the Kam Dakka Detachment would be down to its last 2 rounds of ammunition and in truly dire need of relief, but... there would be no guarantee it would actually show up on Turn 7, only the guarantee of the chance it could.
I came up with a very simple method to determine when and if Relief arrived: starting at the end of the Movement Phase of TURN 7 I'd cut the card deck once for the British and once for the Afghans. If the British got the higher card, the first Relief force would arrive at Kam Dakka Pass, close to the cemetery where all the action was. If the Afghans got the high card, they wouldn't arrive & then we'd do it again the next turn. And the chances would stay fifty-fifty each turn. The reason I decided to wait until after all units of both sides had moved before cutting the cards was I did not want either side to know the relief force would be arriving that turn while they were choosing how to move their units.
I also decided that when and if the British got the high card, not only would the Cavalry & Infantry from Dakka arrive from the West but the Infantry & Artillery would arrive simultaneously from the East. I knew it would take the relief forces from the East at least one or two turns of movement before they could have any impact on the game, so I felt this was the simplest and best way to proceed. Looking back now, long after the game ended, I think this approach worked well, without giving either side an extreme advantage -- though of course it would have been much advantageous for the Afghans if the British had never managed to cut the high-card. But we've still got a ways to go before we reach that point!
And now we can pick back up with the tale of the Battle of KAM DAKKA as it headed into...

TURN 5
British got the first movement card, but... they just stayed put behind the walls of the cemetery. It hit me that such would likely be the case for the remainder of the game -- until they either ran out of ammo and launched a last-ditch bayonet charge OR the relief force arrived at a point where the defenders were already at the edge of utter destruction and Capt Creagh (or if by then he'd fallen in the line of duty, whoever might have taken his place at that point) decided to make a run for the pass. In fact, one of these two desperate finale plots actually occurred, but I won't reveal which until the time comes...
Lead Mohmand Clan passed its Leaderless Die Roll To Move and advanced towards the cemetery...
Mohmand Clan #2 advanced right behind them... Mohmand Clan #3 took position behind the East wall of the crop-fields...

Clan #4 remained in place on the Western face of the West hill, from where they hoped to bring long-range fire to bear on the British lining the East wall of the cemetery...

Clan #5 advanced behind Clan #2... while Clan #6 -- under command of Mulehead -- snaked its way further West along the South riverbank and up onto a small hill there, in order to avoid being screened from continuing to fire on the British in the cemetery by the friendly forces closing in on them across the river...
Pathans got the first fire card. First Clan scored 3 hits but after rolling their "wound dice" their effects were all shrugged off by the British targets.
Brits fire next but did very little damage, only scoring 2 hits on the lead Mohmand Clan and WIA 2 x Swordsmen -- but that was enough to bring Clan #1 down to 9 effectives, below 50%, which will force them to CHECK MORALE at the end of this turn...


Afghans fire their remaining units, inflict 2 WIA on the Mhairwaras -- 1 Sepoy down for 2 turns, 1 down for 3 turns...


Mohmand Clan #1, leading the advance on the cemetery, checks morale: rolls 10 -- which is a big fail -- and ROUTES to the East, along the South riverbank…

TURN 6
Mohmand Clan #1 keeps Routing East along South river bank... Clan #2 extends its Mass Formation into more of a line shape (still counts as "Mass" for target class purposes) in order to bring all rifles to bear on the cemetery... Clan #3 advances along the North crop-field wall & angles its rifles to fire at the southern portion of the East cemetery wall... Clan #4 snakes along the South crop-field wall, keeping its rifles trained on East wall as it closes in on the cemetery itself... Clan #5 remains up on the West hillside... Clan #6 remains on North side of Kabul River to maintain fire on the British lining the North cemetery wall...
Brits fire first. 5 shots at Mulehead's Clan across the river score only 1 x WIA swordsman; 10 shots at Clan #2 right across the wall score 1 x KIA rifleman & WIA rifleman (good casualty card flips)...
Mohmands fire 4 clans of 10 - 8 - 5 - 5 shooters: scoring 2 hits, 1 x WIA but No Effect + 1 x KIA
At this point MULLAH KHALIL (same name as the real Mullah who preached Jihad against the British to the Mohmands in April 1879) crossed the river and rallied the routing Clan #1...


TURN 7
Lead Clan #2 CHARGES the Mhairwaras on the other side of the cemetery wall, rolls 6 for stragglers = NO stragglers (!!!)...


Clan #3 advances along the West crop-field wall to provide fire support... Clan #4 advances from behind the South Crop-Field wall to do the same... Clan #1 (which was just rallied by Mullah Khalil) advances behind the charging Clan #2; Clan #5 descends the hillside in preparation for advancing on the cemetery, since they are now screened from firing at it... Mulehead and Clan #6 remain on the North side of river, safe and sound, to take more potshots at the enemy while their comrades sacrifice body and soul attempting to get stuck-in...

Brits fire first: score 2 out of 5 hits on Clan #6 across the river, KIA Swordsman + WIA Leader AKA: MULEHEAD!!! (GM NOTE: since he is a main character in our campaign I used the British Wounded Rule system & Mulehead ended up being out of commission for only 1 Turn) — the Brits also score 4 out of 10 hits on charging Clan that needs a 3 or less on D20 to hit (!!!)... and score ZERO out of 2 hits on charging enemies who are already up on the wall and so need only a 7 or under to hit. A humbling reminder that the dice have minds of their own...


Mohmands fire -- Mulehead's Clan #6 across the river scores 1 hit (needing a 2 or less!)... Clan at West crop-field wall scores 3 out of 8 hits needing a 2 or under (!!!!!) - 1 x WIA but no effect, 1 x WIA down for 2 turns, 1 x WIA down for 3 turns... Clan at South Crop-field wall scores ZERO out of 7 hits.

Charging Clan #2 rolls to CLOSE INTO COMBAT -- gets a 5, but needs a 1-4 so FAILS TO CLOSE, retreats 6” and goes PRONE & PINNED. Then they FAIL critical & pinned morale check, so remain prone & pinned heading into the next turn...

Routed & Rallied Clan #1 passes their Critical Morale check (which they must do each turn from here on despite having Mullah Khalil with them, since they have been reduced to below 50% strength)...
Turn 7 was the first chance for the British Relief Forces to arrive -- but at end of the MOVEMENT PHASE the British lost the card pull to the Afghans, so no relief this turn...


TURN 8
Pathan move first card — Clan #3 advances to base of East cemetery wall...
Brits move second card — slightly adjust troop positioning to cover more of the South wall...
Mohmands move clans up to South wall and North wall, Clan #1 with Mullah Khalil now serving as Leader advances towards cemetery...
END OF MOVEMENT PHASE - I CUT THE CARDS TWICE AND COMPARE TO SEE IF THE RELIEF FORCE ARRIVES THIS TURN:
Brits pull ACE OF HEARTS vs. Mohmands pull 9 of Spades, so...
RELIEF FORCES ARRIVE RIGHT NOW!!!
From the West, 2 companies 1st Battalion 5th Fusliers (1 x 20 fig. Inf. unit) & 1 Troop 10th Bengal Lancers (1 x 12 fig. Cav. unit) advance through Dakka Pass...
From the East, 2 companies 1st Battalion 12th Foot (1 x 20 fig. Inf. unit) & 11-9th Royal Artillery Mountain Battery (2 guns with 8 crew) move through Lundi Khan Pass...
Both columns advance down their respective roads, the Fusiliers arriving near to the fight changing into Open Order at the foot of the pass with the 10th Bengal Lancers right behind them…
The Mountain Battery rolls 3 dice in order to move as fast as possible (unable to fire that turn), followed by the 12th Foot…
British fire first: Mhaiwaras need 3 or under on D20 and score 1 hit out of 15 -- 1 x WIA Swordsman on East wall (pretty poor shooting but they are virtually surrounded and may still face a melee with overwhelming numbers of the enemy, so perhaps the shakiness of their aim is understandable)...
British fire second - Dakka Inf. Score 5 hits out of 20 shots needing 7- … Leader WIA, Rifle KIA, Sword KIA, Sword WIA, Rifle WIA.
Mohmands fire their 3 units, total of 21 rifles needing 2 or under on D20 to hit and... score ZERO hits (multiple 3’s but no 2’s).
Clan #1 checks Critical Morale (still below 50%) fails and Routes for good, sending 9 figs. run off the table. But Mullah Khalil remains…
WIA Mhariwara returns to Active Duty... WIA Mulehead returns to Active Duty.


While across the river, young Mulehead had fallen wounded, back at Kam Dakka Village, young Umra finally made his move…


Despite having won cutting the cards and so ushered in the arrival of the Relief Forces -- one from the West, close enough to bring shots to bear almost immediately...


TO BE CONTINUED...
(In the thrilling final chapter!)
No comments:
Post a Comment