A few months ago my gaming friend JG Randall asked if I could help him with the terrain layout for a big game he was planning. It would be a massive refight of the British Airborne attack on Arnhem in September 1944. I've had a life-long interest in Airborne operations in general and the Battle of Arnhem in particular ever since seeing "A Brige Too Far" as a 10 year-old boy back in 1975. Since I'd spent the past months "immersed" in model river building (lame aquatic pun intended!), I volunteered to build the river itself. JG and his terrain-meister partner-in-wargaming-crime Frank Pattersen had already got a jump on building the bridge itself so I knew dimensions required. The Arnhem table would be 6' wide and the bridge was 14" wide, so I decided on a 6'x1' river. Since I had a handy piece of 2'x6' dual-tempered Masonite in my garage, it seemed the perfect size. The board I had was 3/16" thick. If I was starting from scratch I would have used a 1/8" thick board, but the difference was so slight I didn't hesitate to use what was on hand. I also decided to cut the 6' length into three equal sized 2' long pieces that would fit together end-to-end.


After cutting the boards the next step was painting them. First I "primed" the river pieces with a vibrant mix of blue and green colors, so when I went over them with the final more drably toned-down olive river green, there would be just a hint of darker, more lush color lying below the surface to provide a bit more "depth"...


After the bright colors dried I did the second coat using a mixture of YELLOW-OCHRE and BLACK, which I have come to find is an excellent formula for creating drab olive green from Artist's Acrylics...


Once I was happy with the olive green river water color, I added "water" texture using a layer of EXTRA HEAVY GEL GLOSS (this is an acrylic product that is water-soluble)...


I was very happy with the results, and felt like it had not taken much effort compared with how well it turned out.
 ..
..


I was so impressed enough with the look of the newly-minted river that I spent some time setting up some figures to show it off. First a handful of my Second Afghan War Brits (72nd Highlanders to be specific)...

...and some pieces of ROCKY TERRAIN laid out along the riverbank or coast...

...then some "Darkest Africa" Explorer types on the bank of a major river...


Finally I dug out and dusted off some of my long-untouched French-&-Indian War figures, including some rowboats and Canoes, and laid them out -- first in a mid-18th Century Caribbean setting...


...and then in a no-holds-barred Wolfe vs. Montcalm-esque -- albeit at the skirmish level -- classic F&IW set-up, complete with pine forest...
(The only thing I needed to do to make these pics look a lot better would be refinish the rather lame blue bases of the boats to match the surface of these river boards, which would be quite easy to do, but which I have not yet and probably never will get around to.)


When game day arrived I was luckily able to get away from home and away from work and -- for a change -- get a chance to actually PLAY A MINIATURE WARGAME -- which was a lot of fun!
The game itself was a full-scale play-test in advance of the same scenario being run at an upcoming "Game Day" event for the club JG and Frank belong to down in Anaheim.
A bunch of guys were there to play, including my friend Matthew who accompanied my son and I to the first ever Colonial Barracks convention in New Orleans back in 2011. Matthew, myself, and Mark Deliduka played the British Paras and Glider forces under the overall command of Harmon Ward as General Urquart. Frank (the prolific terrain-builder) and Howard -- a tall, young Asian-American college student -- played the Germans.
I commanded one Parachute Brigade. The British forces included a second Para Brigade and one Brigade of Glider-borne troops. The landing itself was a bit of a chaotic mess, kind of like a scaled down version of the real thing, only much less violent and exhausting.
In the first few turns after landing I lost the lion's share of one of my three battalions counterattacking a German unit ensconced in a section of woods -- tragically it was the battalion commanded by Colonel John Frost!
The "middle" of the game was extremely hard going for my command, but while my two fellow British commanders suffered heavy casualties as they remained in place to defend our landing zone for the sake of the reinforcement wave of gliders and paras, I somehow managed by the skin of my teeth to break through the German forces and clear a path for my two surviving, disconnected battalions to both make it off the 18' long "Landing Table" and onto the "Arnhem Table"!
... but by that time we'd been playing for about 8 hours, so needless to say, we never got to grips on the streets of Arnhem, let alone atop the bridge over the river I had built. Still, it was great to actually "play" a game for a change -- and I felt like I'd aquitted myself very well by managing to reach Arnhem with 2/3rds of my force relatively intact despite facing serious opposition all along the way.
Here's a bunch of pics I took during the play-test game:
NOTE: In addition to painting and basing all the troops and preparing most of the terrain, JG was also responsible for building ALL of the Airborne paraphenalia himself -- the transport planes, the gliders, the parachutes and equipment containers as well. He is a bit of a one-man machine -- but he has a secret weapon, which is his close friend Frank, who is quite famous down in the Orange County wargaming community for being a human terrain-building-factory as well as a prolific and talented figure-painter. The rules we used also came courtesy of JG. They're called "FIRE & MANEUVER" and elegantly incorporate a lot of logistical elements without slowing or bogging down game-play at all. He wrote them a few years ago and they're very popular at his club, where several gamers have been trying to convince him to make them available to the public.


Here's a couple of very brief VIDEOS showing the transports and parachutes in action...
VIDEO #1:
VIDEO #2 (this one's a little bit better!)


...but not for long!


The Hartenstein Hotel...


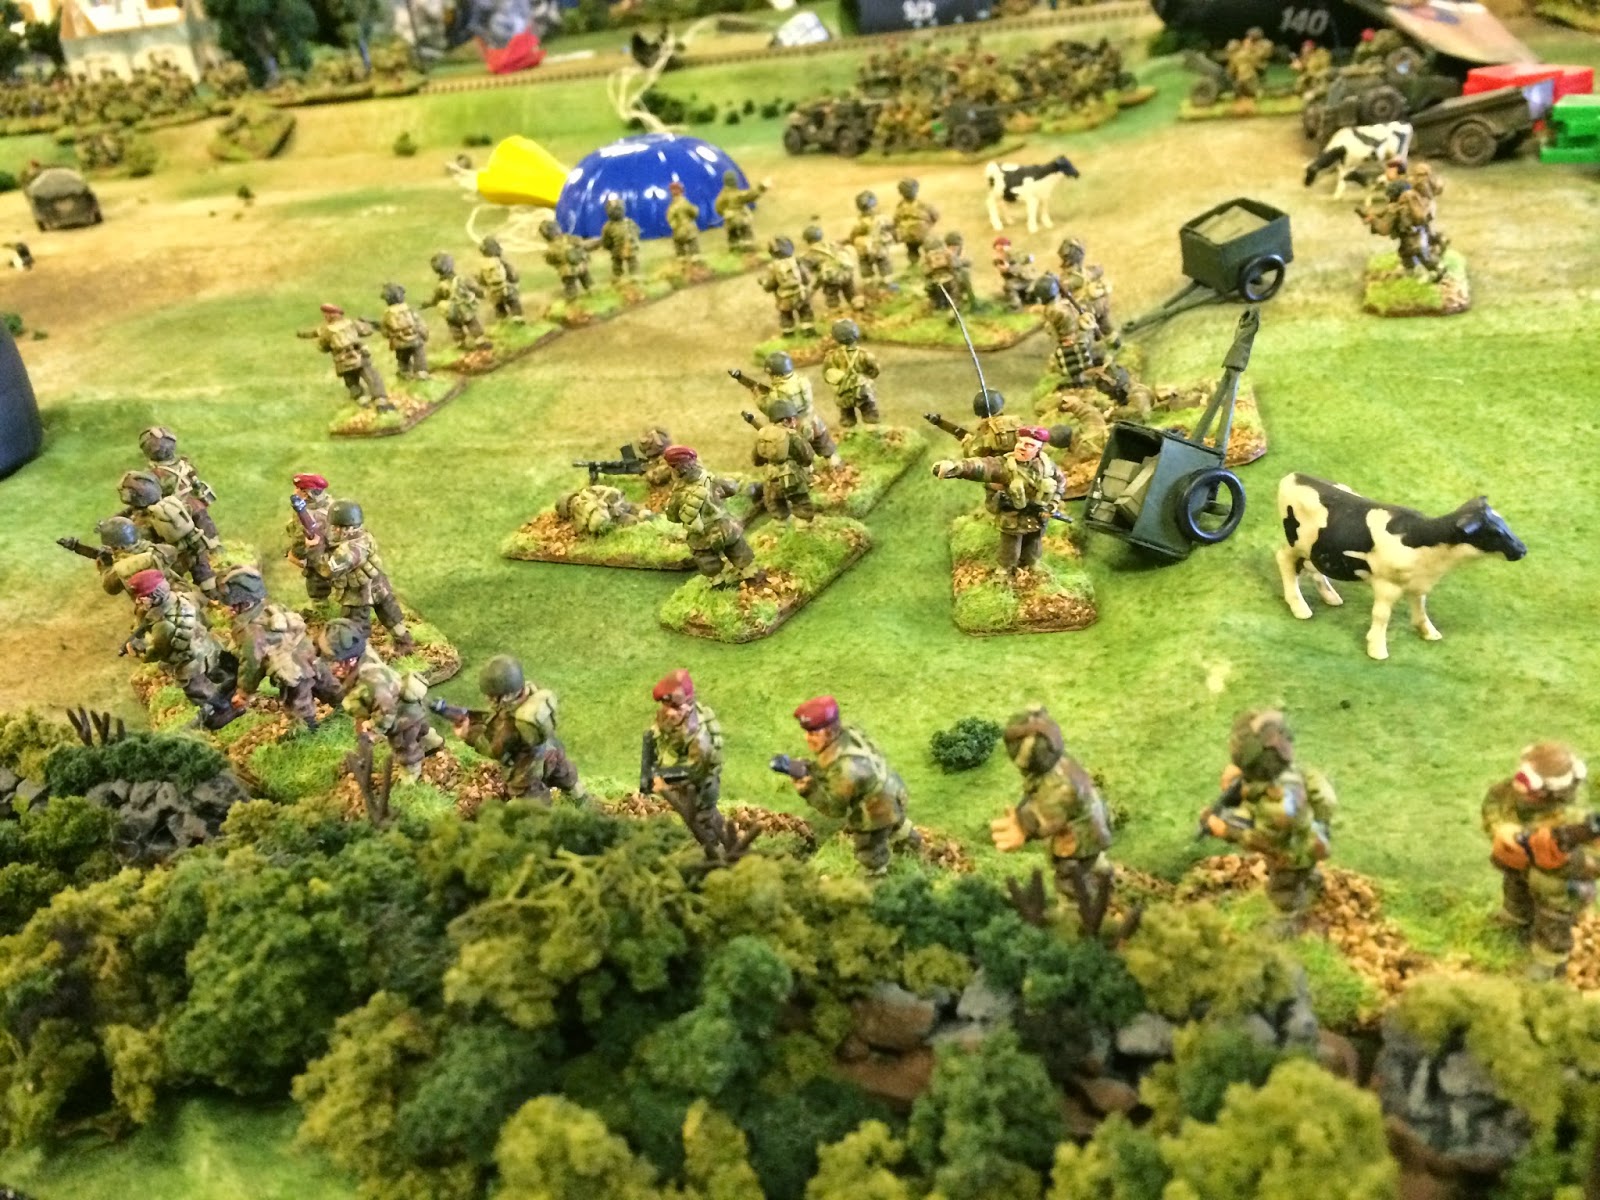
British Glider troops dug in to defend the Landing Zones in preparation for the second wave of British reinforcements...

Meanwhile on the road to Arnhem...


A particularly good shooting roll by the Paras -- I think I needed fours or better to hit...


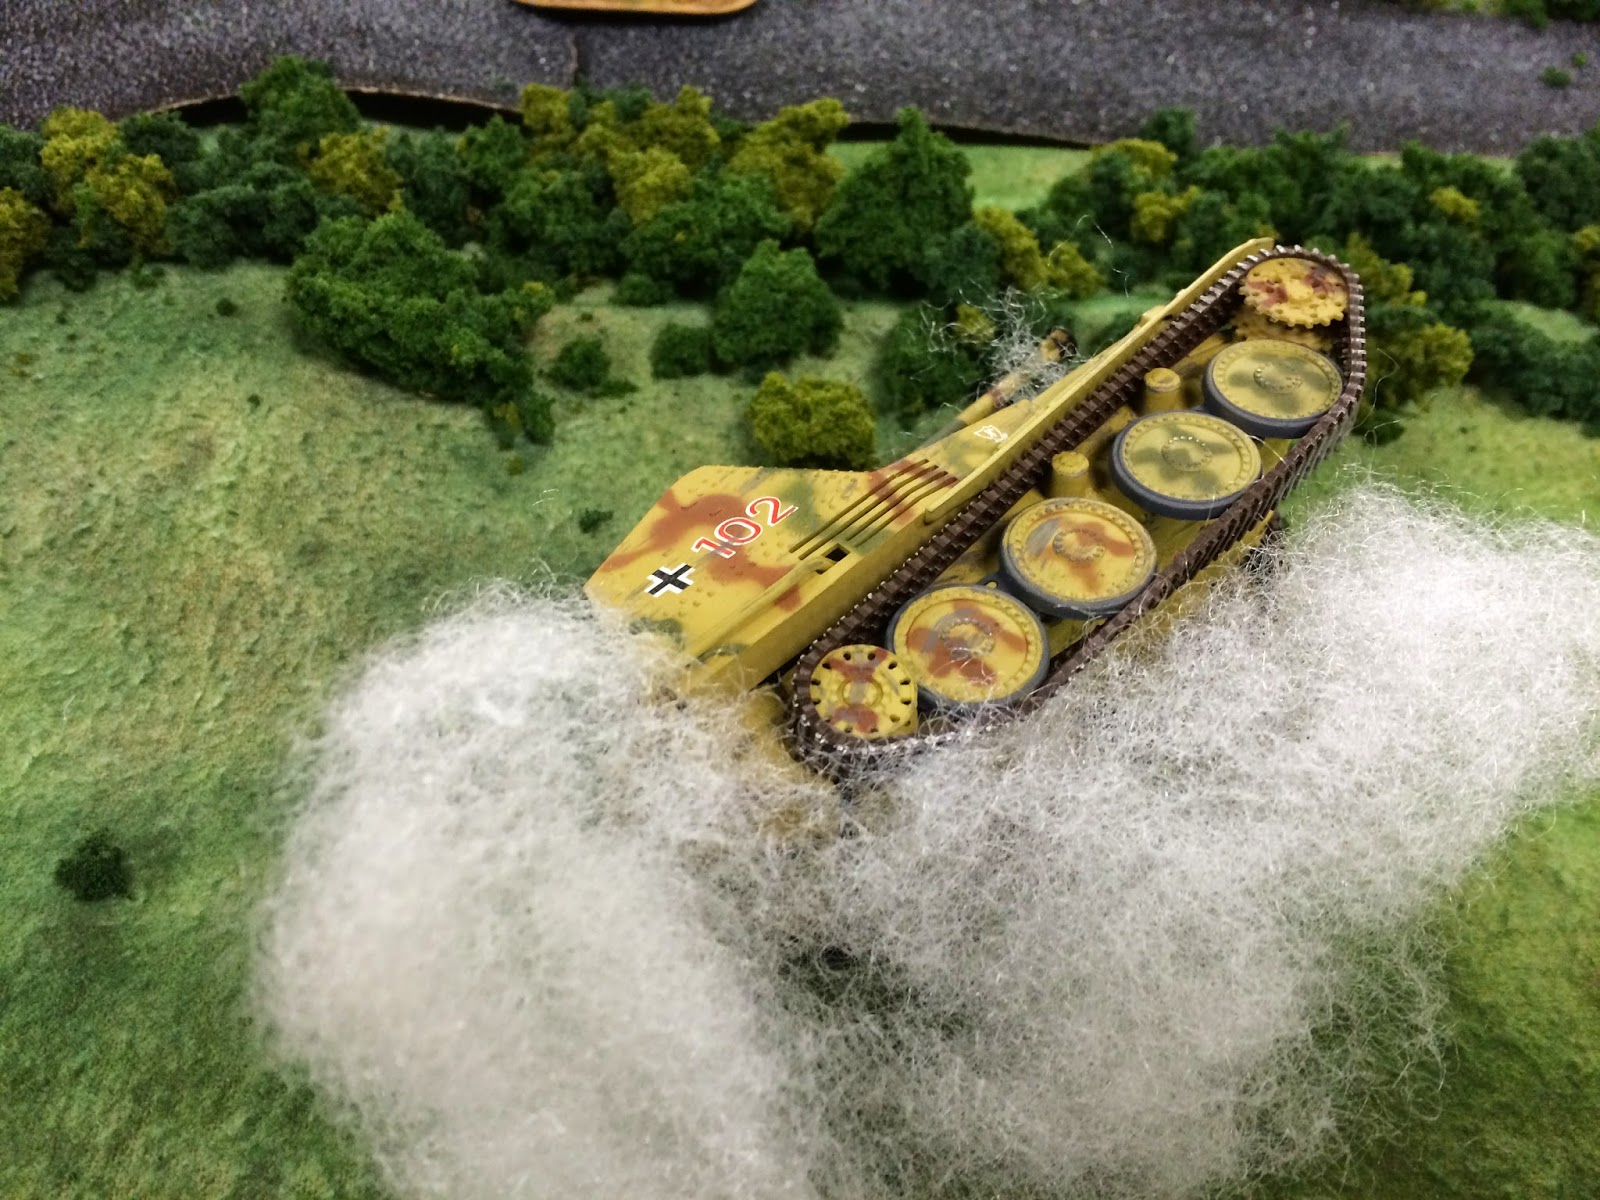
A German unit in retreat...


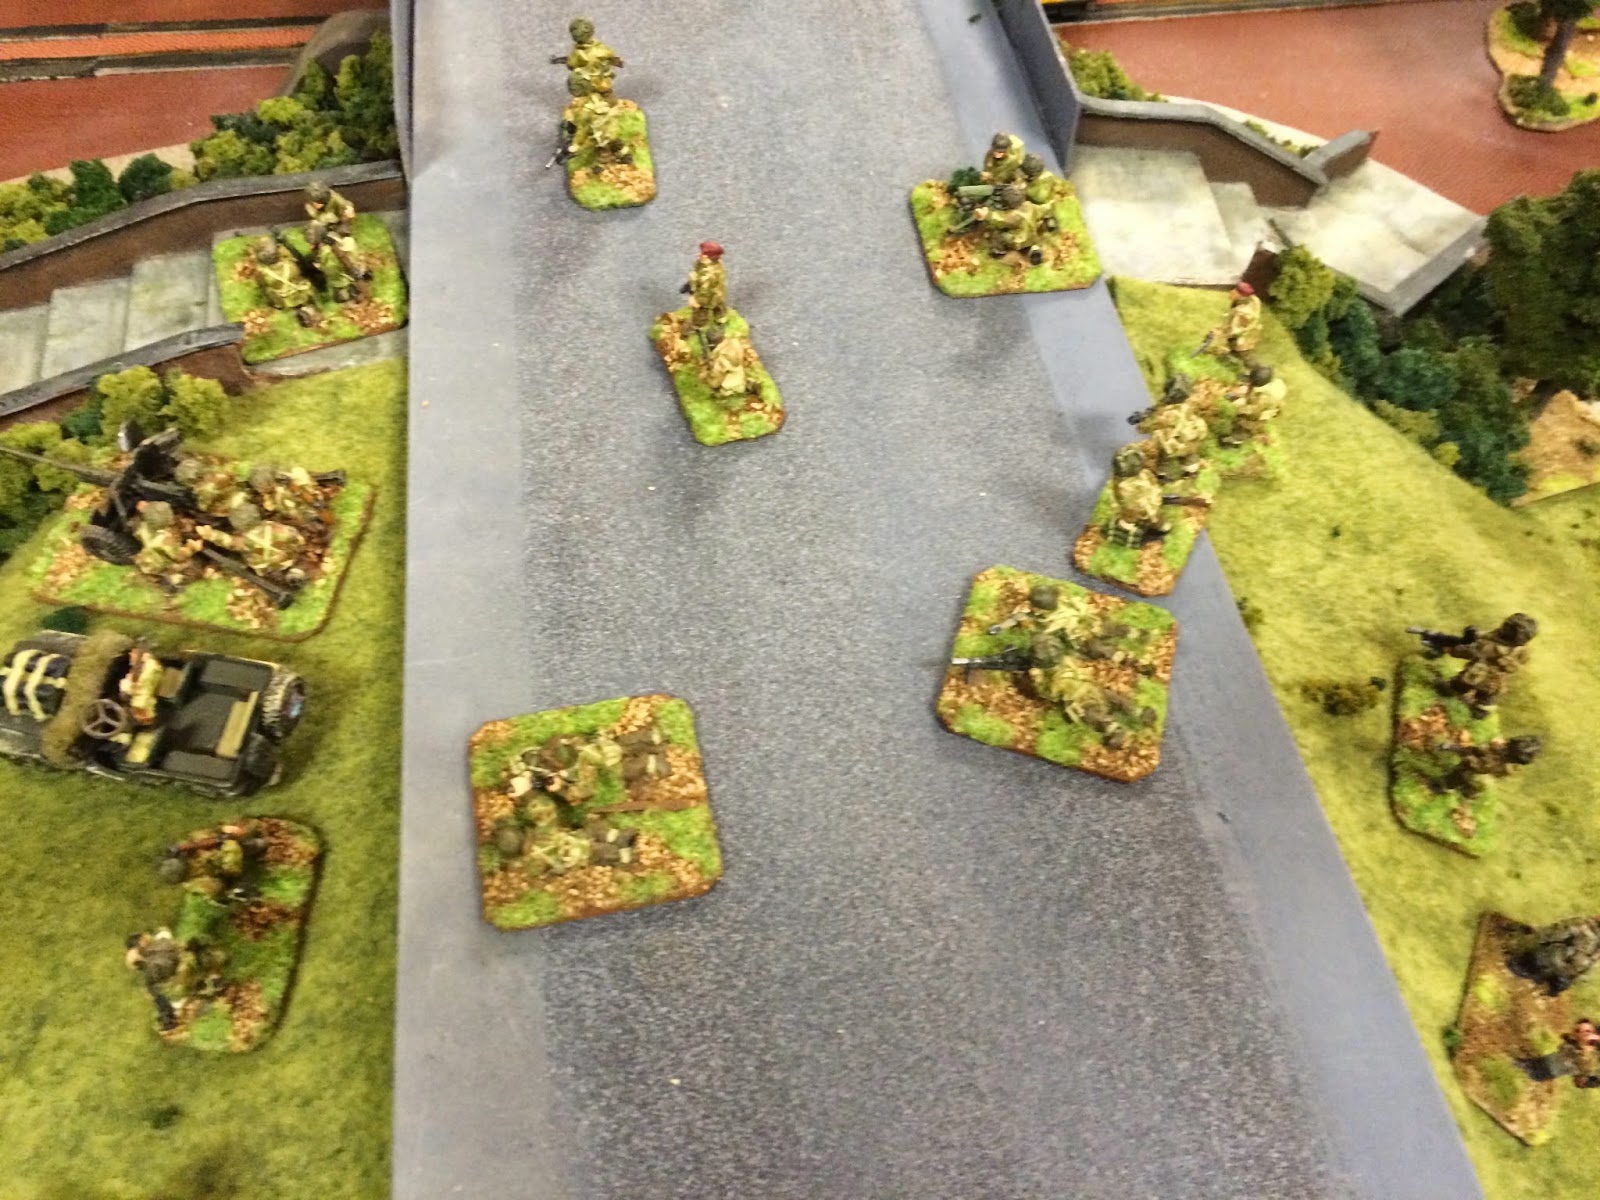
My first unit to reach the end of the "Landing Table" and cross over -- still somewhat intact -- onto the "Arnhem Table"...

Meanwhile, back at the Landing Zone(s), the Glider forces remained dug-in defending half of the area they were ordered to hold, awaiting the second wave of German assault...


Unfortunately the other half of the Landing Zone area had been taken in hard fighting by German Naval Infantry forces, who now occupied the defensive positions estalished earlier by the British Glider troops...

Still, I was happy to be able to reach and occupy Arnhem Bridge...


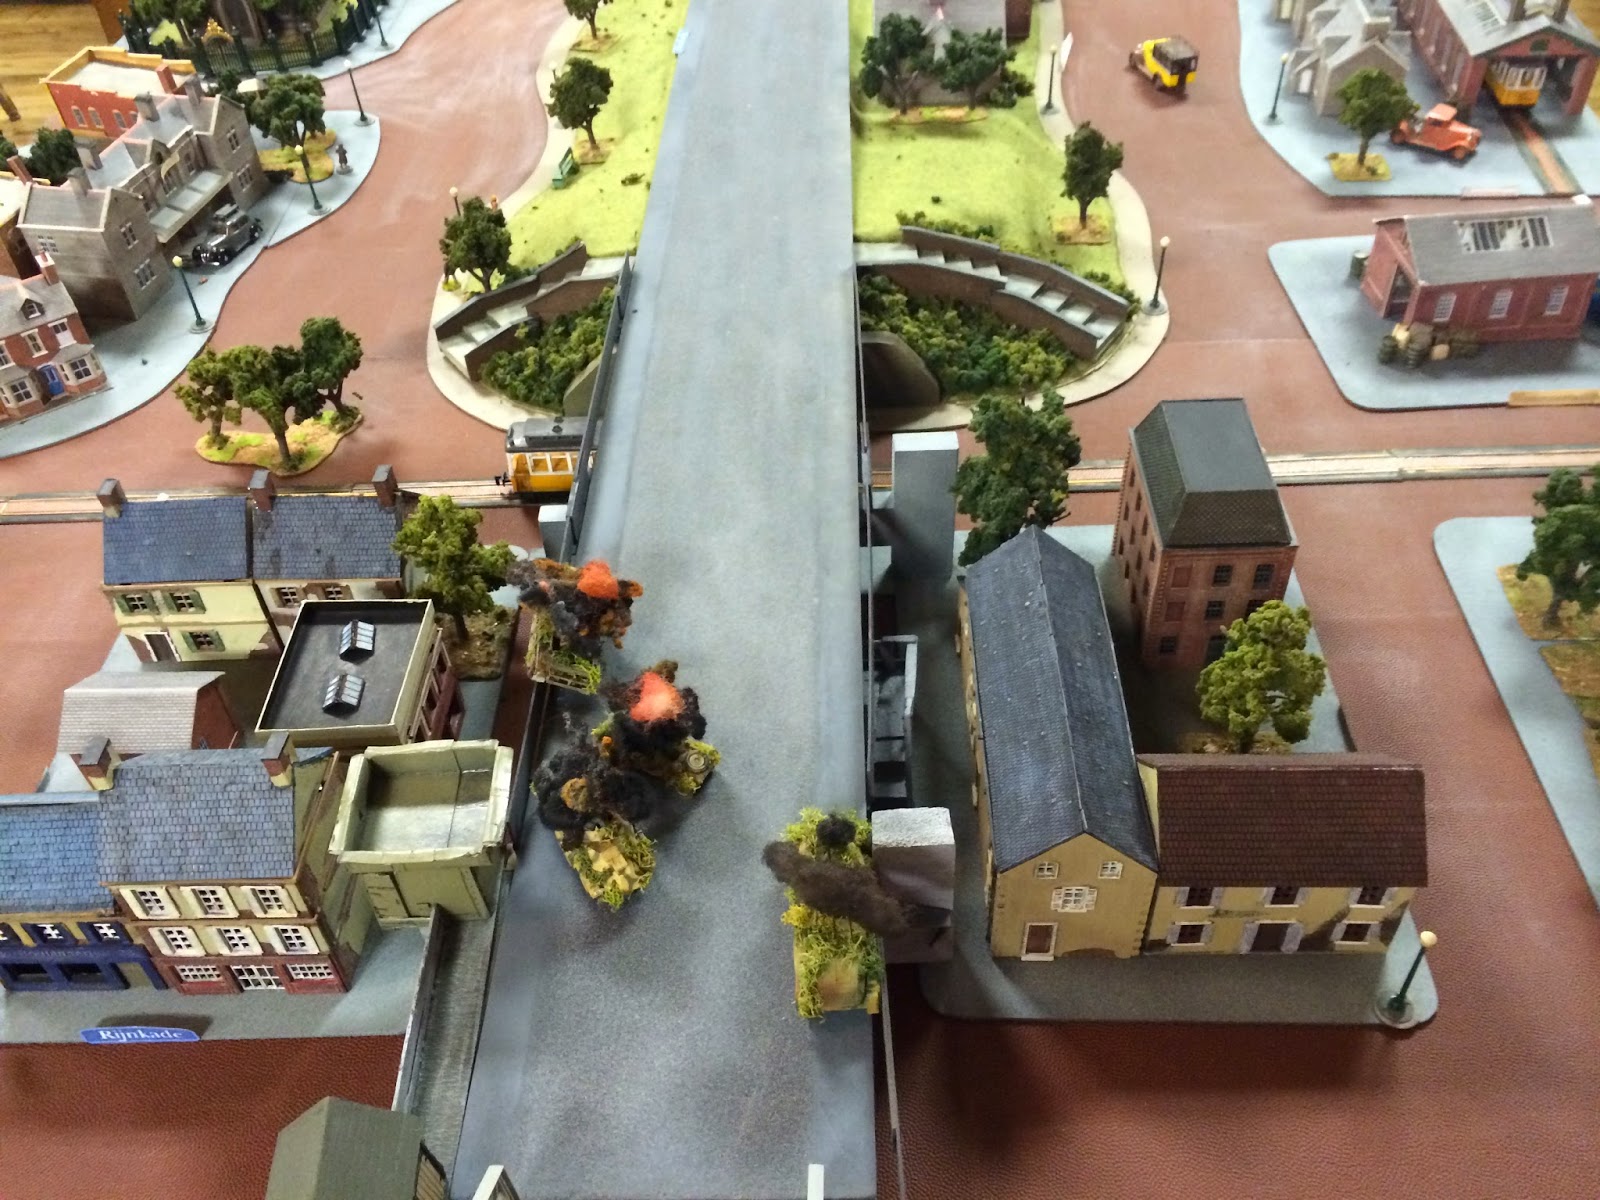

...though the hour was so late that no actual fighting was to occur across it or at either end.
The game was a lot of fun, the only down-side being that the 6'x1' river I'd built NEVER CAME INTO PLAY! Fighting across the length of the "Landing Table" was an epic endeavor in itself that took us at least 6 hrs. playing time, possibly a bit more. If we'd started early in the day, at 9:00 or 10:00am, we could have been able to play the whole thing from start to finish by Midnight -- but we also needed to clean up after we were done, since everything had to be taken off the premises, so that wouldn't have worked very well either. despite being a lover of epic size scenarios and epic size games, I think the answer may be to split this one up into two seperate component games, the first playing the landing portion, while the second plays the street fighting in Arnhem itself. That or else condense the Landing portion of the scenario down significantly, which could also work well.
Another possibility is to start with the British Paras already ensconced in Arnhem and use the epic sized 18' "Landing" table to play XXX Corps fighting its way down the road to reach the bridge and relieve the Paras. That might be the most thrillingly dramatic and suspensful version. JG is a consumate Game Master and I'm sure he has been digesting the results of the play-test and figuring out how best to incorporate the lessons it taught.
For anyone interested in learning more about JG's rules, called "FIRE & MANEUVER", here's a LINK to the "Primer" which provides the essentials of the rules: