WAR ARTIST'S SKETCH - LOOKING WEST FROM ATOP BABA WALI KOTAL:

CLOSE-UP OF "AYOUB'S TENT":

MAKING AYUB'S TENT:
I asked a master modeler for advice on how to make this tent and he suggested I make the shape out of styrofoam and cover it with material from WOMEN'S NYLON KNEE SOCKS (similar to pantyhose but slightly different), using a 50/50 mix of white glue and water for it to stick in place over the foam.
This was the first time I ever tried this method, and as you will see below, I made a LOT OF MISTAKES throughout...
PHASE #1 - cut styrofoam shape(s)...
(glued together with HOT GLUE GUN)


PHASE #2 - I realized I should have cut the entire tent -- roof & wall sections -- as a series of ANGLES, so the finished model would look more like sheets of cloth stretched between tent poles. Since I didn't want to toss out the foam shapes I'd already cut to size, I decided to cut pieces of CARDBOARD to fit and TACKY GLUE them to the foam, to give the model a more angled, geometric shape. The TENT consisted of 13 roughly matching 7/8" wide pie slices. I left a 1/8" to serve as an overhang from the roof, to fold down over the top edge of the wall..


PHASE #3: (This is one of several SCREW-UP phases, which anyone using this as a tutorial should make an effort to AVOID!) I realized I'd screwed up the basic shape of the tent by not making it wider at the bottom with walls tapering slightly in towards the roof. Sigh. So I cut some small lengths of STYROFOAM at an angle and TACKY GLUED them all around the bottom of the tent wall, to give it that angled up and in shape...


When it dried I was happy with the adjusted, slightly tapered, shape of the tent wall...

PHASE #4: The special ingredient - women's knee-high nylon socks and a set of nylon pantyhose; measure and cut pieces to fit over the roof and around the wall...


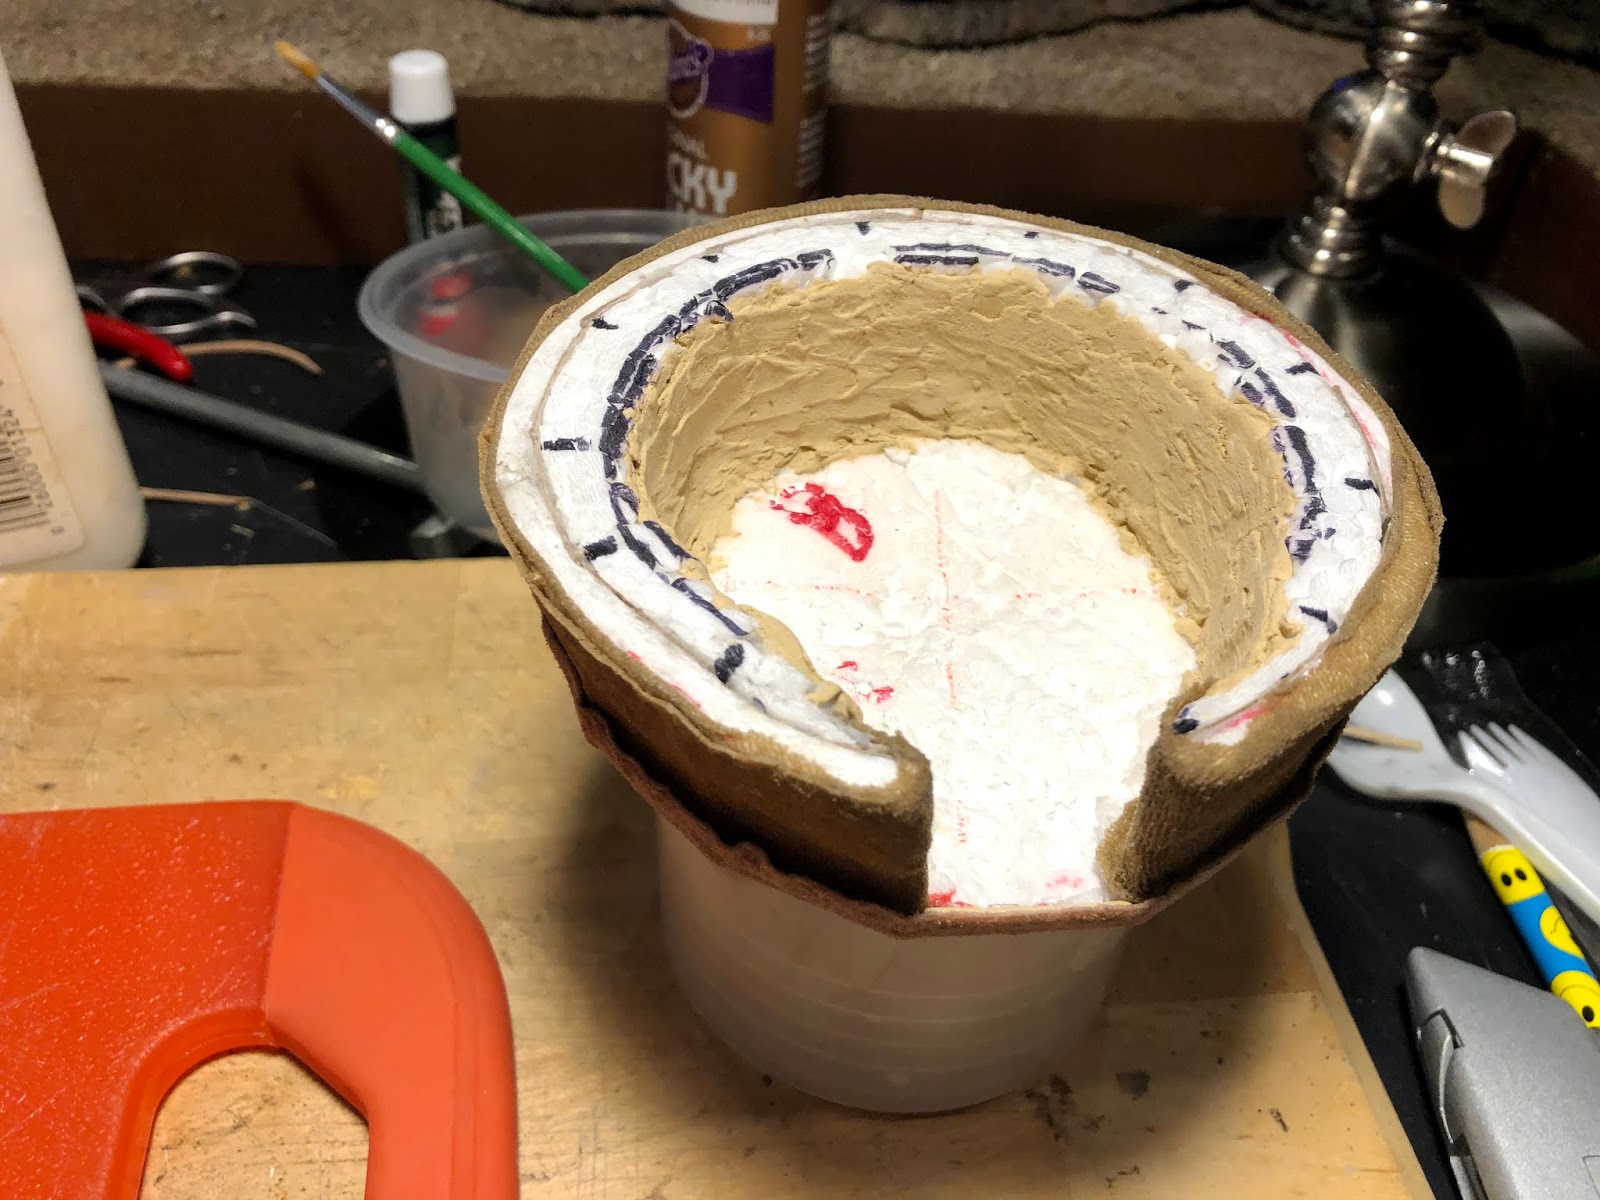
Before putting Phase #4 into action, I decided to excavate the solid interior of the tent...
BEFORE:

PHASE #5: I dug a good section of it out with a combination of and XACTO blade and a non-serrated KITCHEN KNIFE...
AFTER:

Then I cut out the DOOR, making it the same width as one slice of the "roof pie"...

I wrapped the pantyhose sock around the tent wall and cut a piece to fit...

Then, before moving on into unknown territory, I took some pics, as the white cardboard actually made for a decent "finish" on the WIP tent...


I used a few spots of SUPER-GLUE to fasten one end of the nylon in place, then wrapped it around the outer wall and used a few more spots of Super-Glue to fasten the other end...


On another piece of nylon I traced a circle to cover the roof, leaving room all around for it to hang over the edge of the tent wall...


Held in place temporarily with rubber band to get proper measurement...


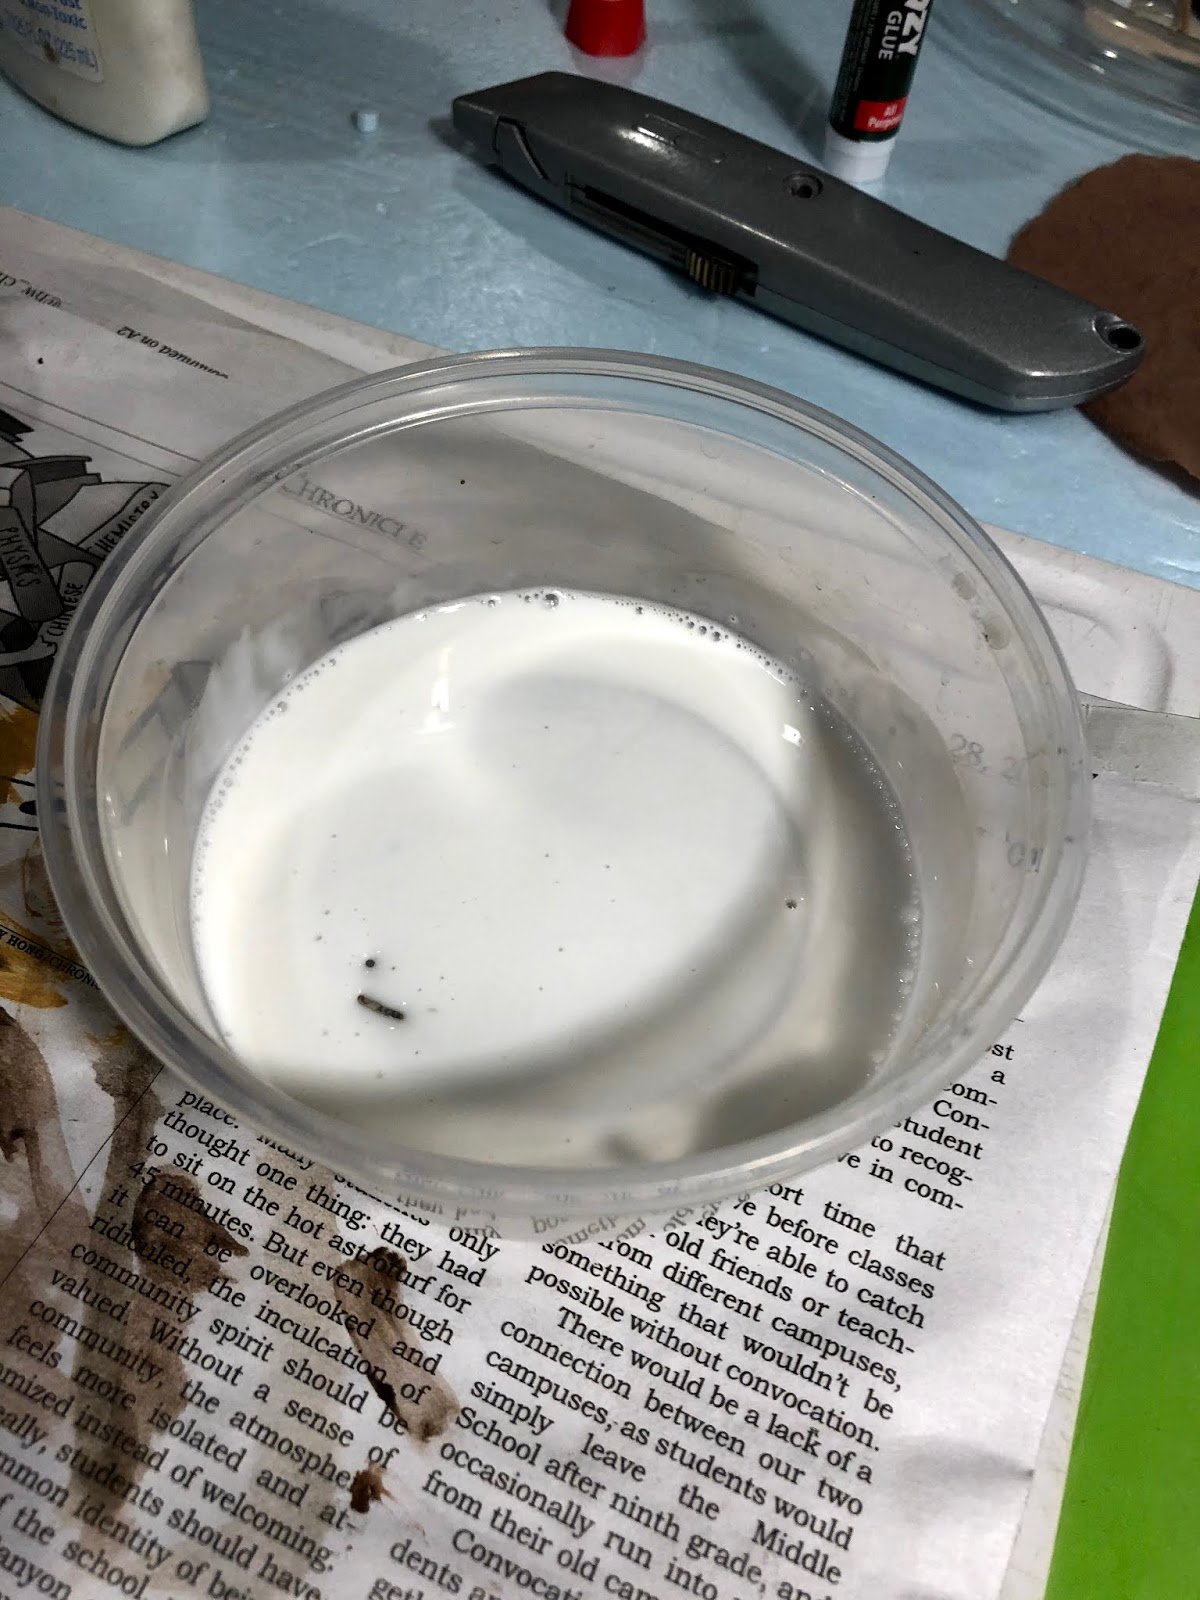
I prepared a 50/50 mix of WHITE GLUE and WATER...


PHASE #6: I strengthened the structure of the model by covering the inner wall of the tent with WOOD FILLER...

Then I realized the exterior wall was smooth all around, when it should have been a series of angles, because of how the cloth of the tent's wall draped over the poles, same as on the roof. What to do?
PHASE #7: I found a spare remnant of very small hobby basswood strut left over from some old project, which thankfully was JUST LONG ENOUGH for me to cut enough "poles" for the tent wall to match up with the roof sections...


But it wasn't an ancient tent with poles visible outside, so I covered the pole-studded wall with a SECOND PIECE OF NYLON...

...then applied more 50-50 White Glue & Water mix...


Looking pretty good:

PHASE #8: I realized I probably needed to make a BASE for the model tent, to help keep it intact for the long haul. First I made one from a sheet of hobby plastic, which was easy to cut out with sharp scissors. But the more I thought about it the more I decided I'd rather make the base from wood than plastic, so I traced the plastic one, which I already knew fit the bottom of the tent well, and used Xacto and Utility knives...


Tacky Glue (because it dries extra fast)...


I knew I wanted to cut some small pieces of nylon and use them to make a pair of CURTAIN DOORS, which would be pulled back on both sides of the tent door...

After I cut them I glued them in place and brushed on the same 50-50 white glue/water mix...

I added some tiny tie-backs...


...and enjoyed the view...


Then it was time to move onto PHASE #9: PAINTING.
I started by BASE-COATING the entire tent with BROWN FABRIC SPRAY PAINT...


Then I brushed on DELTA CERAMCOAT MUDSTONE...

As seen in these pics, I left the recesses darker/shaded...


Next: DELTA CERAMCOAT LIGHT IVORY...


I painted the door curtains RED...


When all is said and done I'm not really satisfied with the final result, as the "finish" of the tent cloth is not as smooth as should be. It's more textured and rough, which could be cool for different uses, but for a "modern"-ish tent made of canvas or cotton or silk, seems kind of wrong to me.
It could be the nylon sock material always dries like this, or more likely I screwed it up by adding the cardboard backing, which I'm sure had some impact on how it dried to the styrofoam. Or maybe my mistake was in the painting style I used, which was dry-brushing. Maybe I should have given it a more solid soaked-in all-over base paint job of white, and then built up some darker areas of shadow or outlined tent-poles.
At some point I hope to make another version of the same tent, or maybe do some smaller test pieces first and then a second go at the big tent.
I can't help but think if I'd used offcuts from paper towel, or thin cotton cloth from an old shirt, it would have ended up with smoother looking surfaces.
BUT I think it's still a nice model, and looks much more like the real Ayub's Tent than any of the various 28mm wargames tents available for sale.
So I'll sum up my review by quoting what a friend of mine once said about the Burt Reynolds movie "Malone":
Better than "Stick," but no "Sharky's Machine."
PS. I hope to soon receive a black Afghan standard patterned on the one in the war artist sketch, to fly atop the model tent. It will be mounted on a 4" metal pole and I plan to stab down through the tent's roof, into and through a styrofoam pillar below. When and if that happens I'll definitely add some more pics.
Well that was a voyage of discovery, especially with the knee high nylon sock. Lovely tent, but I can see what you mean about the texture, somehow doesn't seem quite right, still awesome though. I wonder if wet strength tissue paper, over the same structure, might give you more of what you are looking for?
ReplyDeleteIt looks nice as-is, but I agree with Michael, tissue paper might give a smoother representation of canvas.
ReplyDeleteYes, I agree with both of you gentlemen. My mention of using paper towel pieces has worked that way in the past. For now I will leave it as-is as I keep working away on the many other -- and larger! -- parts of the table, but I'm sure at some point I will circle back around to Ayub's Tent.
ReplyDeleteThanks for the comments, Michael and AJ, and stay healthy my friends!
Are you tired of being human, having talented brain turning to a vampire in a good posture in ten minutes, Do you want to have power and influence over others, To be charming and desirable, To have wealth, health, without delaying in a good human posture and becoming an immortal? If yes, these your chance. It's a world of vampire where life get easier,We have made so many persons vampires and have turned them rich, You will assured long life and prosperity, You shall be made to be very sensitive to mental alertness, Stronger and also very fast, You will not be restricted to walking at night only even at the very middle of broad day light you will be made to walk, This is an opportunity to have the human vampire virus to perform in a good posture. If you are interested contact us on Vampirelord7878@gmail.com
ReplyDeleteWBBSE 10th Question Paper 2022 Blueprint, Students can Download Model Paper and Prepare yourself under these Sample Paper because these model Paper will be valid for Annual Examination of session 2022 also, WBBSE 10th Solved Question Paper 2022 Question Pattern is very helpful for the students to know the 10th Exam Past Year Question Paper analysis. Students can Download West Bengal 10th Model Paper 2022 utilize the Previous Exam paper for the Reference for final Examination, Steady the repeated questions from WB 10th Model Question Paper 2022 Practice on those is the better way to get the good Grade.
ReplyDeleteWe have sell some products of different custom boxes.it is very useful and very low price please visits this site thanks and please share this post with your friends. https://thegameroof.com/where-can-you-get-cheap-boost-in-wow-shadowlands
ReplyDelete