The day before Super Bowl LI, Saturday, February 4th, an incredible thing happened: I participated in a miniature wargame!!!
I drove more than an hour South to Irvine, in Orange County, to do so -- but that was a small price to pay in exchange for the good company, and the chance to refight a key part of what is generally regarded as the most famous battle in history.
I refer to the struggle for Hougoumont during the Battle of Waterloo.
The group I gamed with included Michael Davis (visit his impressively eclectic miniature wargaming blog, complete with collector quality armies from a vast array of periods, here: http://horseandmusket2.blogspot.com) and our mutual friend, creator of the "FIRE & MANEUVER" rules system, JG Randall.
JG's "Fire & Maneuver" is a popular rules set with this group, and with the "St. Crispins Irregulars" gaming club in Anaheim. The rules are also used by the larger HMGS-PSW (Historical Miniature Gaming Society, Pacific South-West Chapter) based here in Southern California.
*****As a worthy aside, I'll mention that we'll be using a simplified version of these same rules when the St. Crispins Irregulars (with some modest terrain contributions on my part) mount their somewhat epic size OPERATION MARKET GARDEN WWII game at the annual HMGS-PSW MINI-CON, which will be held this Fall at California State University, Fullerton on Friday, September 30th - Sunday, October 2nd.*****
(If you're interested, more info on this upcoming event can be found here: http://opmktgdn.blogspot.co.uk)
Switching back to Hougoumont, the struggle for that chateau estate played a vital part in the much larger battle of Waterloo. Indeed, after the day had been won, Wellington declared: "The success of the battle turned upon the closing of the gates of Hougoumont."
Hougoumont was sited at the front of the Allied right flank. Napoleon decided to hit it with an overwhelming attack which he expected would lead Wellington to committ his reserves to its defense, to keep it from falling into French hands, and this would in turn allow the French to succeed in attacking the Allies on their center left, near that other famous Waterloo farmouse, La Haye Sainte. In the event, it didn't turn out quite that way, as the British succeeded in mounting a tenacious defense of Hougoumont, which in turn led Napoleon to commit more and more troops in an ongoing effort to take it. It could be said the French attack had the exact opposite effect from that which Napoleon had intended, bleeding his own army of forces needed at other parts of the battlefield, thereby leaving him shorthanded, just as he had intended it would leave Wellington.
Wellington famously said of battle of Waterloo that it was, "The nearest run thing you ever saw in your life," (often paraphrased as: "A damn close-run thing") and the struggle for Hougoumont was the as well. At one point a French officer wielding an ax broke through the North gate with his men, but a group of British officers and one corporal managed to fight their way through the ongoing mellee and reshut them, and every French soldier inside was killed or wounded, except for one drummer-boy.
By the end of the battle, the British garrison of some 2,000 to 3,000 men, supplemented by reinforcements of perhaps another 3,000, had successfully held off 14,000 French attackers while losing at least 500 dead and wounded. Of the combined 20,000 men engaged in and around Hougoumonet from both armies, some 6,500 were killed or wounded in the fighting, meaning the French attackers suffered close to fifty-percent casualties.
(CLICK HERE FOR A LINK to an excellent online narrative of the battle, provided by Project Hougoumont)


Though it involved at least 20,000 men, the struggle for Hougoumont can be said to have much in common with a "skirmish" level wargame on one hand, and a "Last Stand" or siege on the other. With this in mind, JG, the "F&M" rules author, decided we'd use his simplified skirmish mechanism, called "FORMULA 13," for this game.
For any/all interested, here's a LINK to a 7-page summary of the standard "Fire & Maneuver" rules set and a couple of pages of charts:
...and here's the FORMULA 13 skirmish mechanism:
FORMULA 13 for Fire and Maneuver is a rule mechanic used to quickly determine the "fighting state" of an individual or a small group of soldiers that must check morale (for whatever reason whether it be from just suffering casualties, or having just been assaulted and must test to stand - or the Audi Murphy effect where a single solitary GI jumps on a burning tank and mows down a company of Germans with a 50 caliber machine gun.
Failure to pass morale could lead the individual or small unit to become shaken, or rout (depending on the current morale status). It is primarily used for skirmish games where unit cohesion is severely challenged (as in fighting in built up areas) or where individual (heroic) actions manifest themselves -
How it works:
Formula 13 requires that units (small groupings of troops or crew) can be no bigger than 12 soldiers. If the group, whether through reinforcement or happenstance exceeds 12 soldiers, then the group must split into two separate units ( the sizing is up to the player bearing in mind that too few troops in one group will be more brittle in terms of combat and morale).
Example: Ten paratroopers are holding a court yard when five more of their comrades break from nearby woods and join them. The unit is now 15 strong and exceeds the cut-off of twelve men. The player chooses to split the group into one unit of 8 men and another unit of seven (each requiring it's own allocation of action chips).
The Formula:
When testing morale, simply count the remaining soldiers (the survivors) in the unit and subtract from the number "13" and the result is the dice roll (2d6) required to pass morale. There also can be +/- modifiers attached to the dice roll to account for positive conditions such as protective cover state, or elite status, or negatives like already "Shaken."
Example. A squad of 10 infantrymen take fire and the result is that the unit has suffered three casualties and having taken casualties must test morale. The unit is now only seven soldiers strong. Applying Formula 13 (13-7=6) indicates that the unit must roll a "six" or higher to pass (+/- any modifiers to the roll).
In the case of the Audi Murphy effect, the player would have to roll "box cars" or twelve to carry out an act of heroism (there is only a 2.7% chance of this happening as to roll a twelve there is only one way out of thirty six possible dice combinations to achieve this result).
All the players, myself included, have experience with Fire & Maneuver, and of course we had the advantage of the rules author being present, but only half of us -- myself not included -- had used "Formula 13" in a game before. In the event, it was pretty simple and straight-forward and seemed to work well in practice.
The game teetered back and forth, much as the real world fight for Hougoumont did, but in the end, myself and fellow French commander, Michael Davis, overcame the stubborn British defenses -- Coldstream Guards and artillery support included -- and managed to take possession of the estate... much of which by that time was burning from both French and British artillery fire.
My command spent the entire game emerging from the woods and attacking the South gate and South-Eastern walls, from which I was frustratingly repulsed several times, despite coming SO CLOSE to breaking through... until the ranks of British defenders were so thin they fell back to the buildings and center courtyard (I believe this was due to a bad morale roll), allowing me to advance my survivors over the first wall.
But it was Michael's wheeling attack on the North gate which proved to be the decisive turning point of the game, as unlike their real world counterparts in 1815, the British were unable to re-shut the North gate in the face of Michael's infantry assault.
Casualties were heavy on both sides, and generally speaking, Lady Luck's dice were very much with the Allies at the start, but changed sides at the latter part of the game, helping us French overcome the last hurdles between us and victory.
The game took 3-4 hours of play and was fought to a decisive conculsion -- an evasive but wonderful thing in my book!
We played somewhat "fast and loose" with my favorite aspect of the "Fire & Maneuver" rules, which is their simple and elegent method of incorporating logistics and supply into tabletop battles. This was because JG wanted to help those of us who were new to "Formula 13" learn how it worked, so we basically left out those supporting aspects out of the process.
On the plus side, this allowed the Formula 13 rookies to quickly get up to speed with the skirmish combat mechanism. It might also be argued that logistics and supply might not play such vital roles in a straight-up knock-down-drag-out assault on a built-up area.
On the other hand, during the real battle for Hougoumont, a British driver of the Royal Waggon Train distinguished himself by driving his cart through French lines to deliver badly needed ammunition, his horses being wounded in the process. So when and if we play this scenario again, it could be good for both attackers and defenders to have to focus at least somewhat on the rate at which they are expending ammunition and supplies.
Notwithstanding this one nitpick of mine, everyone thoroughly enjoyed the game, myself foremost among us -- after all, it's not very often I get the chance to play an actual miniature wargame, let alone WIN ONE! To top it all off, JG and his family were very gracious and generous hosts, for which I thank them once again!
PUNCHLINE & A NOTE ON THE TERRAIN:
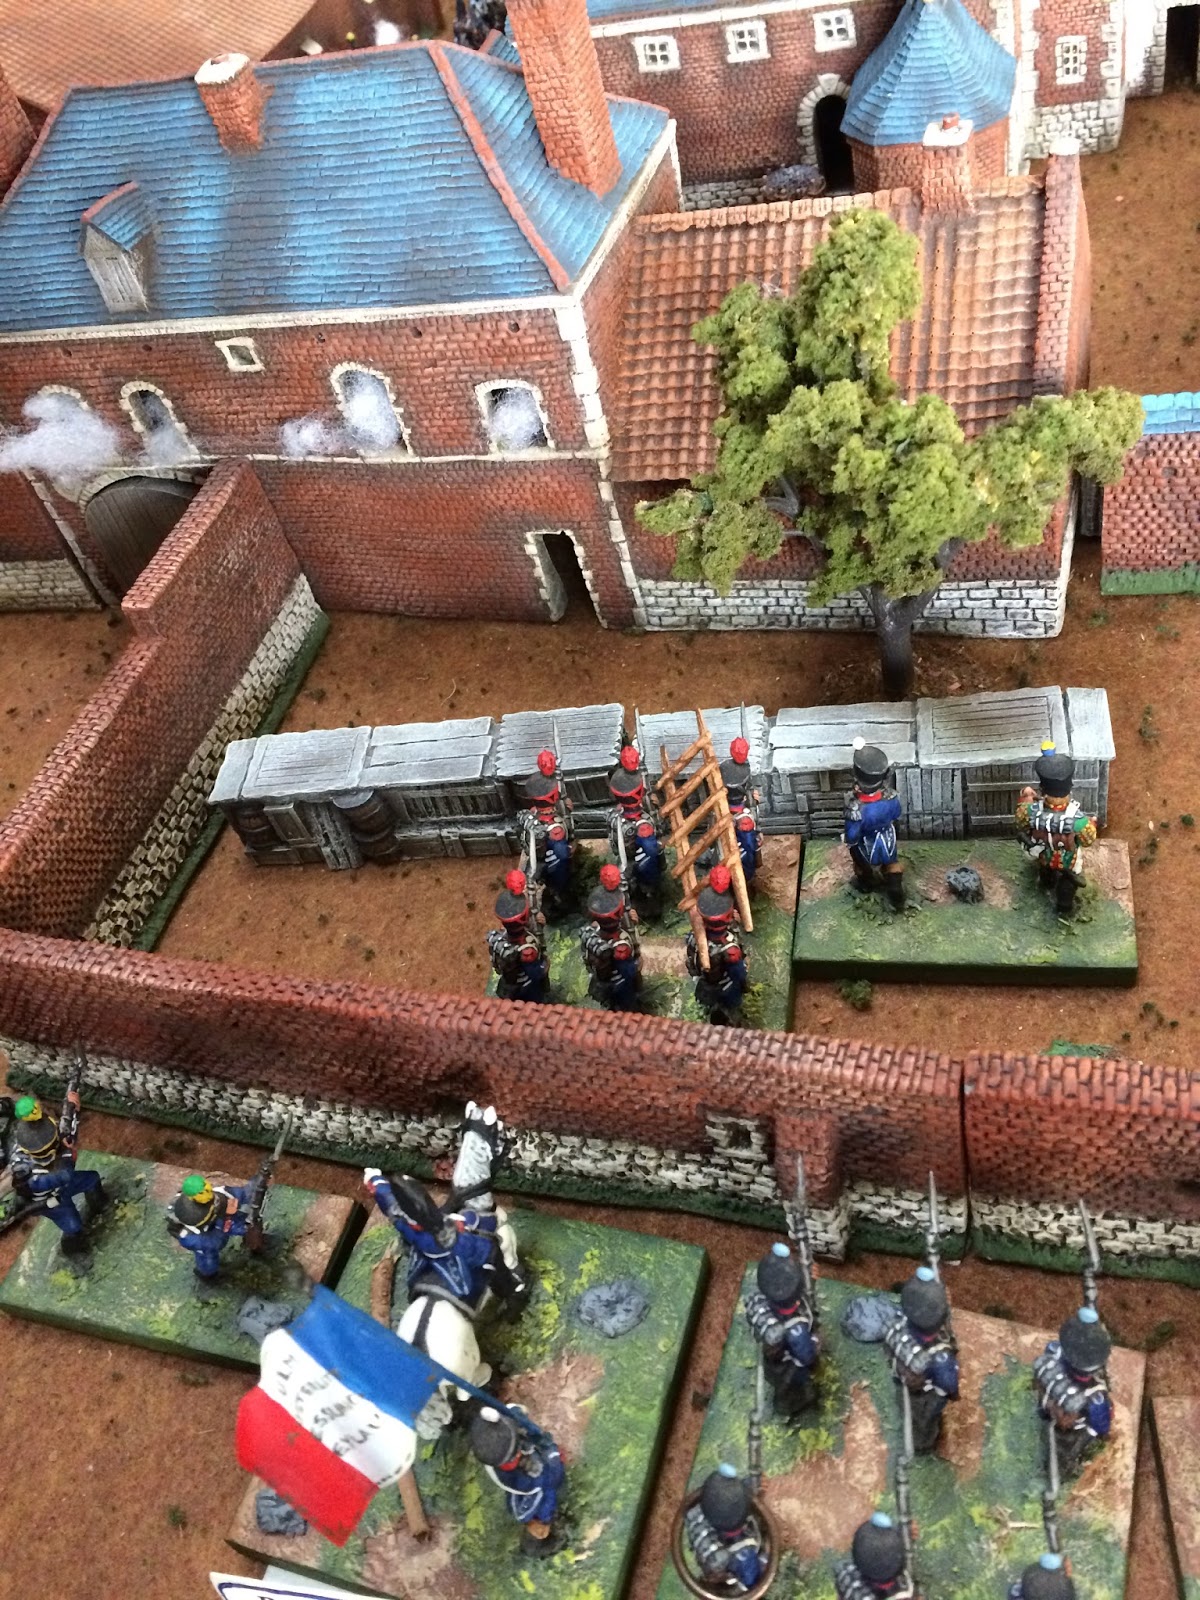
As many visitors to this blog will instantly recognize, the wonderful Hougoumont model seen below as the centerpice for this game is made by HOVELS (click here to visit the catalogue page on their website) -- one of the oldest and IMHO finest suppliers of wargame buildings in the world.
This particular set of Hovels Hougoumont buildings belongs to Michael -- though earlier today I heard a rumor it was being bought by JG, our rules author host for this game, who I imagine could not accept the idea of seeing those beautiful little buildings depart from his premises!
The funny thing is the title for this blog-post -- "HUGE-MONT" -- was coined by the same JG, referring to the layout with its many buildings. In general he prefers a "representative" or "stylized" version of terrain features (meaning shrunk down for playability purposes) instead of "diorama" pieces -- but based on the recent 28mm real estate deal, "Huge" or not, they seem to have grown on him!
It's a win-win-win situation, good for the buyer, good for the seller, and good for all the rest of us in the group, who will still have access to these fantastic terrain pieces!
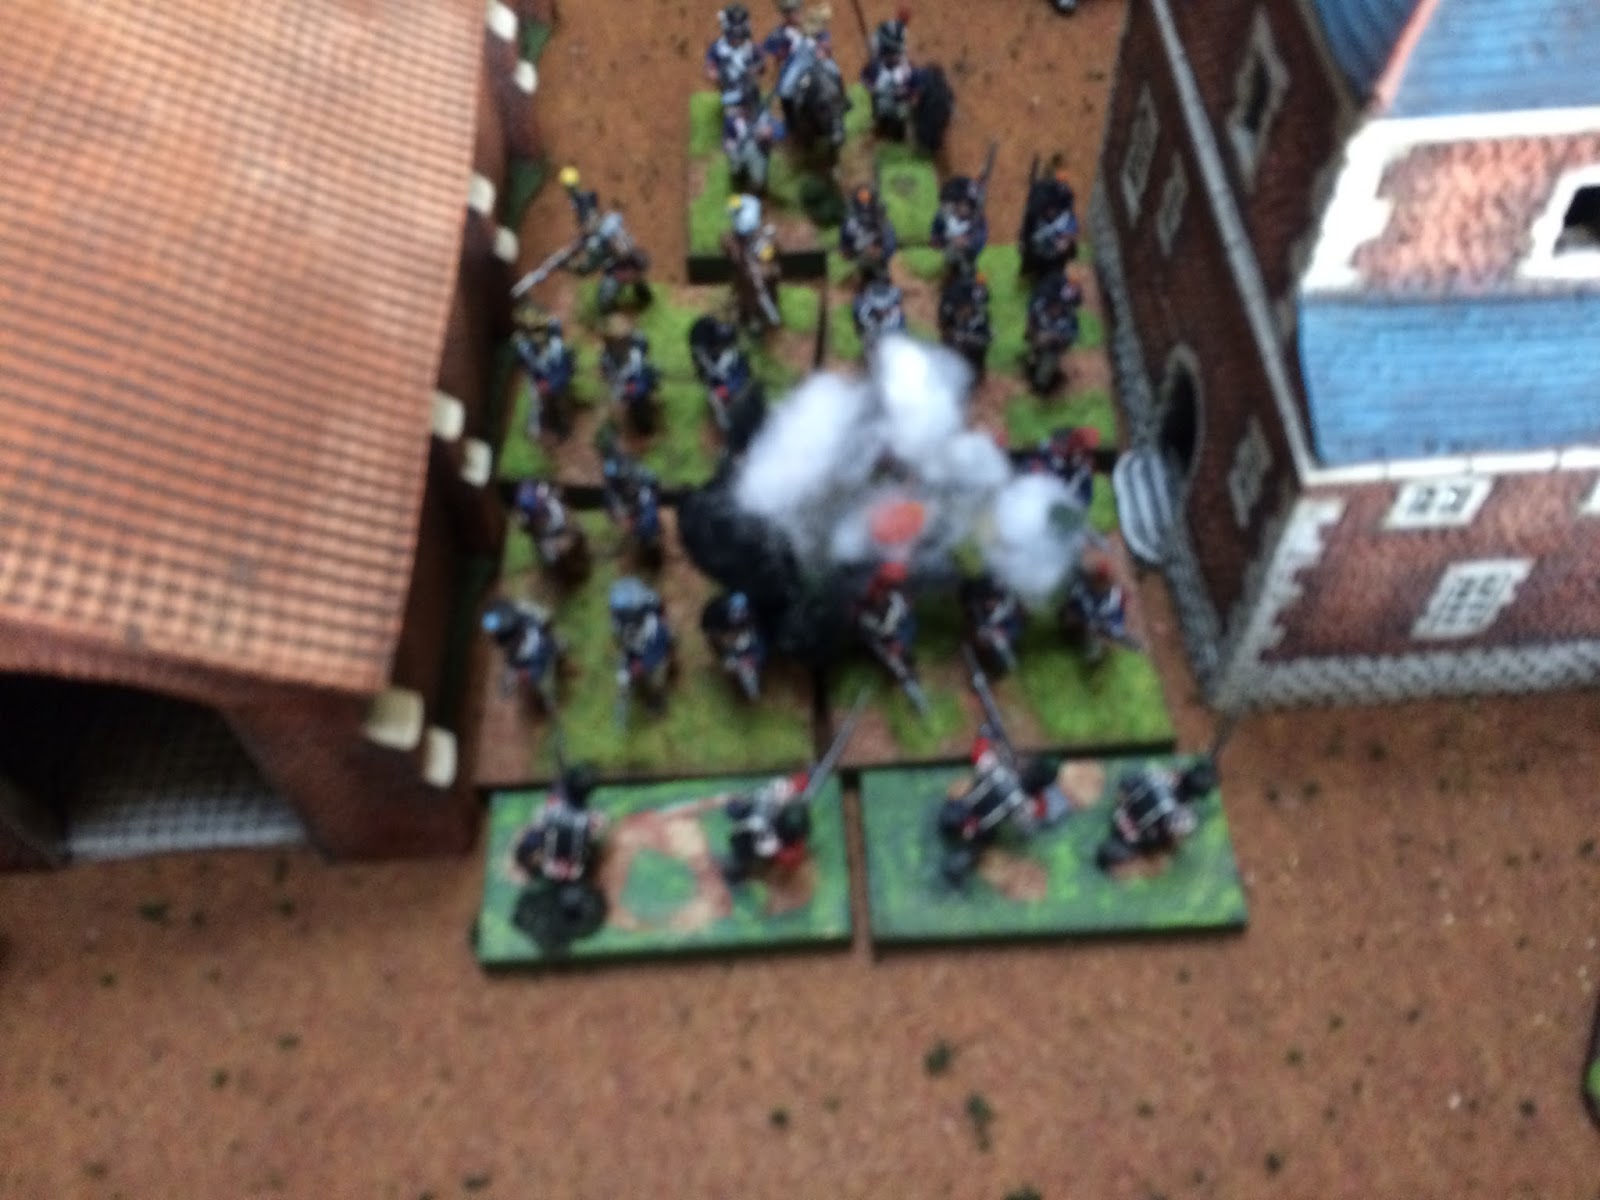
Here's some pics I took of the game, between leading desperate attacks on the South Gate and having my ill-fated-but-ultimately-victorious troops hit by short-falling rounds from our own artillery...


I hope to continue the rapid-fire pace of new posts by blogging about a
North-West Frontier/Afghan War terrain project I've been working on
the past few months. So if that topic interests you, please stay tuned...
Ethan
ReplyDeleteGreat looking game and some cracking pictures to booti have never really thought of the hugomount as a siege but now you point it out that's exactly what it is .
Best
Willie
Beautiful looking game. I like the morale mechanic, I do something similar (but only for Morale) for the simple for Neil Thomas 1 Hour Rules, by rolling greater than the number of casualties on 3D6.
ReplyDeleteThe board game Band of Brothers (WWII tactical) has a D10 based system, at the start everyone will be able to do what they want, but as they take yellow and then red compression, It becomes much harder to pass a test, but of course even a unit on red (needs a 1 to act) can pull a surprise out of the bag.
Also in this game, you do not test for everything, only those things that require some initiative, so units need to test to do reactive or opportunity fire for example.
anyway, a really nicely presented article - thanks.
What a tremendous sight, fabulous looking battle and repeort.
ReplyDeleteSuper looking terrain and figures and an interesting AAR
ReplyDeleteVery well written Mad Guru! I would have loved to play in this one. I really have to time my visits to California in hopes of getting into a battle like this. And I really have to take a look at those rules. Sounds like a great time!
ReplyDeleteLast Stand Dan
Great report! Thanks for posting
ReplyDelete/Mattias
An interesting post and a fantastic report, love your beautiful pictures!
ReplyDeleteThanks very much for all the kind comments, guys!
ReplyDeleteNorm, interesting to see your info about "Band of Brothers"!