Way back in November 2019, when I was finishing up the last touches on a Vauban fortress I had done a few tiny modifications to and painted from scratch for a friend (if you're interested in seeing more of that terrain project, CLICK on this LINK to visit the first of 7+ posts [!!!] on this blog that cover it) I set up an c.18th layout on my table and took a bunch of "postcard" or "chocolate box" type pics featuring the fortress, before packing it all up to send to its final destination.
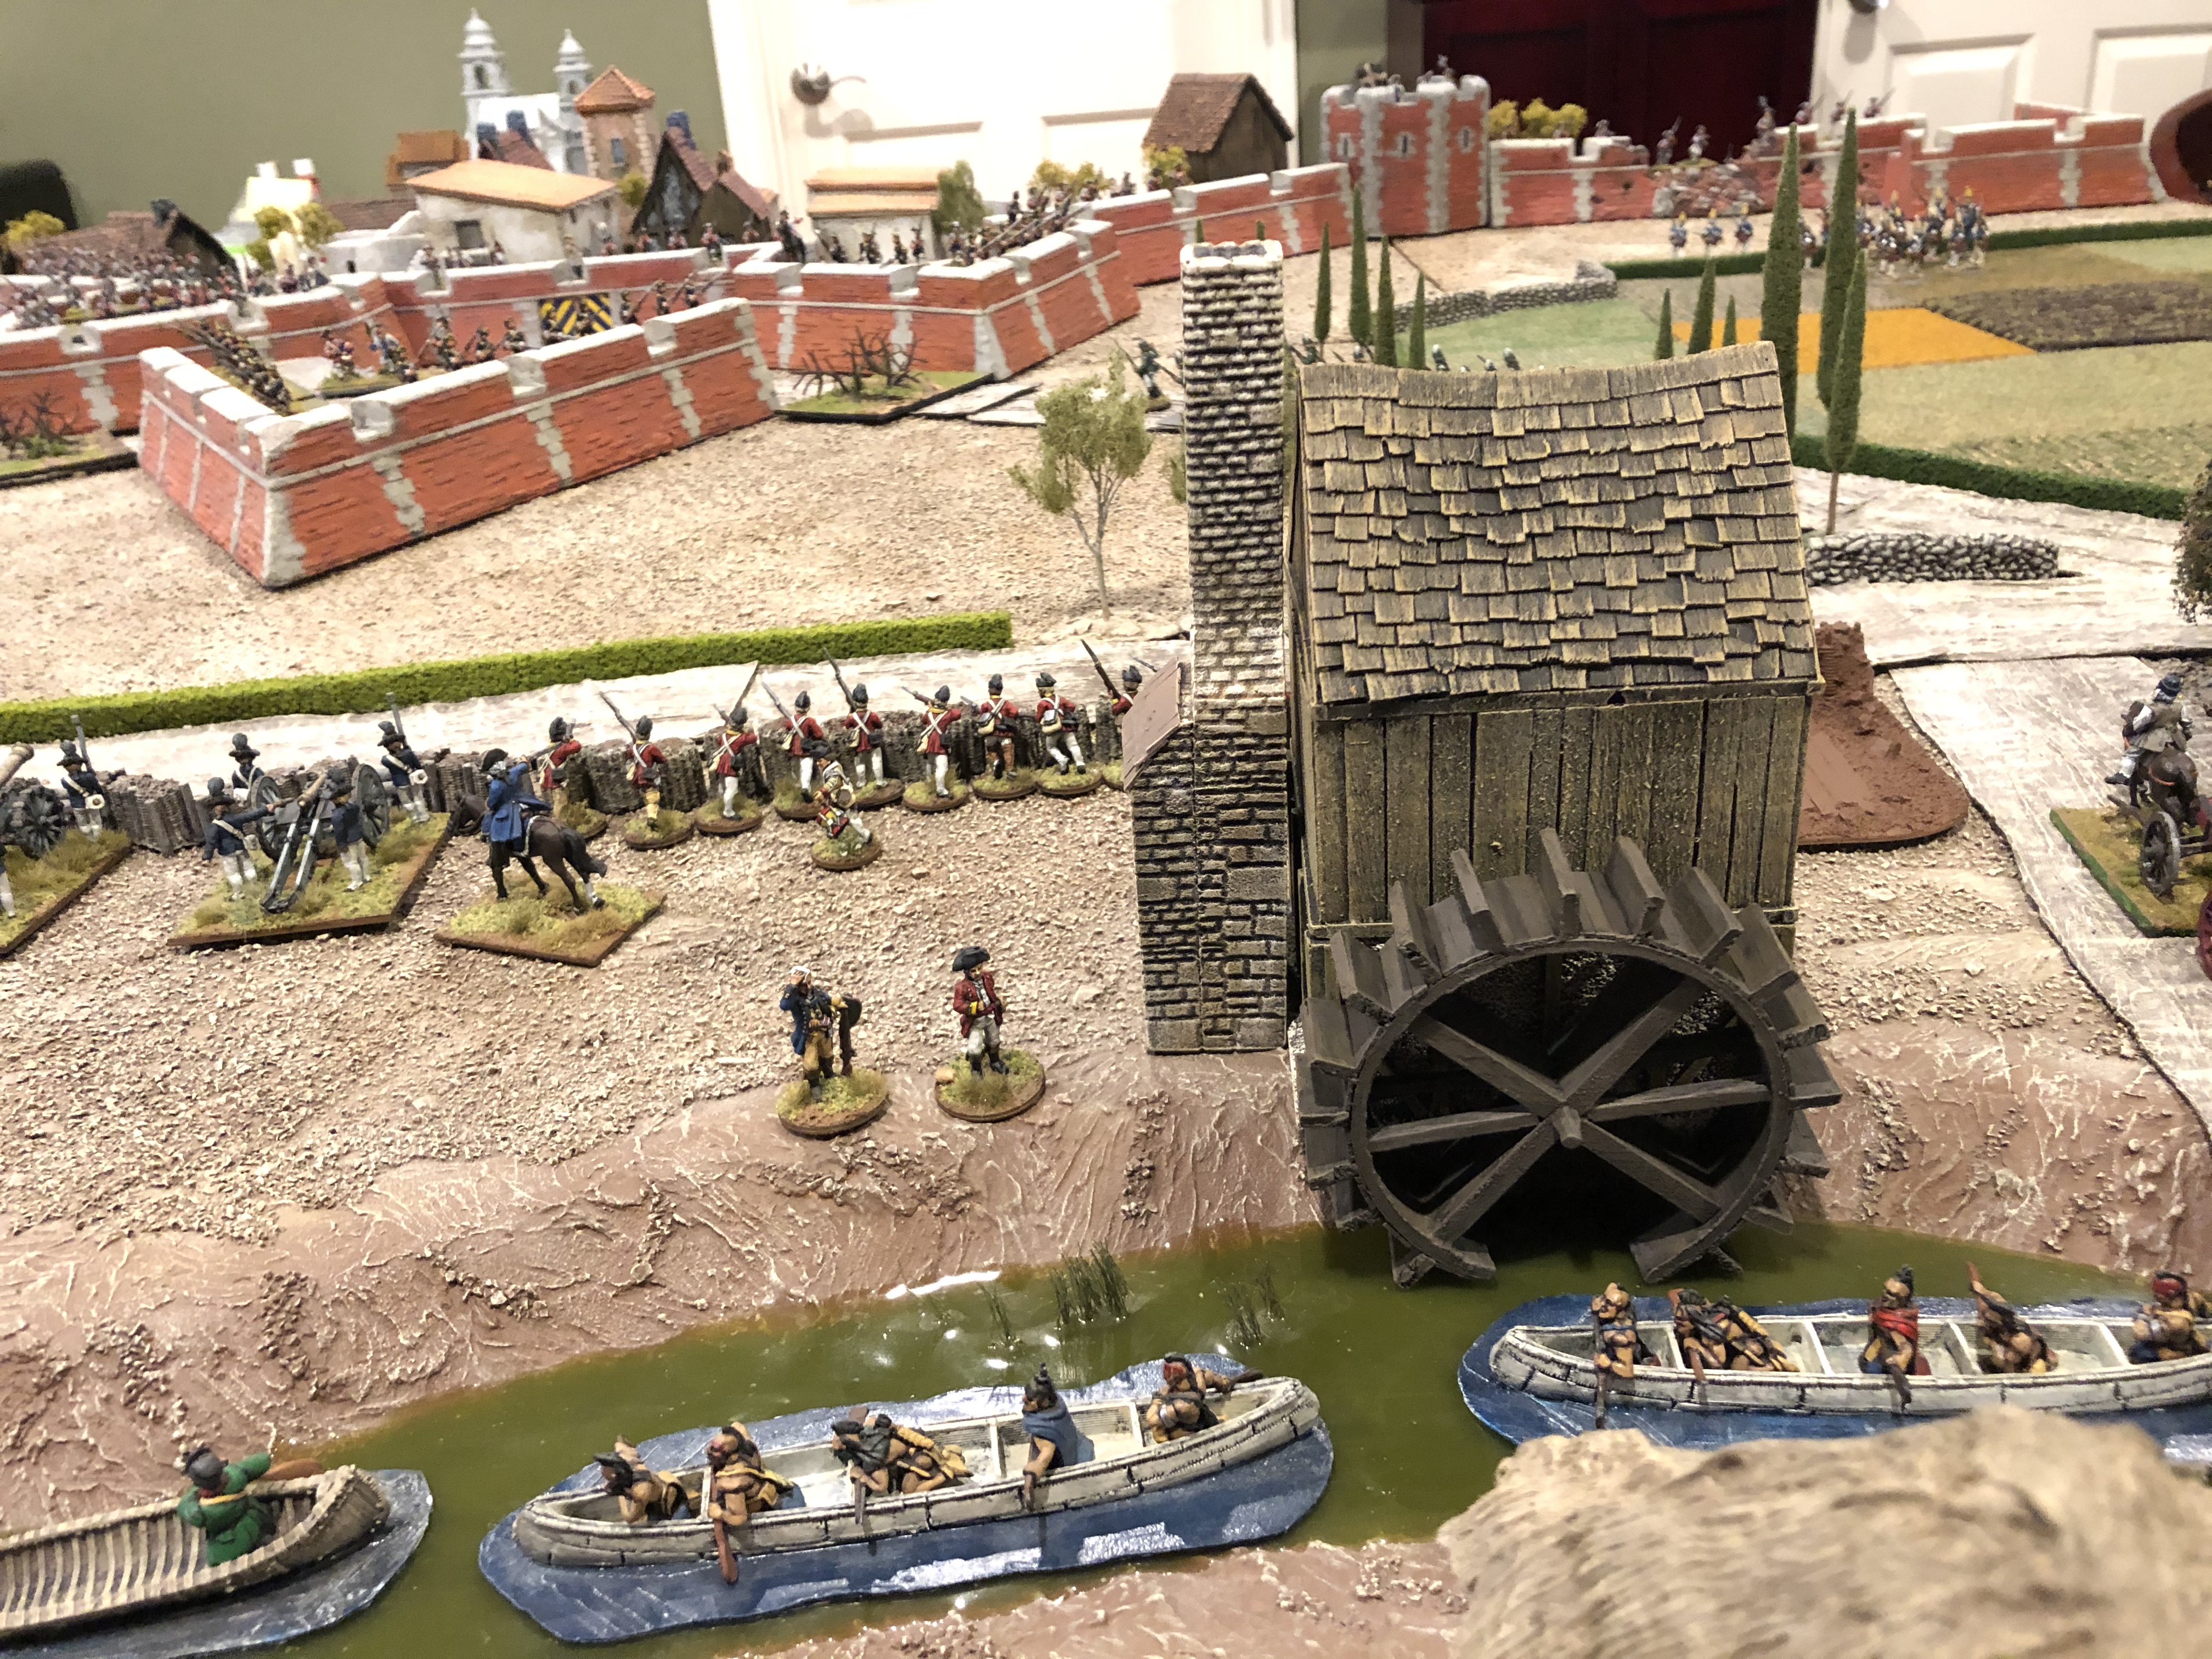
The layout included my river and after looking at the fort with the river it hit me that I had a watermill I'd bought for use in the c.14th-c.15th Medieval European games I used to play quite often, back before I built my "Maiwand Day" terrain boards. I dug it out and set it up alongside my river and realized that since the waterwheel itself had been built for use as a piece of tabletop "scatter terrain," it wouldn't work very well with a river built into a terrain board like mine. But I still loved the idea of having a waterwheel on that river, so... I built one from scratch that would fit better.
It may sound like a big deal but the only hard part was the idea for sourcing the wheel itself. Once I figured that out the rest was very simple and easy -- hence the title for this blog post.
The solution was staring me in the face inside my hobby storage closet: the cardboard ring (technically referred to as a "core") from an empty roll of masking tape.
I wanted to do a post on it way back then, but for whatever reason, sadly, never got around to it.
Once I had the "eureka" moment re: the masking tape core, the rest of the waterwheel virtually "made itself," as you can see in this series of WIP pics:
NOTE: It was 5 years ago and unfortunately I didn't take any pics featuring adhesives, but I'm pretty sure I used WHITE GLUE/PVA for everything. Since the only materials being glued together were cardboard and wood, once dry this resulted in a very sturdy model...
WE INTERRUPT THIS SIMPLE & EASY W.I.P. TUTORIAL where I decided -- after spray-painting the waterwheel a base-coat of FLAT BLACK -- that it would look much better if I glued on pieces of balsa to cover the exposed portions of the outer side of the cardboard core. It would have still worked without this, but adding the additional heft to the ring and more importantly adding actual wood texture and the slight gaps a the joins between the pieces, really improved the look once the dry-brushing was done.
WE NOW RETURN TO THE SIMPLE & STILL PRETTY EASY W.I.P. TUTORIAL:
The reason I finally got around to posting about this cool little project -- from 5 years ago -- is that I recently used my homemade waterwheel for my Ali Masjid game set in Afghanistan...
It worked well BUT... its color scheme was just too temperate. To really fit into with tabletop environment the wood finish should have been more sun-bleached, more pale.
I didn't want to mess with my homemade waterwheel -- which also did yeoman work on a layout I helped set up for the big Battle of Brooklyn game I played with a bunch of friends down in Anaheim a year ago, where it fit in perfectly...
So all of the above has led me to the realization that I am: a Wargames Terrain Nut.
When did I learn this for sure?
A week or so ago I had to repair one of the pickets on our fence and when I was digging around for some stuff in my garage, I was suddenly filled with joy when I came across this:
YES: one empty and a second near-empty roll of masking tape, ready to be turned into a bespoke Afghan/NWF waterwheel, complete with pale, sun-bleached wood finish! In fact... while thinking about it it also hit me that I can easily brush some GLOSS MOD PODGE onto the blades so they glisten like they were just in the water!
Once I get around to actually building it I will come back and posts about it, but for now, I leave you with these reference pics of real-life Afghan and Indian waterwheels...


Great idea!
ReplyDeleteVery effective, and nicely done. I've a closet full of stuff like card cores, cereal packet card, etc. I know if I throw a piece away I'll find a use for it the next week...
ReplyDelete