5. WEATHERING WASH
This is a somewhat involved process, courtesy of wargames terrain master builder CHRIS THE MODEL MAKER. It's not easy but not really difficult either. I would rate it as "moderately complex".
In order to proceed, you will need:
(1) A bottle of LEPAGE MULTI-PURPOSE WHITE GLUE. As far as I know, it is only available in Canada. For US, UK, and other non-Canadian wargamers/modelers, this will definitely be the most challenging part. The reason you need Lepage is that it is a water-based white glue that dries with a FLAT MATTE FINISH. Back in 2017 I dug into this a bit, with regard to the tag line on the bottle "Dries Translucent" and actually found one US brand that I thought might also work, but by then I had received a package of several bottles of LePage (oddly enough from the same expat friend of mine who I painted this fort for -- so close readers will now deduce that he lives in Canada!), and never followed up by ordering a bottle and testing it out. Anyway, it needs to dry with a flat finish or else your model building or fort will have a sheen. I suppose that for a Vauban Fort, if you're going for a stylized Toy Soldier type of vibe that might work nicely. But for most wargames I think it would be a problem. I suppose you could also hit the shiny finish with a dullcote spray, but since the entire point of this weathering wash is to add a DUSTY, CHALKY, worn-out look and feel to the model, so having to mess with the final look afterwards seems a bit silly to me.
(2) A hair-dryer. This should be much easier for US, UK, and other non-Canadian wargamers this should be much easier to get than the glue -- at least those of us who are married, or happen to be female.
(3) The last and easiest ingredient is BLACK, GREY, and TAN craft paint. I use Craftsmart Tan, and Delta Ceramcoat HIPPO GREY.
The original recipe for this wash -- to be used on drab and dry Afghan/NWF buildings -- only uses black and tan, but I decided to lighten the mixture by replacing one drop of black with a drop of grey, which I thought would tie the wash in with the portions of the grey stonework throughout the fort.


The FORMULA is:
1 x drop of Black
1 x drop of Hippo gray
6 x drops of Tan
1 x cheap 1" & 1/2" brushes
And one all-important spoonful of LePage all-purpose white glue
Also a small plastic container like the ones they sell multipacks of pudding or yogurt in at the supermarket...


Mix together until it forms a grayish drab slush, as seen here:

Then add WATER until the container is about half full, and mix thoroughly again, watering down the slush a great deal...


Now comes the really fun part, and the biggest challenge after tracking down your bottle of LePage's glue. If at all possible I suggest doing a trial-run on a test-piece before you work on your all-important model building.
BRUSH ON the mixed wash with and as you go, use the hair-dryer to DRY IT. If the building is made from anything other than hard resin or wood, I suggest setting the dryer to "LOW", in order to lower the risk of it heating up the building material to the point where it may start to dissolve, which needless to say would be a BIG PROBLEM! This is another reason why doing a test on something made from the same material as your model is a smart move.
Throughout this process do your best to keep the side of the model you are working on LEVEL at all times! This will minimize the uncontrolled spread of the wash beyond the area you are focused on drying.
Despite your best efforts, with larger buildings such as these fortress pieces, the wash will inevitably slip over edges and corners in spots you won't catch. Don't freak out, as you should be able to fix these spots later.
As mentioned above, drying the paint-&-glue mixture instantly with the hair-dryer will give the model a worn and chalky finish that I find perfect for old buildings.
After brushing and drying your entire model with the wash, go back and check for those pesky dribble spots and touch them up with appropriate colors for that spot -- be it a shade of red for the brick, or a series of drabs and/or greys for the stonework.
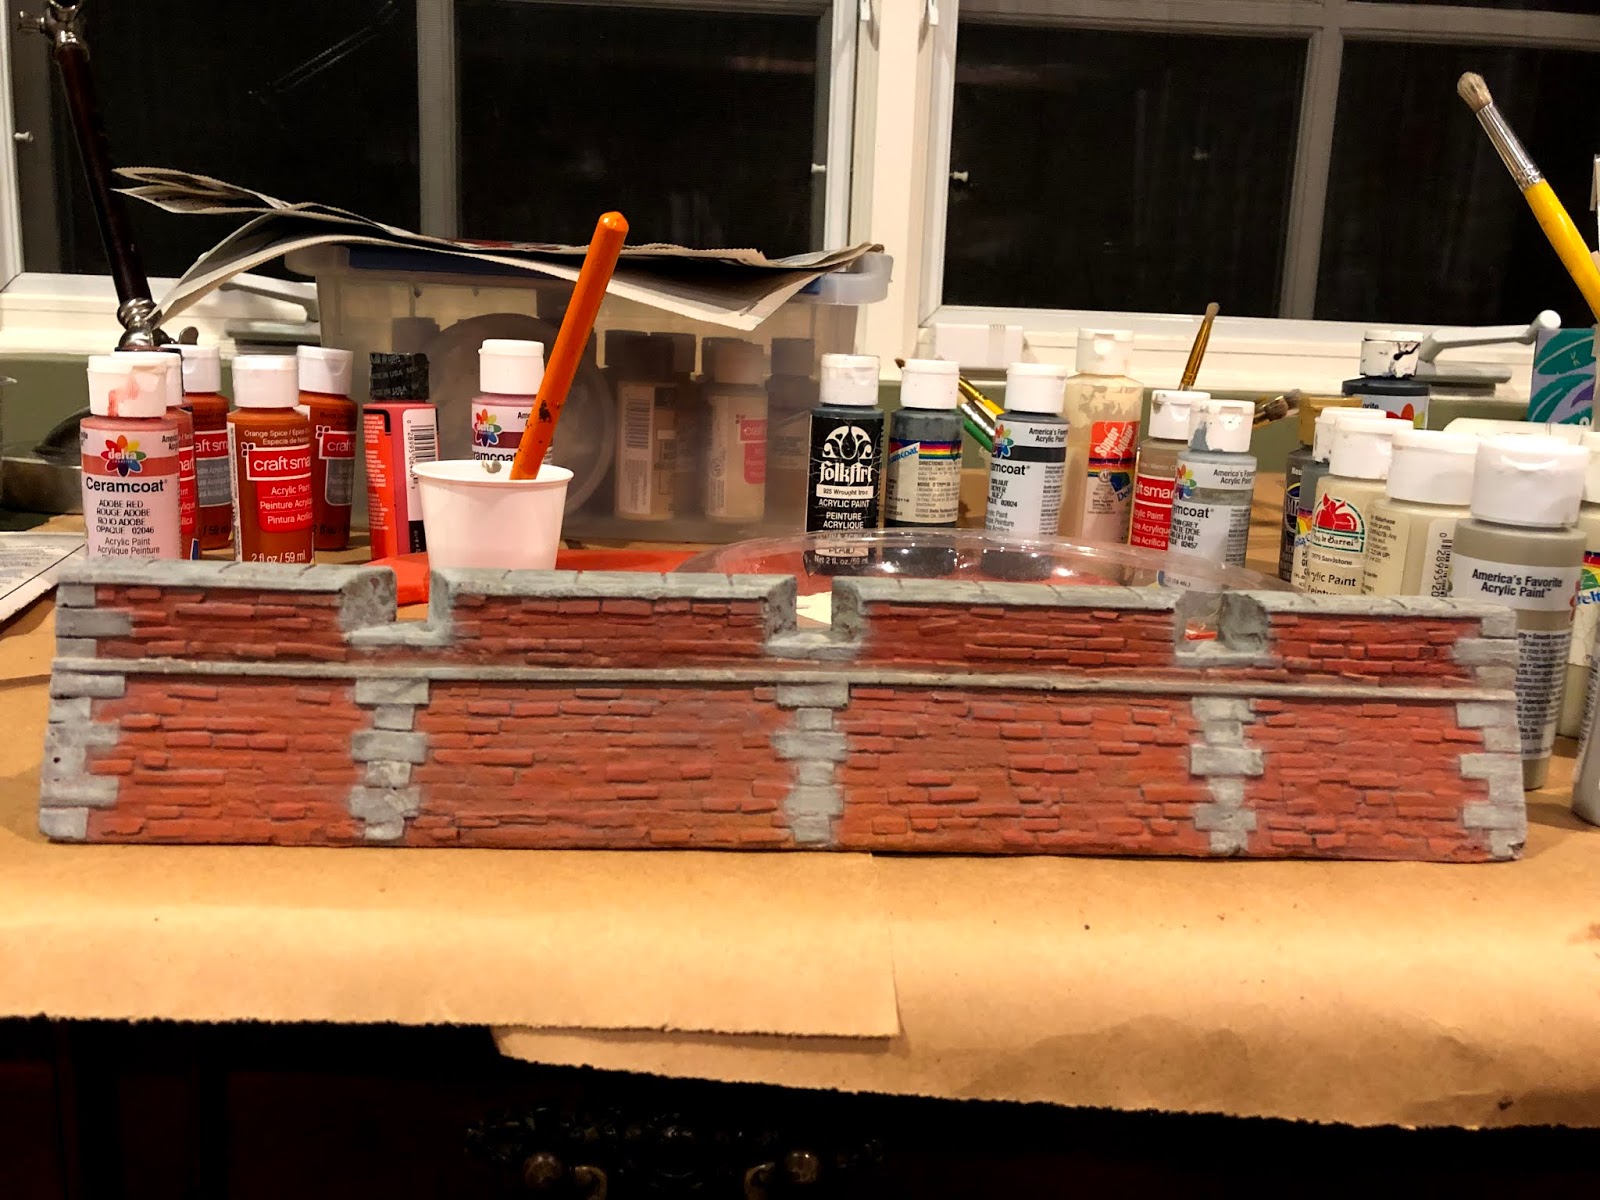
Here's some pics of the first wall section after weathering as described above:


6. STONEWORK

After further studying photos and artwork of Vauban forts, and pondering the look of the thing, I decided to go back and paint the lines of stones on the front and rear of the wall in grey, instead of leaving them brick red. When I was done with this step I did another, smaller, weathering wash focused only on those spots, so they'd have the same "look" as the surrounding walls...


7. GATEWAY
I then moved on to painting and weathering the GATEWAY WALL SECTION in the same manner, though I covered the doors themselves with MASKING TAPE before the weathering step.

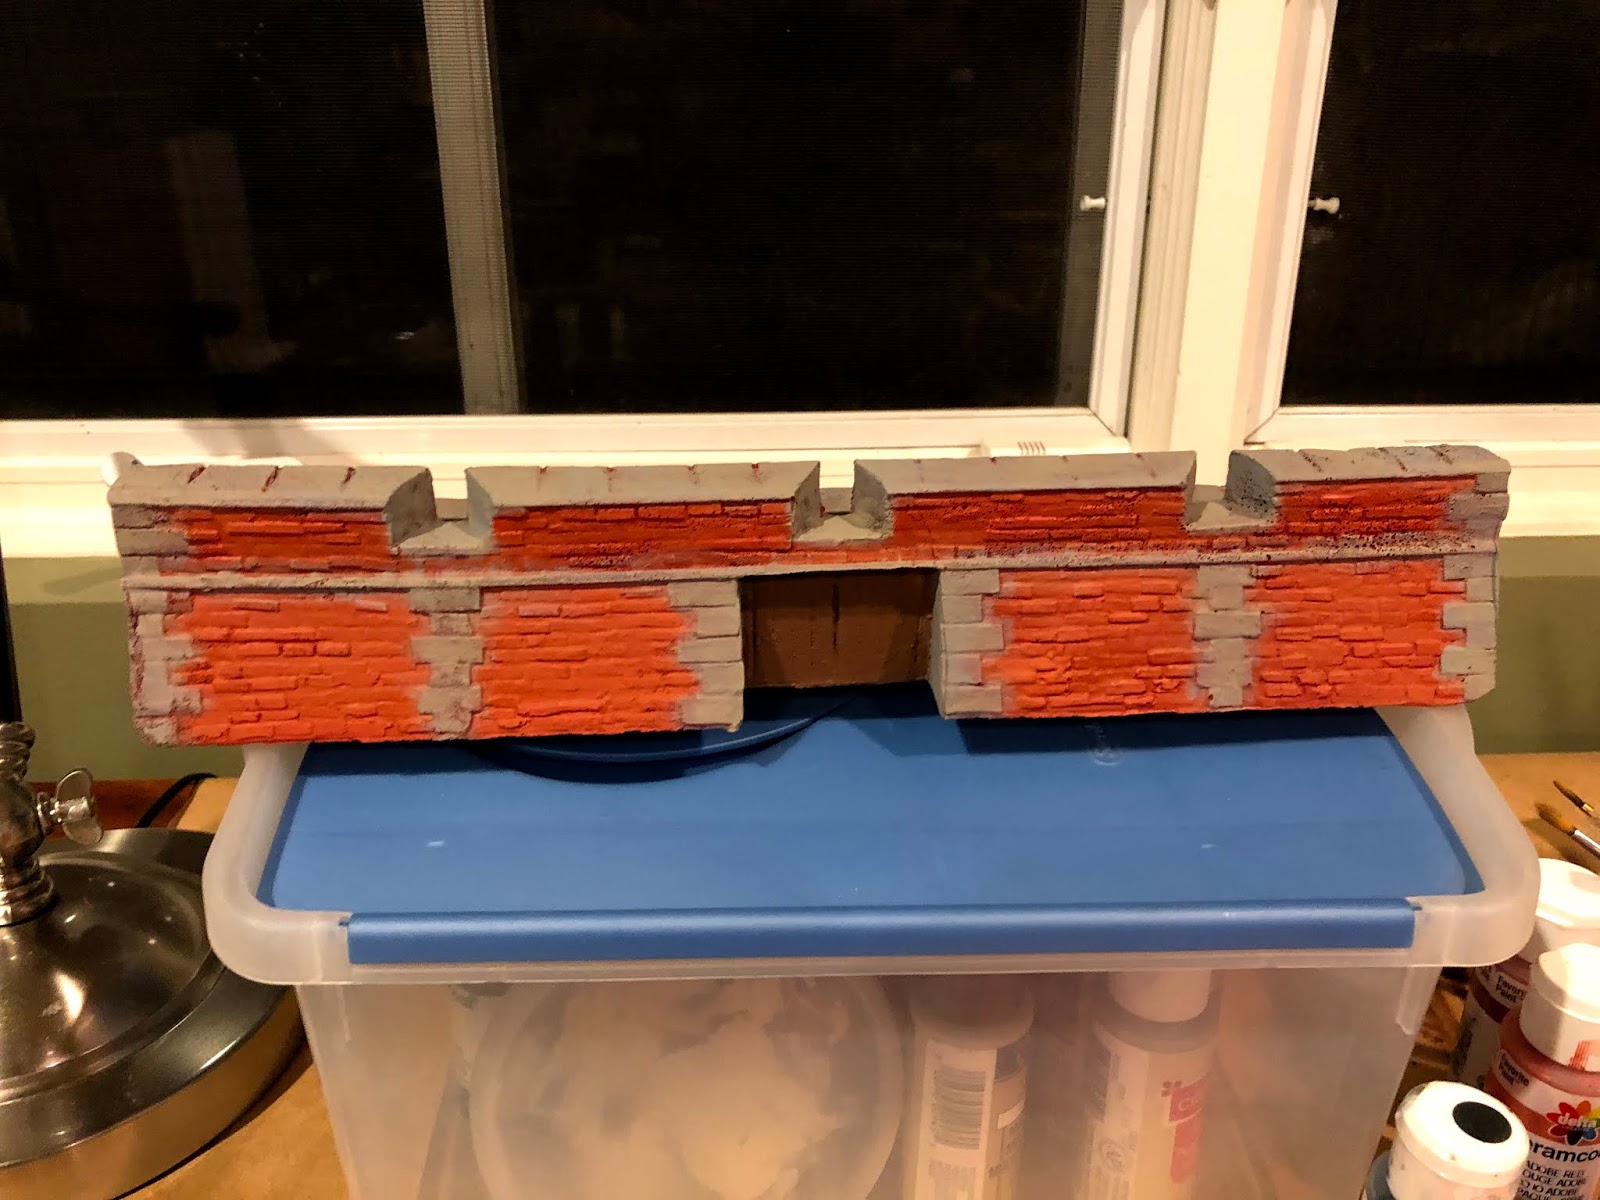


Here's a glimpse of the BASTION, which was HUGE and imposing, and sitting there waiting to be painted, struck me as equal parts exciting and daunting...


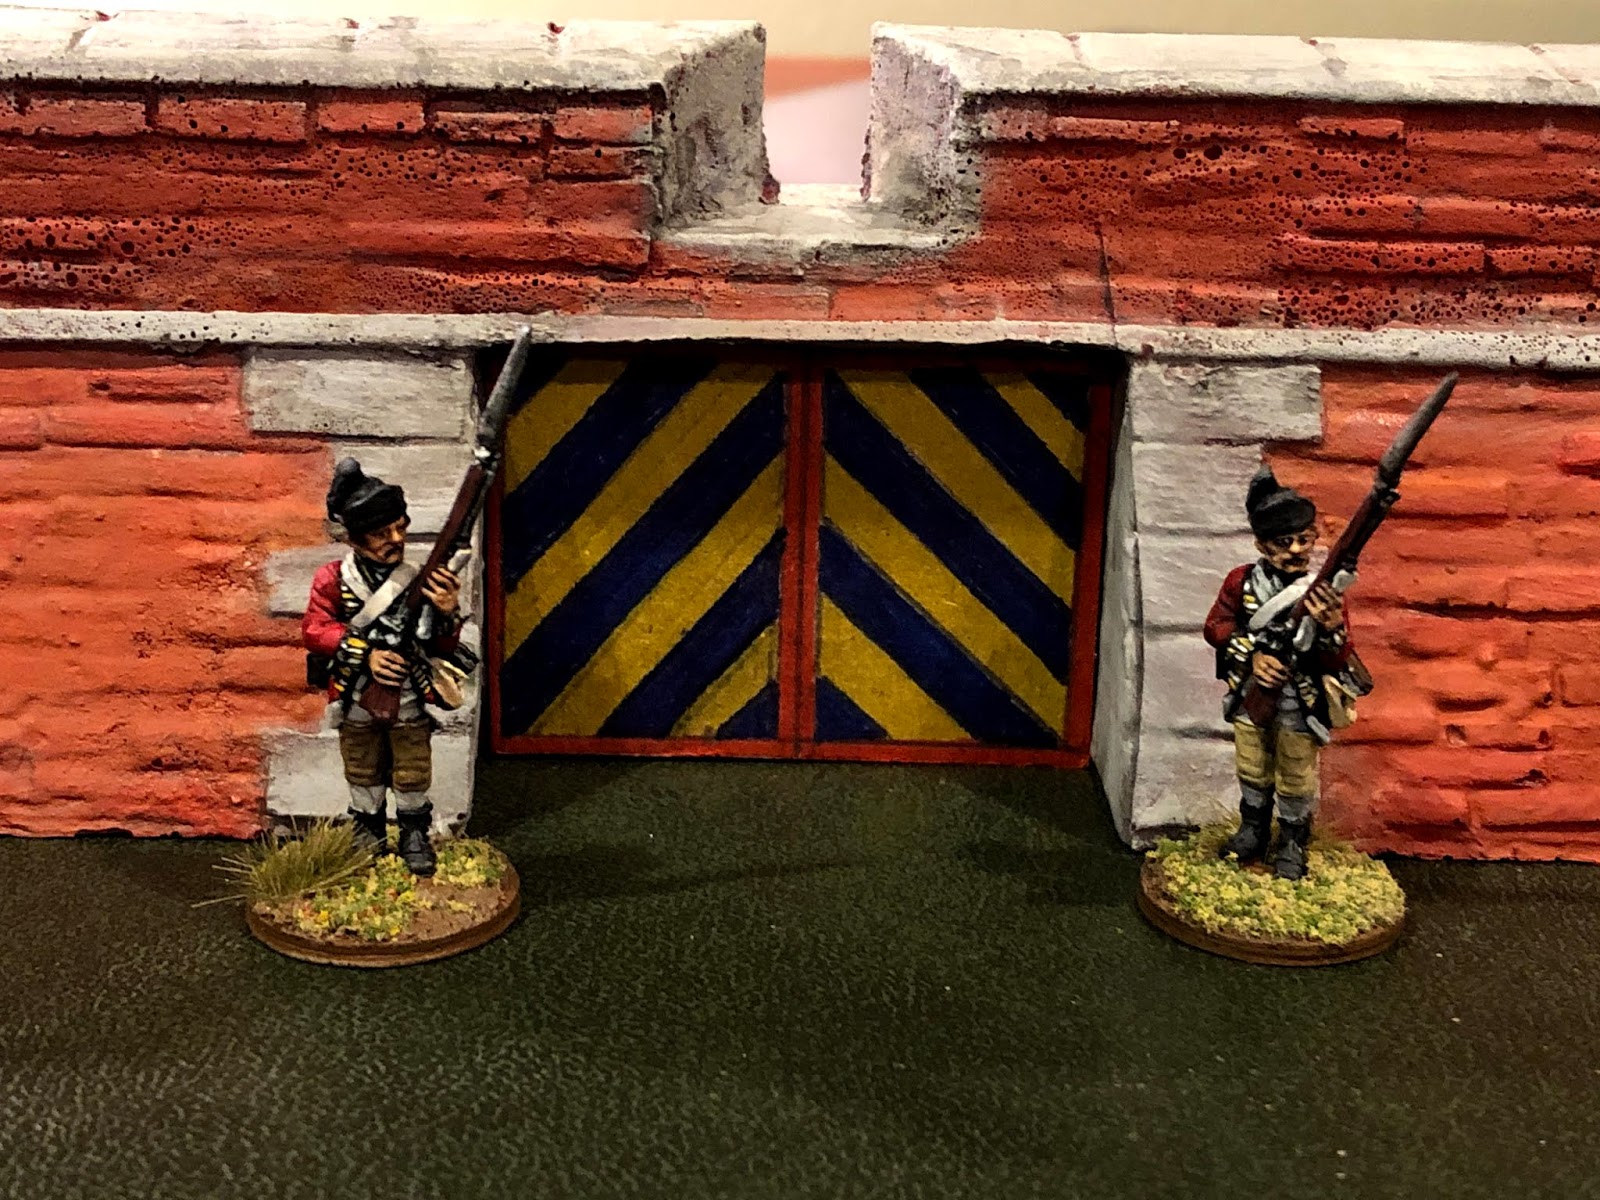
8. HERALDIC DOOR
I then was struck by a fancy, and decided to break up the endless shades of red and grey by making a HERALDIC DOOR, in kingdom or regimental colors. It started with just a piece of cardboard, a pencil, ruler, and some magic markers, but I was pretty happy with how it turned out:


No comments:
Post a Comment