12. SECOND BASTION ARRIVES
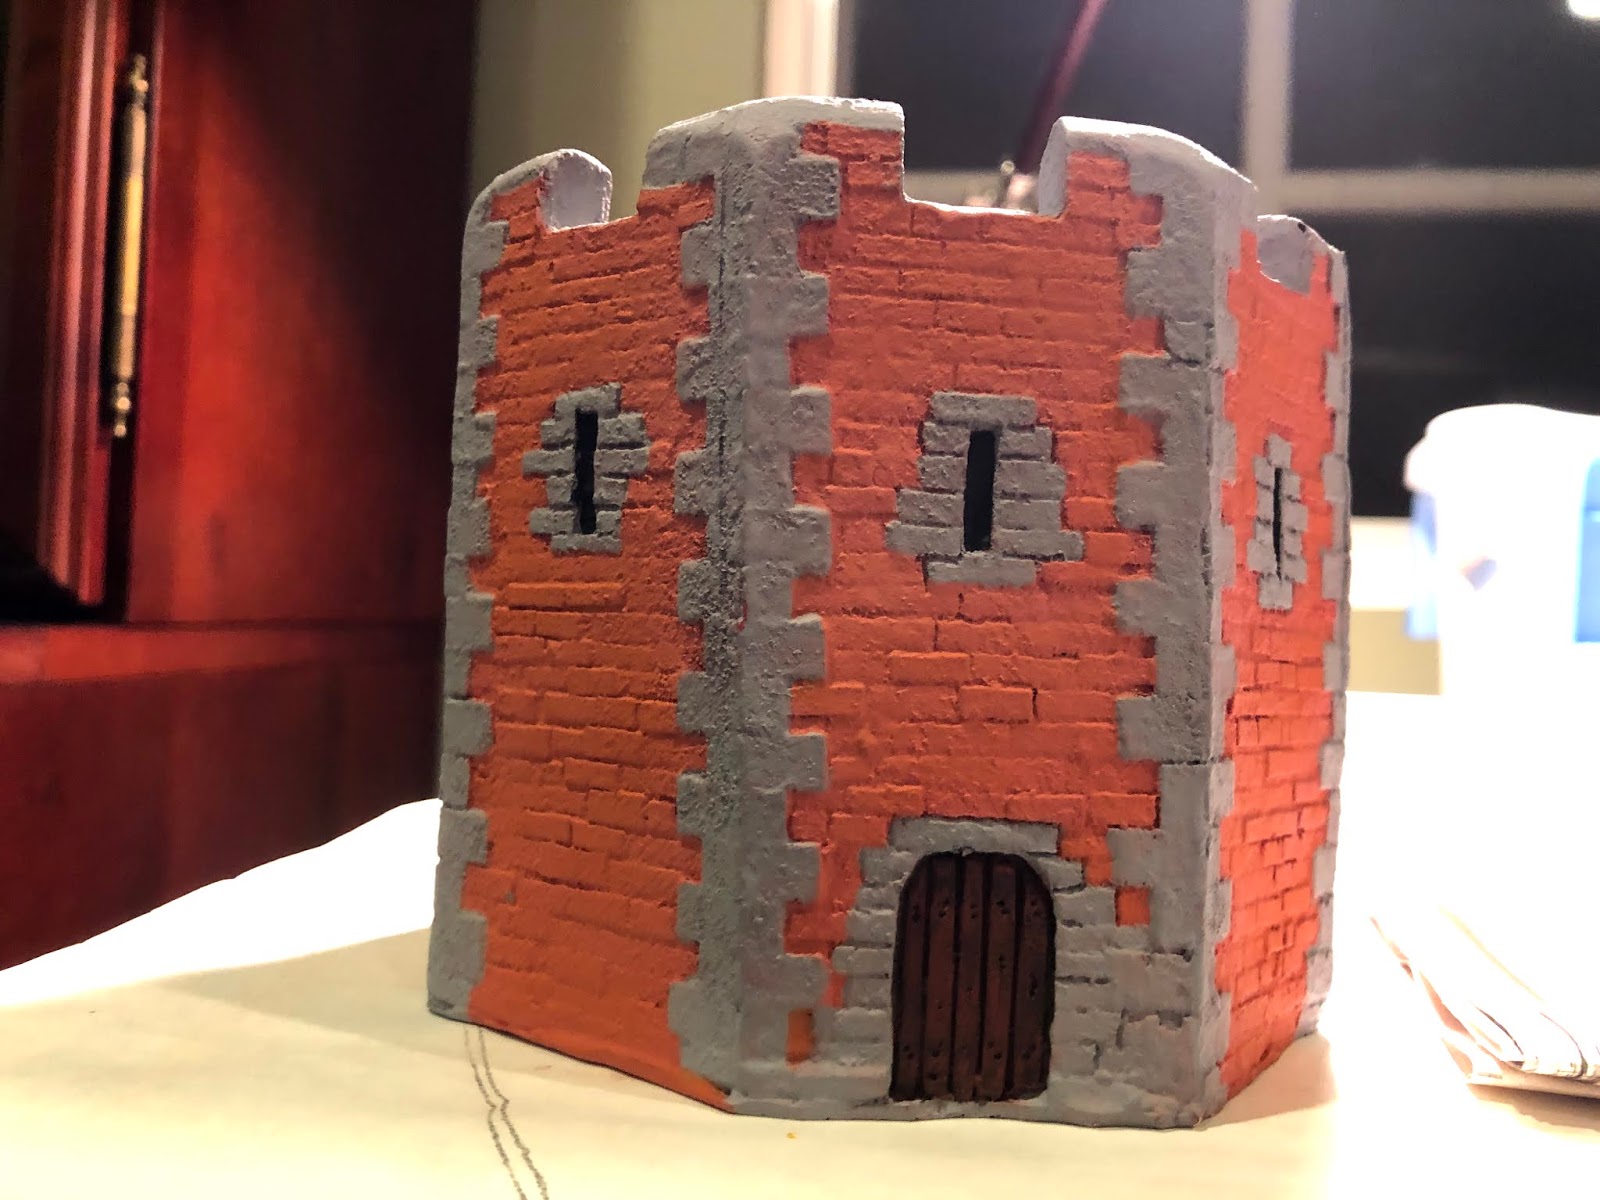
At this point, my friend the Vauban owner was happy enough with what he'd been seeing (via emailed photo updates) to order 2 new pieces: a second bastion and a second tower. Both were brand new from Magister Militum, and like the spare ramps, were cleanly cast in white resin. First to arrive at my doorstep was the bastion, which looked impressive to me...


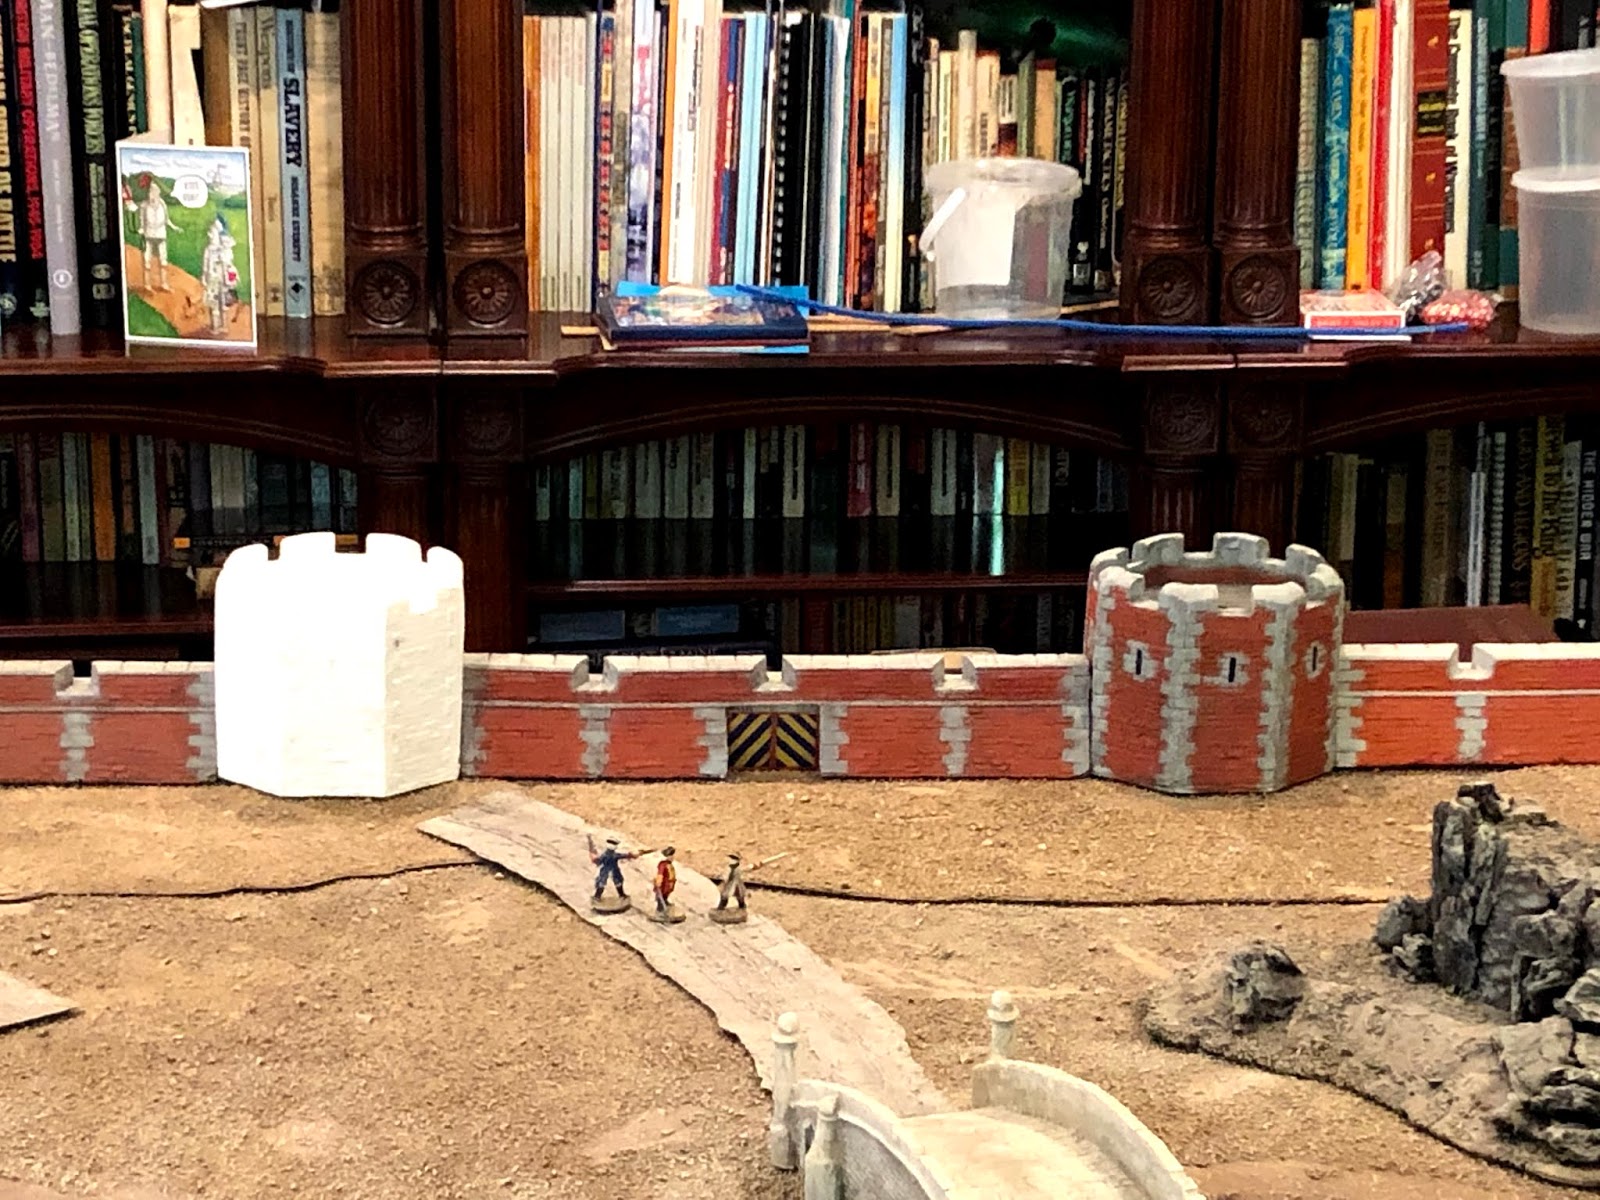
Even better was seeing it laid out with all the other parts of the fortress. I had actually suggested he get the second bastion, and I felt the view confirmed it was a good choice.

After that it was back to painting infinite red brick, this time on the RAMP wall section...


13. RAMPS WEATHERED


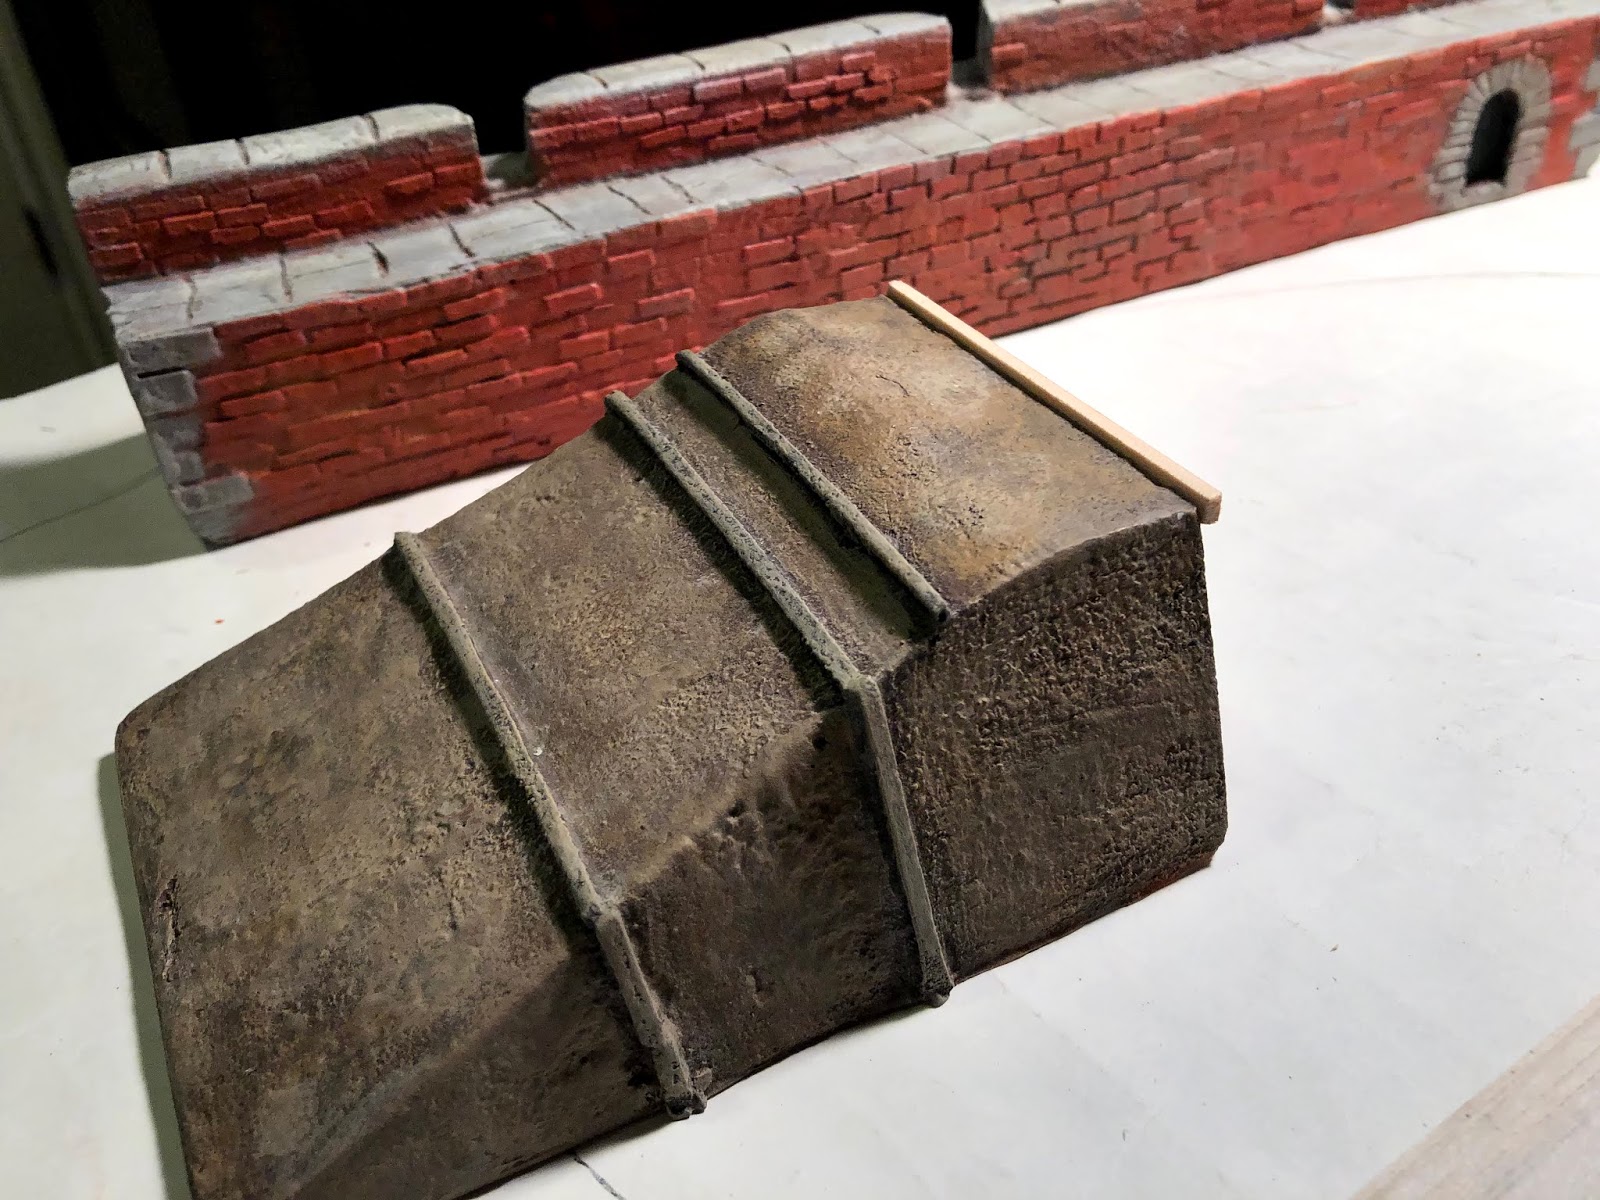
As previously mentioned I'd been pondering how to fix the height mismatch problem to get the spare ramps to line up better with all the wall sections. After a while I realized the simplest, easiest, and I believe the best solution was to add a brace across the top of the spare ramps, which would also make them look more like the molded-into-the-wall ramp.
I took out my stash of used BBQ matches and mini balsa and bass wood beams, searching for the right size...


Then another package arrived from Magister Militum: a second Octagonal Tower...

This was also cast in white resin, but had a slight imperfection from bottom to top along one of its eight corners...

I wasn't too worried, and figured this wouldn't take away much if anything from the look of the painted version. What gave me a bit more pause was realizing I was going to be painting EIGHT MORE rows of grey stonework!
The question can be asked if it was really worth it to hit each piece of stone with 4 different colors of paint, requiring not only 4 x as much work but also 4 x as much painting time as well as drying time for each coat. It's certainly not needed in order to end up with a nice looking version, but to me it was worth it in order to make the finished fort look the best I could make it look. My approach to the stone was somewhere in between a HEAVY DRY-BRUSH and a SOLID COAT of paint. The intent was to allow just a HINT of the previous color to emerge through the color that goes above, and so on. I believe this approach also adds a bit more solidity to the finished look.
I put the new Tower down, for a look --


14. RAMPS & WALL WEATHERED
After finishing painting the ramps, I mixed a fresh black & grey version of the wash for the wall itself...
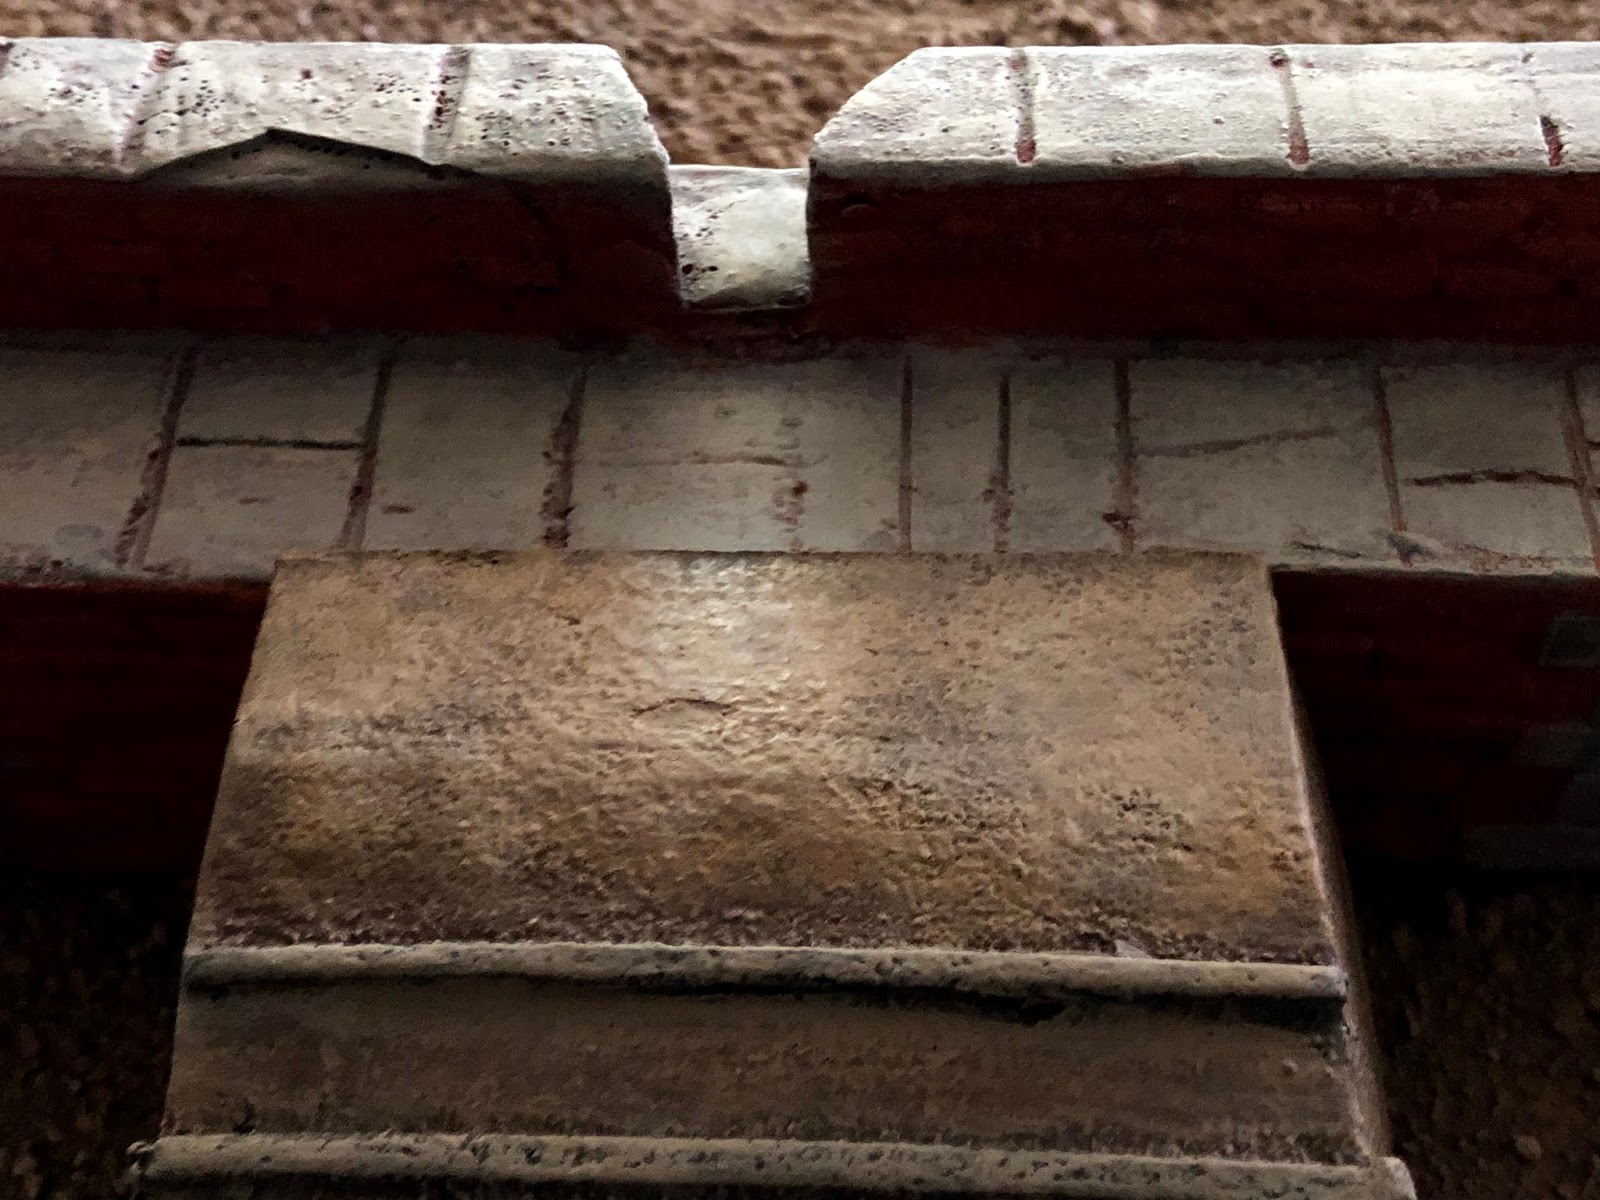
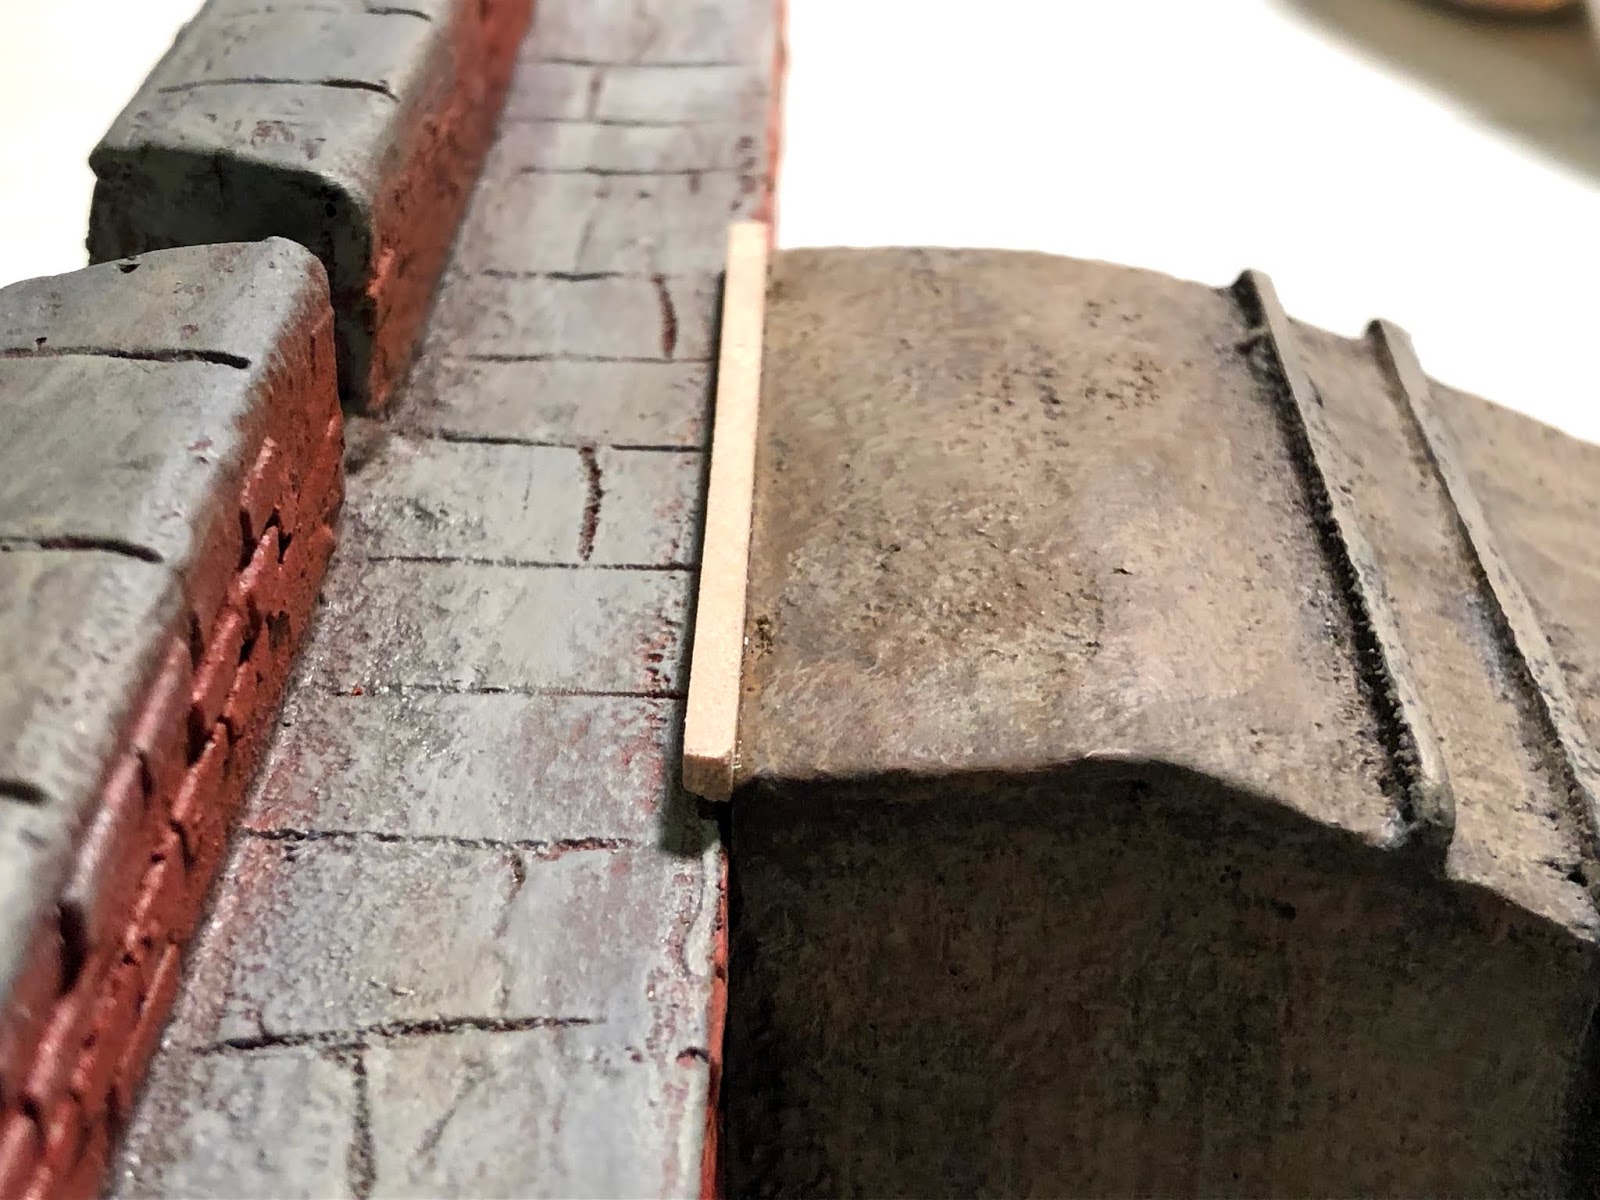
Before getting started on the added wood braces, I needed to WEATHER the ramps themselves. For this I mixed the classic old recipe for Chris The Model Maker's glue-wash -- using 2 x drops of black/6 drops of Tan, instead of one black and one Hippo Grey. I also cut the serving size in half, since it would only be used on the 3 x ramps. So the formula was: 1 x drop of black + 3 x drops tan + 1/2 spoonful of LePage All-Purpose White Glue (Dries Translucent)...


15. TWIN TOWERS
Now it was time to go back to the spray-paint base-coats for the new Bastion and new Tower. I took the old Bastion out with me just to have a reminder/guide of how I'd done it the first time...

My trusty hound and sometime painting accompanier, Samuel...

(I also have a 28mm version of Sam, which come to
think of it I must dig out and put inside the Vauban!)


And then it was back to painting more RED BRICKS in all their glory...


Here's a glimpse of things to come -- the BREACHED WALL SECTION -- which I admit turned into a bit of a conundrum... before happily coming together in the end (several weeks after these 2 photos were taken)...


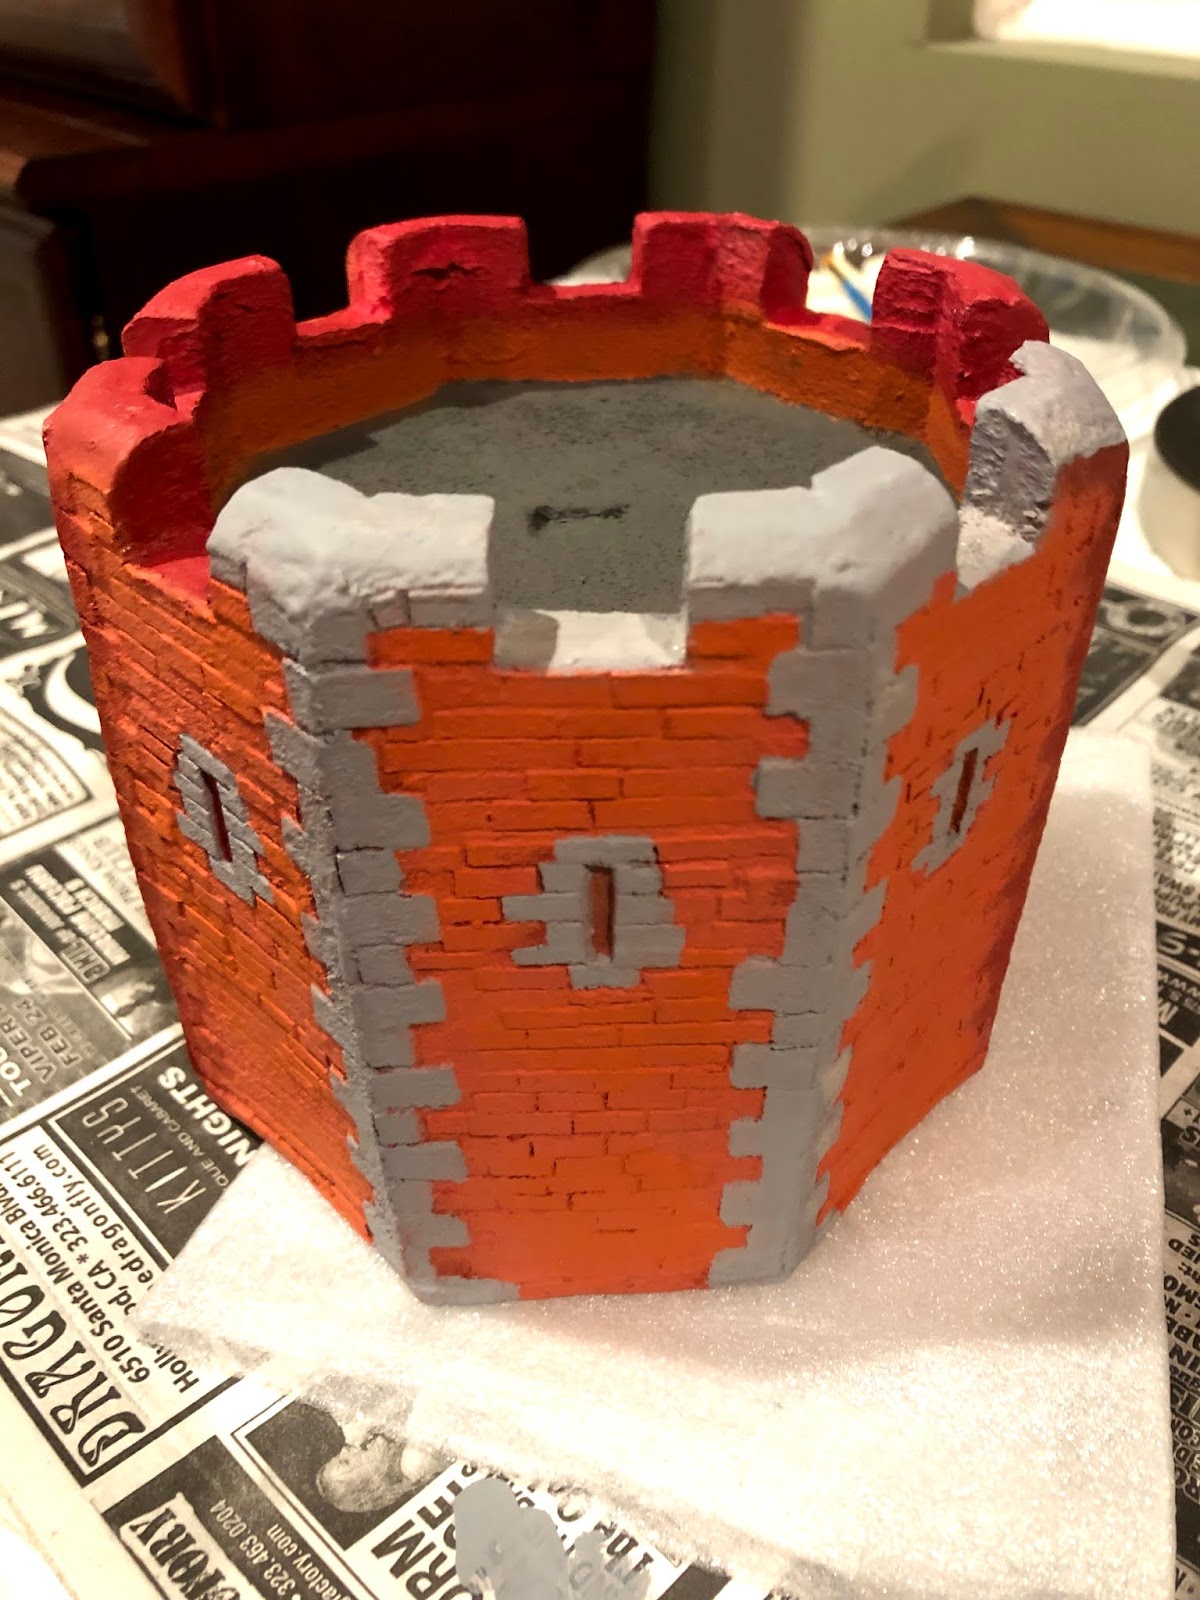
Back to Tower #2... and it's 8 more lines of contrasting RAIN GREY / MUDSTONE / QUAKER GREY / SANDSTONE stonework...


Here's some pics showing the second/final color I used on the Tower roofs:
After starting with Craft Smart DEEP GREY, I gave it a dry-brush of Craft Smart DARK GREY
(which is a lighter color!)


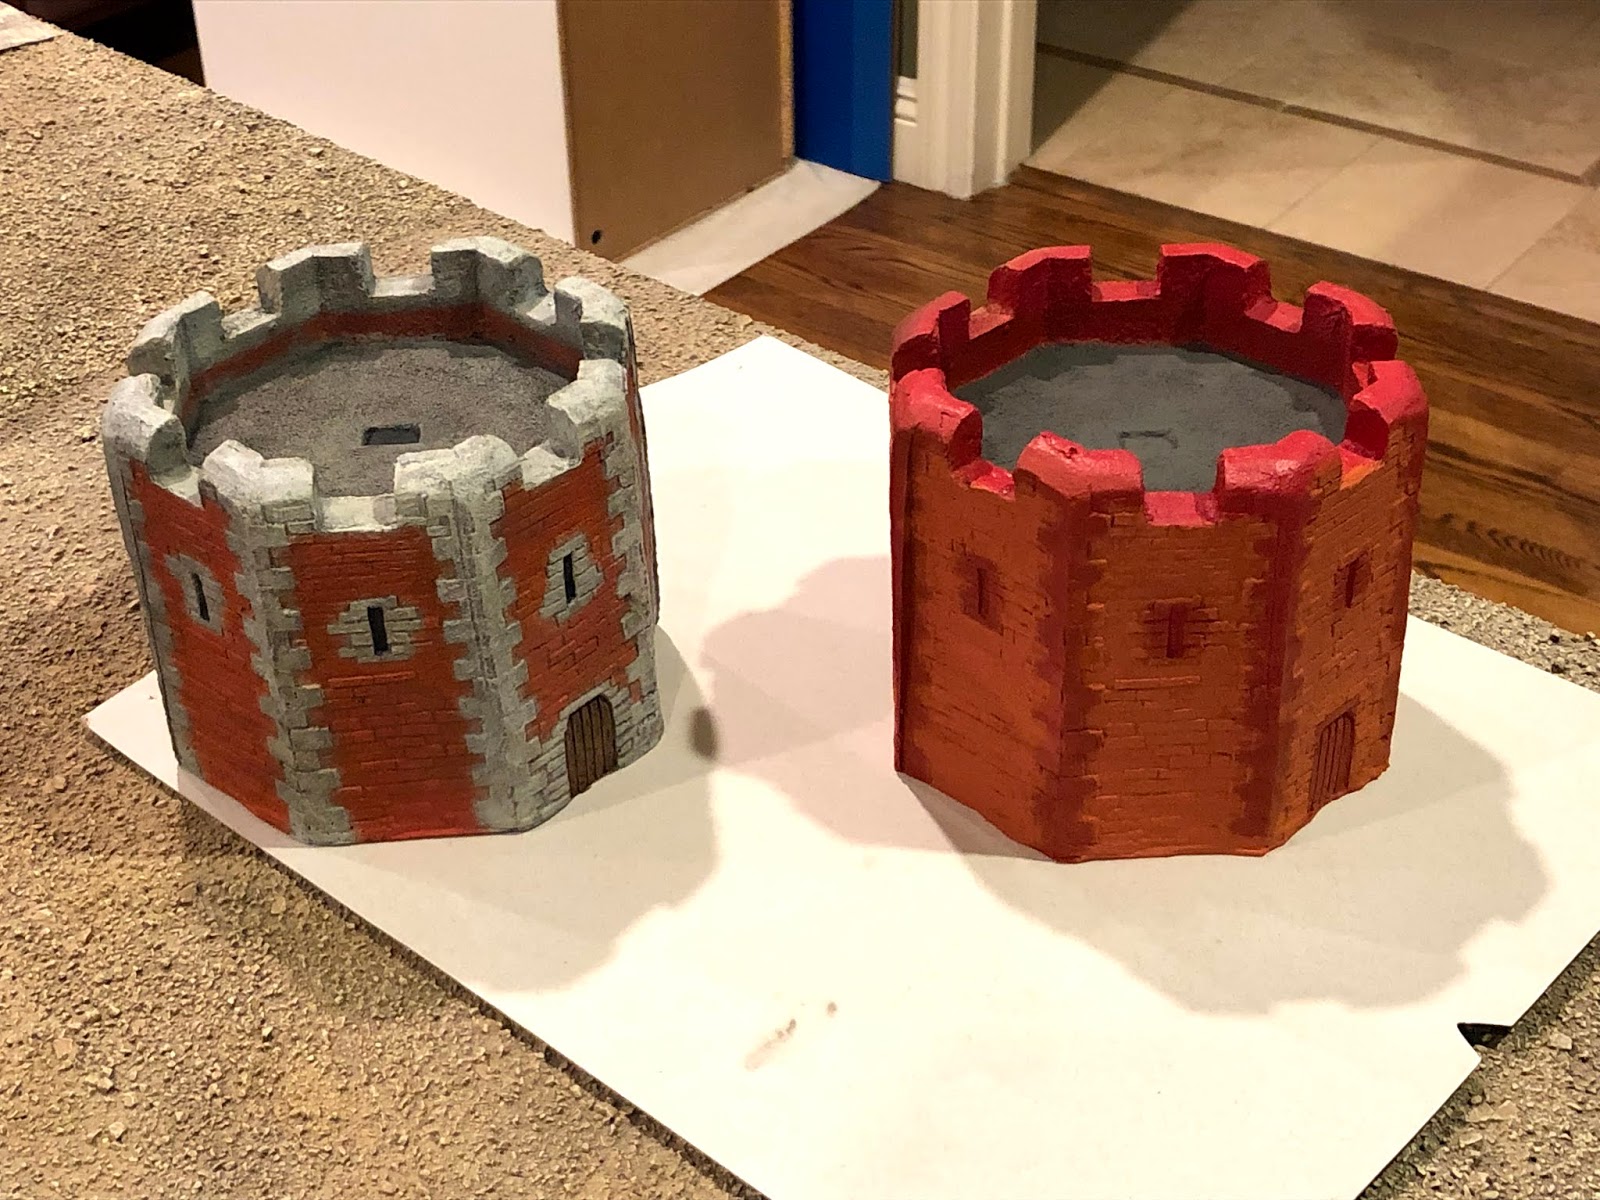
With the Twin Towers in place I thought the fort was looking pretty good...


But they'd look even better after Tower #2 was WEATHERED...


Now it was time to pull the masking tape off the molded front doors and give them a nice simple wood paint-job. I figured the plain wood doors might come in handy if my friend was using the Vauban in a F&IW setting while the fancy colorful Heraldic doors would be reserved for more formal European settings like the WSS or SYW -- I do know the SYW and F&IW were the same war, but you probably get the idea!


For now that was it for the doors -- but they will be revisited.


16. RAMP IMPROVEMENT
After realizing I didn't have any perfect size mini timber on-hand, I visited my awesome friendly local hobby shop (one of the best hobby stores in the entire USA, and they also do a ton of business online, in case you can't find something you need locally: https://kitkraft.com), picked up a few pieces of lilliputian lumber, and went to work...

After measuring and double-checking a dozen times, I used ZAP-IT! slow-drying super glue to fix the braces to the top edge of the flat end of the ramps, meant to sit flush with the fort walls...


I laid out all three ramps and was pretty happy with how my faux wood braces (which funny enough were the only braces that were REALLY made from wood!) connected to the ramparts...

Starting to paint the first BASTION was exciting on one hand -- because I knew when it was finally done it would probably look awesome & imposing, not really because of the paint job but because of its sheer size and its perfectly clean, angled design -- but somewhat daunting on the other. It was just a lot more red bricks!


I decided to use two different (from the stonework RAIN and QUAKER GREYS) darker shades of GREY for the low inner wall and gun ramps on the bastion roof decks...


So very good!
ReplyDeleteThe fort looks fantastic but the painting on the dog and patio needs more work !!!
ReplyDelete